
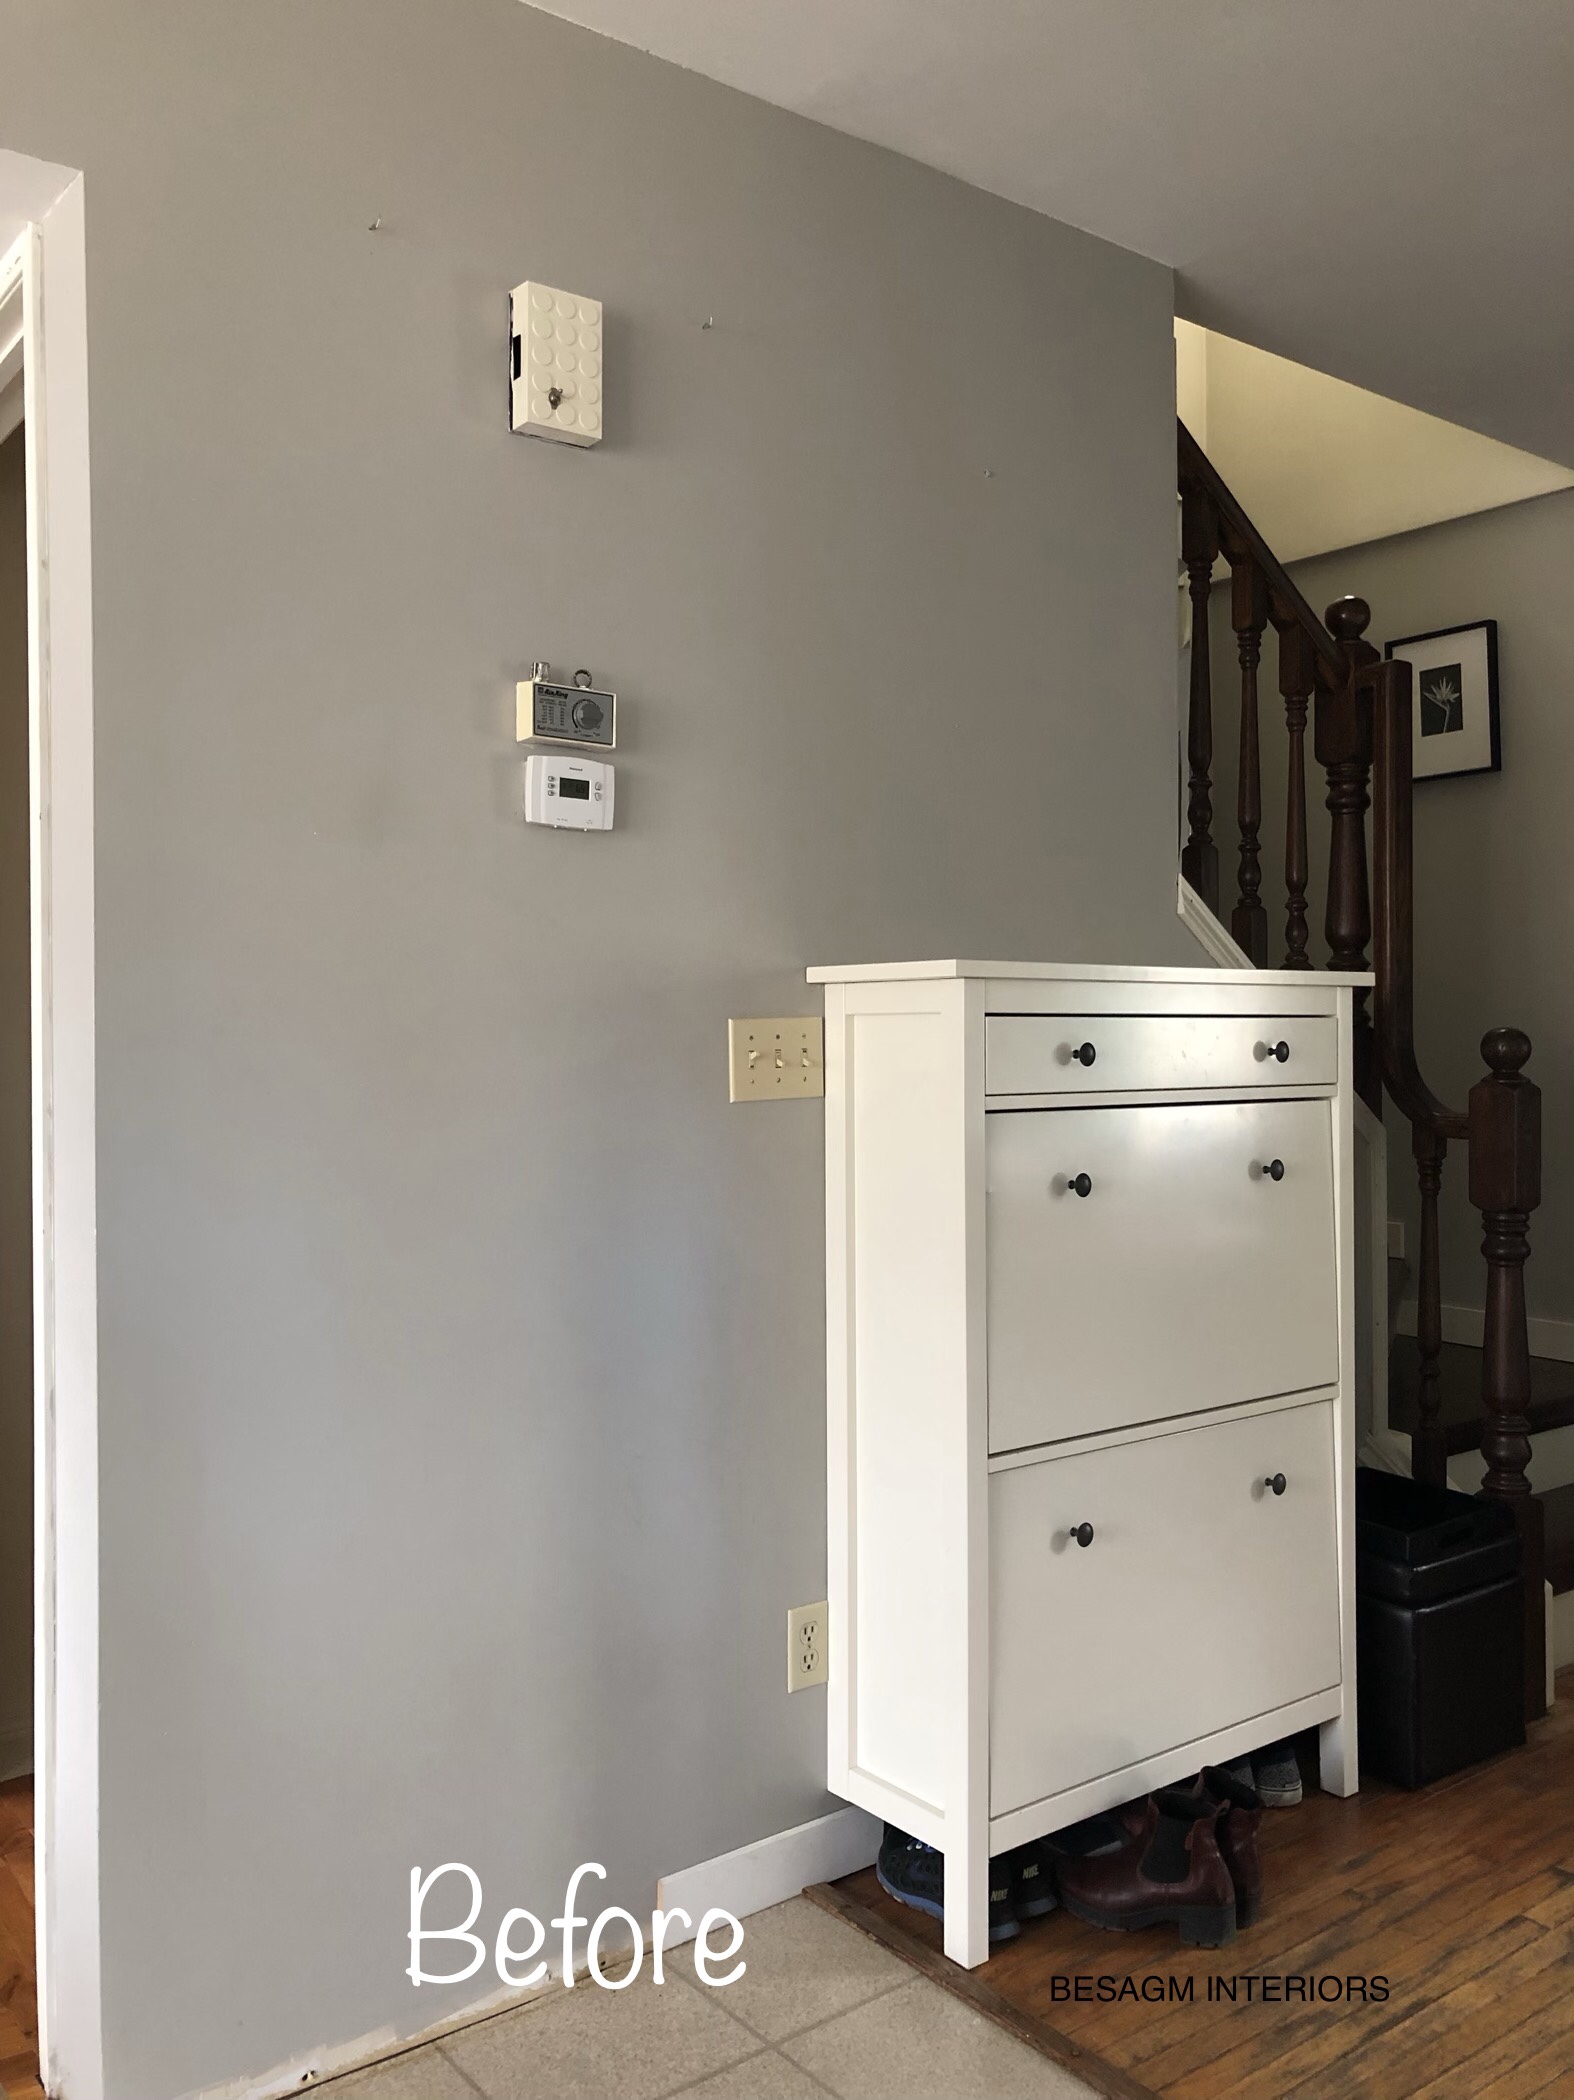
Thermostats!!!!! These eyesores which we find in almost every home! Due to the nature of this device it is recommended to be mounted in a plain sight, in a common room, at eye level. This makes it pretty easy to notice this unsightly device and make you yearn to have it gone: but, getting rid of this incredibly functional device is not an option, so the best solution is to, depending on the situation, find a smart and attractive way to cover it up.
Since moving to her house years ago, my sister was always bothered with a small wall in her hallway which was full of switches , thermostat and other devices. These few last years she kept saying that she hated that wall, and tasked me to come up with a solution for this awkward device situation on her hallway wall.
For the time being, my sister and I live in different parts of the world so this spring I flew over the Atlantic to spend some time with her and her family. Despite having a super fun time together we also engaged ourselves in numerous projects in order to make some of her spaces more functional, and updated.
In today’s post I will be sharing the DIY thermostat cover which we did together and which turned out beautiful. This made my sister supper happy and her hallway now looks supper cute and appealing.
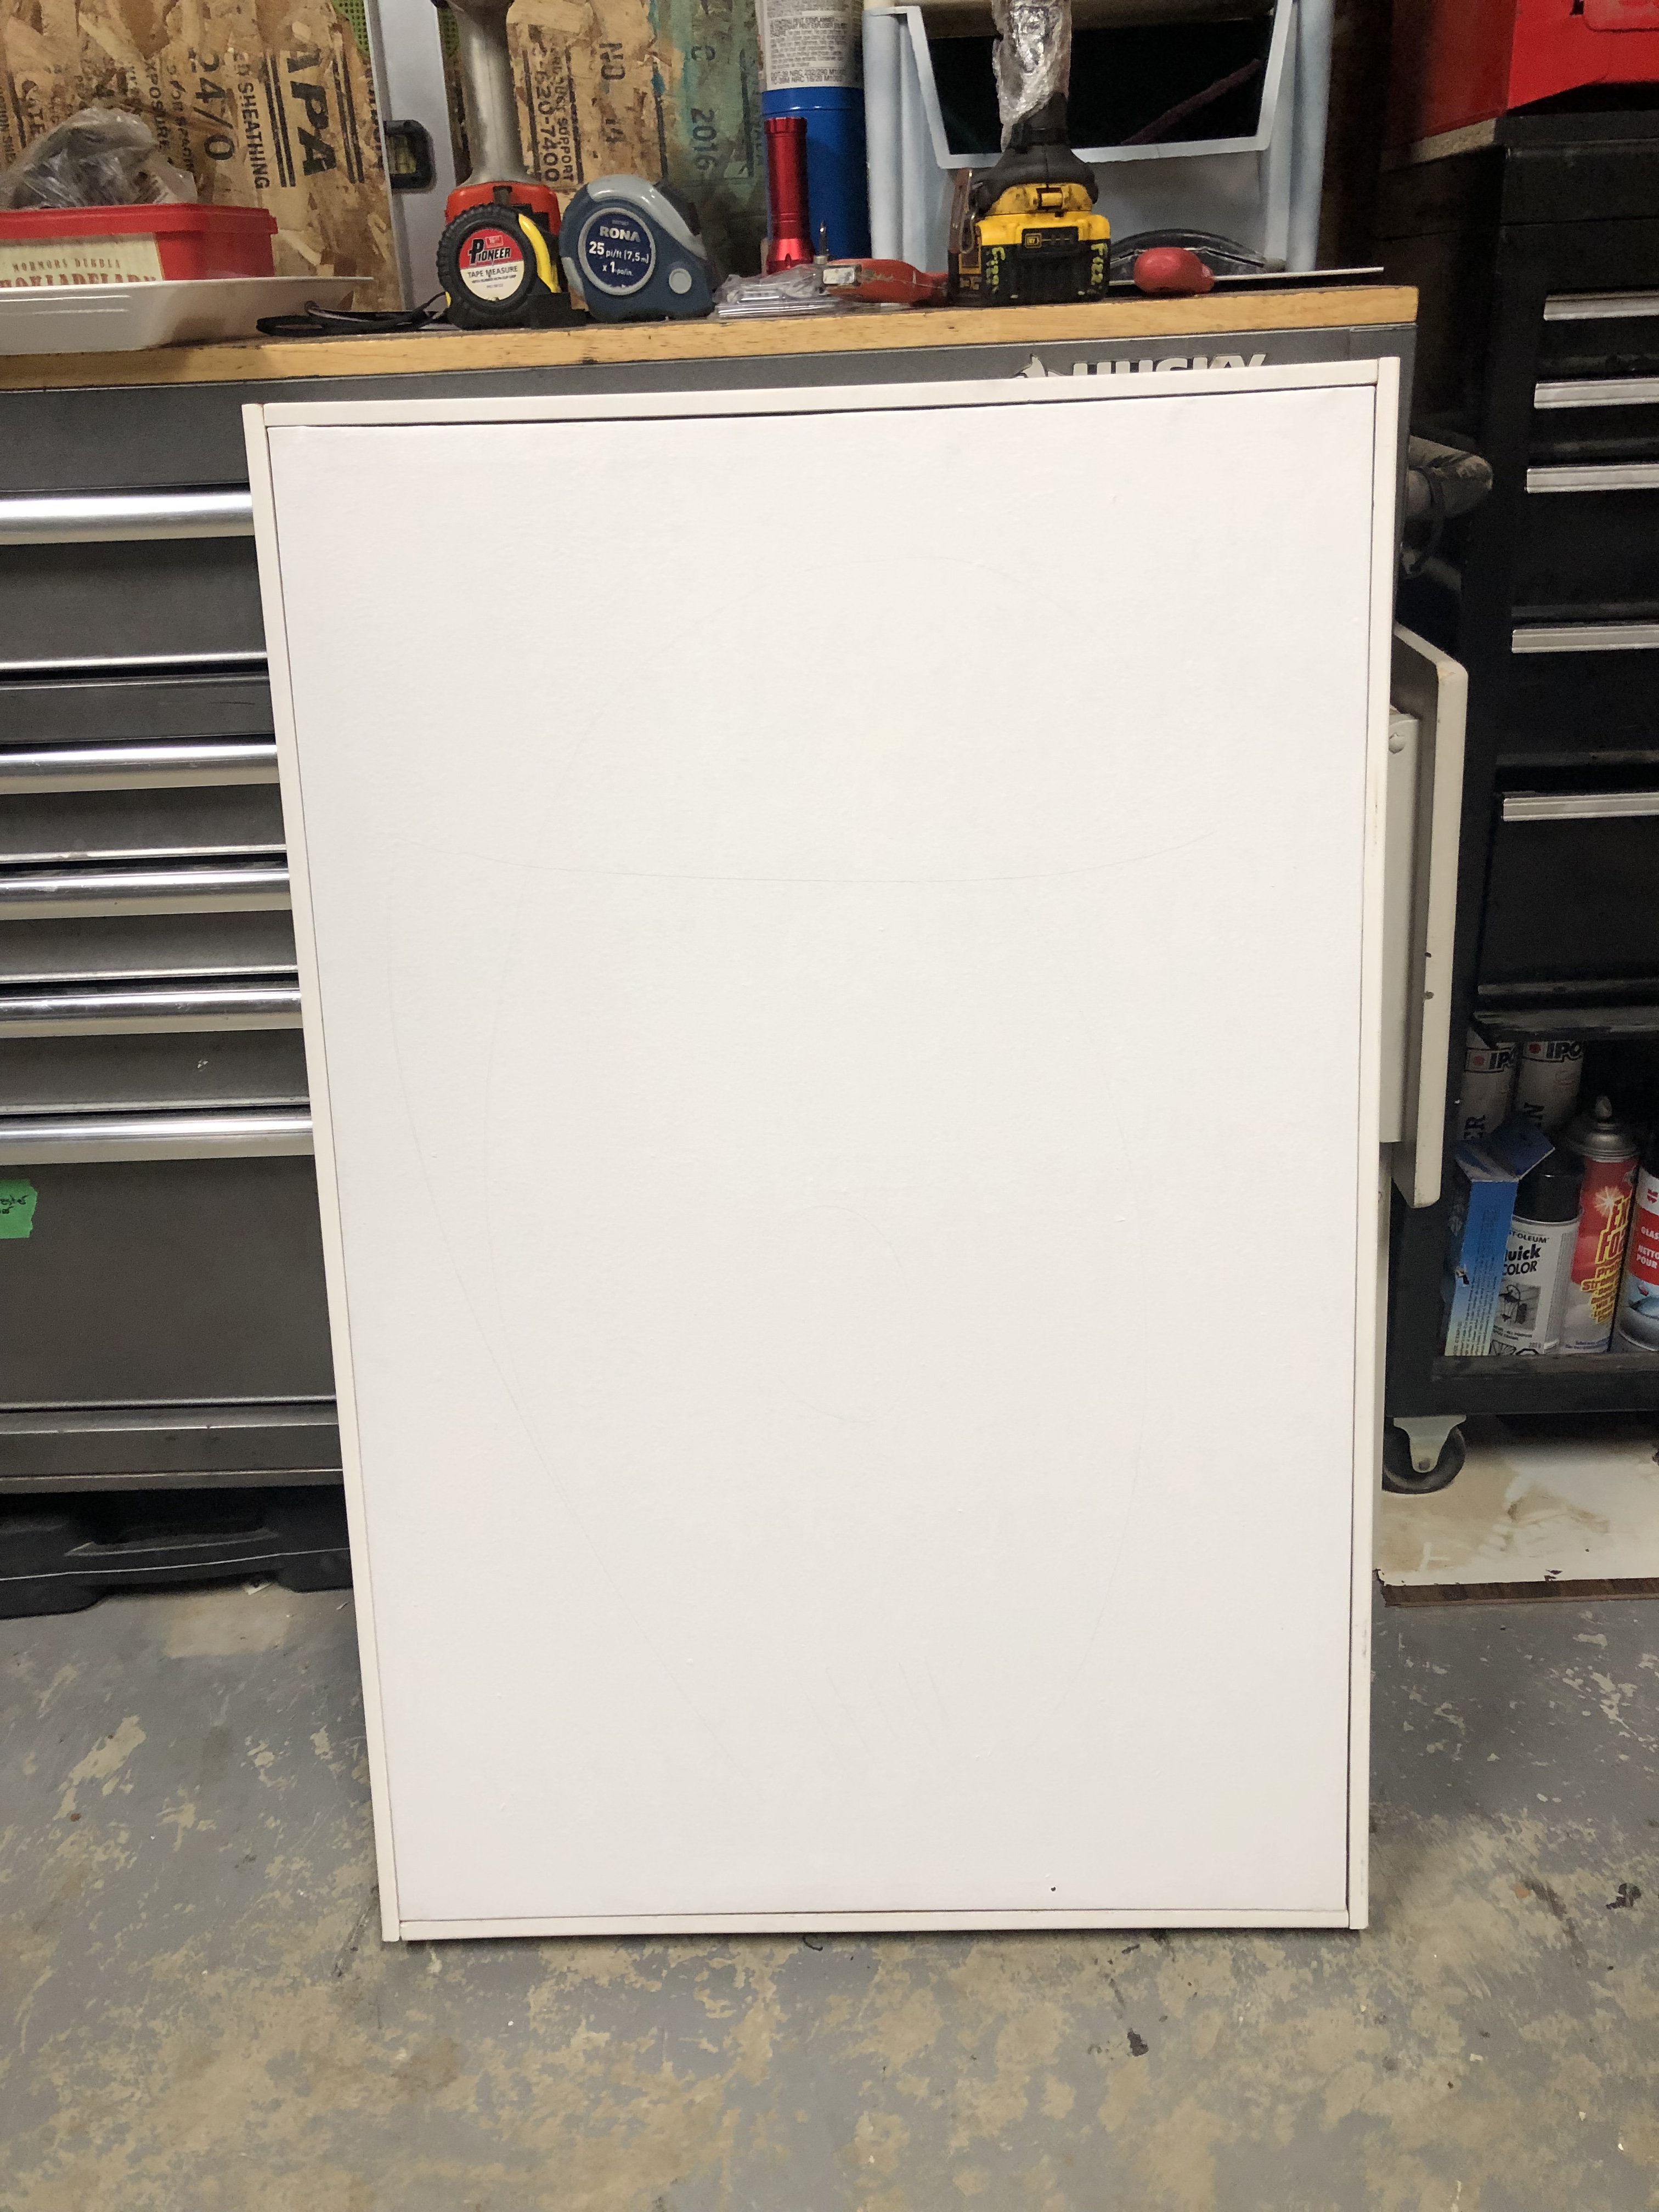
To make this device cover we started with a large piece of canvas print which my niece had in her room for a while and which she wanted to get rid off after reorganising her room. I thought that we could use this canvas in one of our projects, so I prevented my niece of donating this item (and many others) to the second hand store.
After deciding that we will be using this canvas print for covering the devices on the hallway wall, I gave the canvas five coats of white paint to cover the previous print and then, together with my sister, we proceeded to built a wide frame around the existing stretched canvas print frame.
We used plain MDF base board to build the frame. My sister did the cutting with the mitre saw and I attached the cut pieces with screws along the existing canvas frame and added a string wire for hanging.


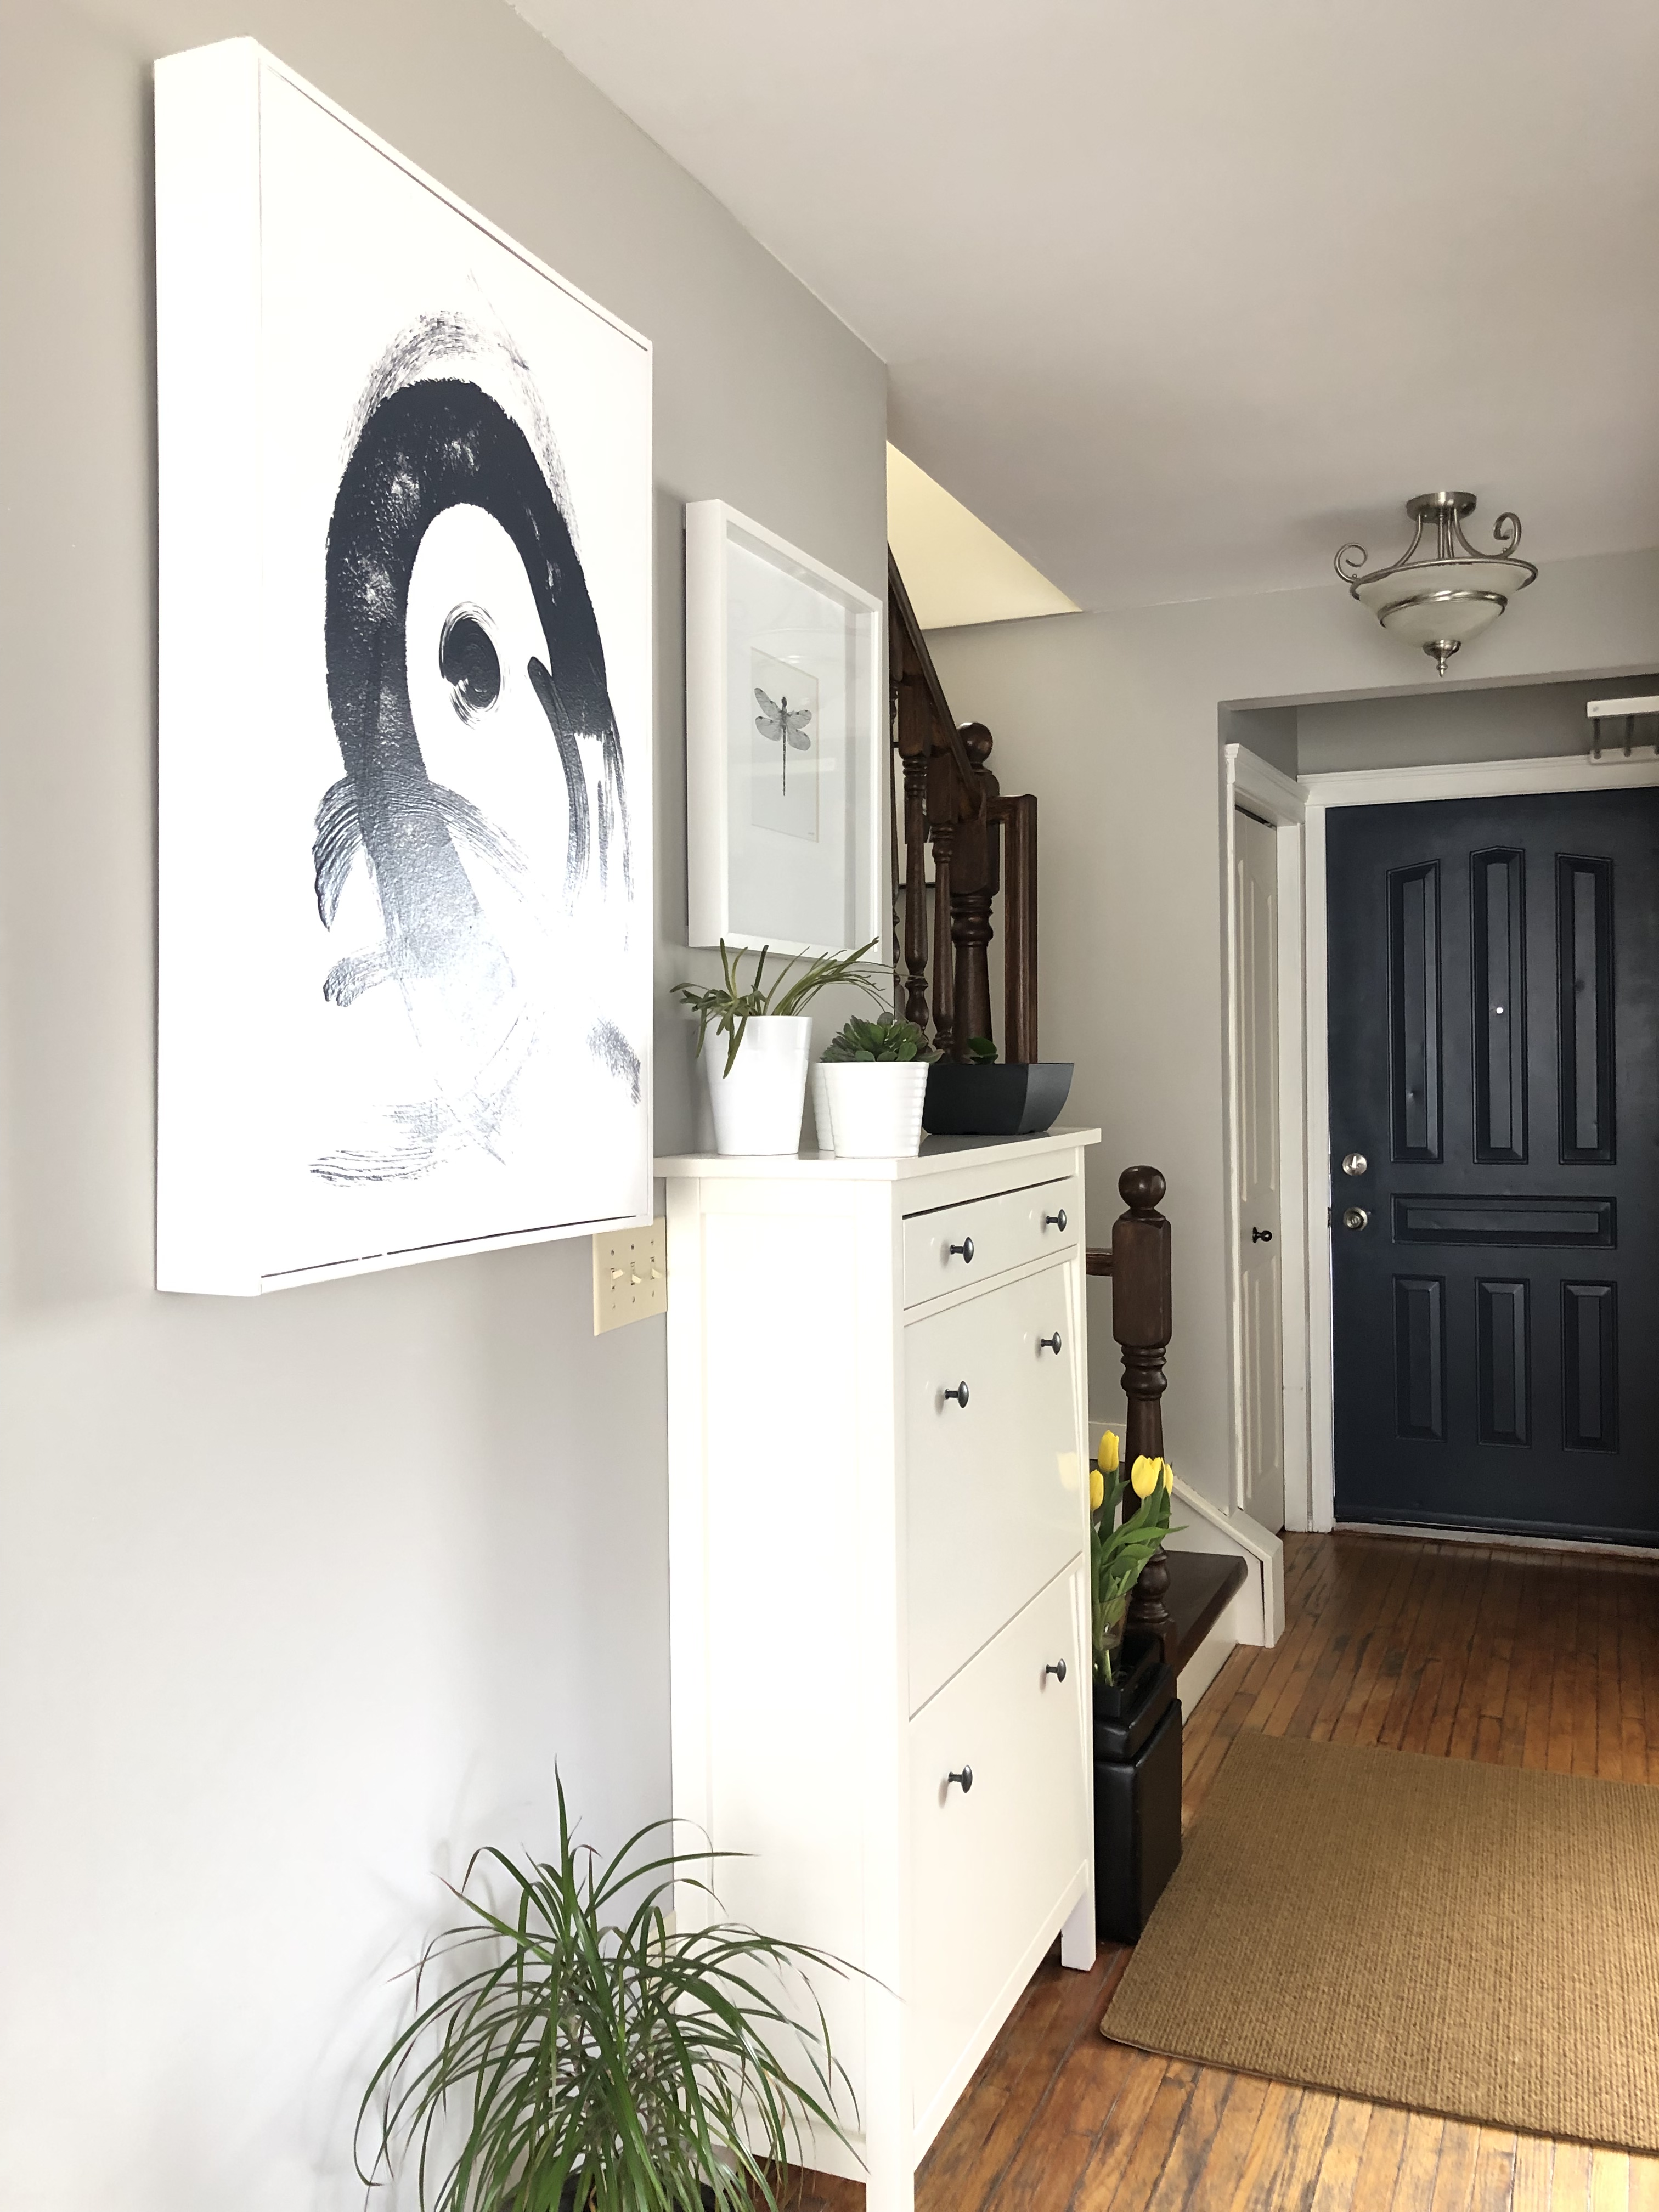
After this was done, the next day I painted an abstract art using the brush stroke technique which I am fond of. My sister and her family loved the way the painting turned out, and I liked it too. I did several similar paintings in some of my styling projects and they all turned very nice so far.
So after hanging the painting, AKA the Thermostat Cover, this is how my sister’s little hallway looks.


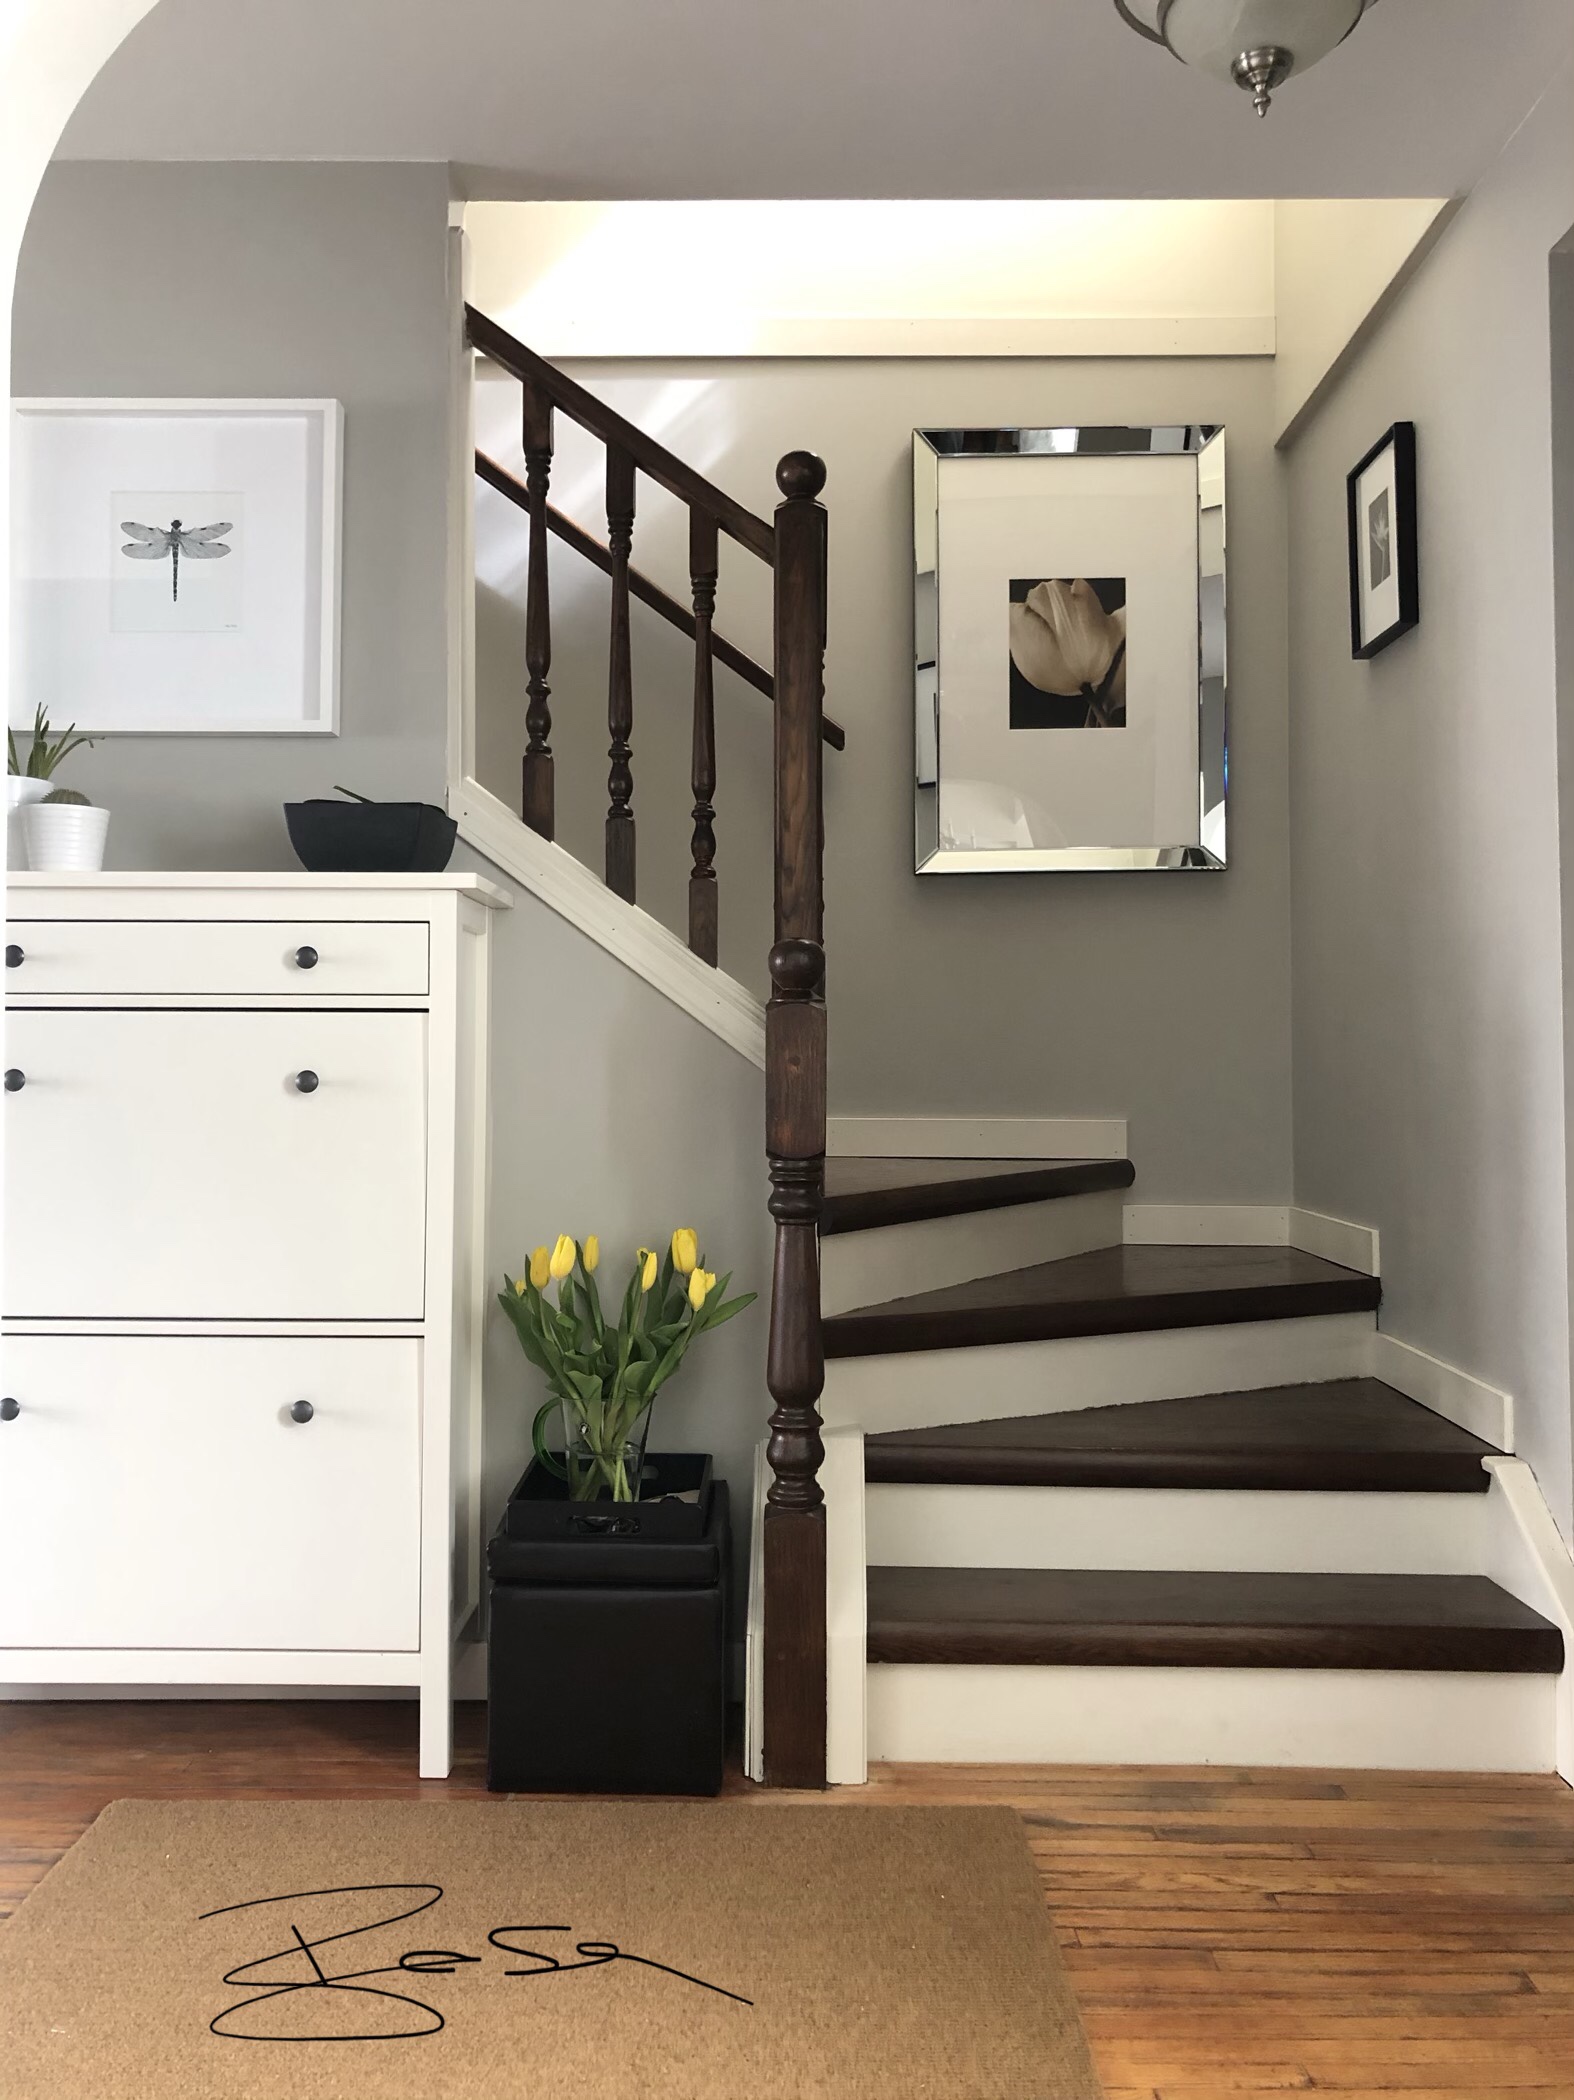
The DIY built frame and DIY painting made to cover the eyesores on the hallway wall transformed this boring little hallway into a very elegant space. This space is ready now to greet and bring a smile to everyone’s face who enters that front door.

Do you have similar eyesore that is bothering you and you do not have time to deal with it? Contact us via e mail besagmblog@gmail.com or via FB fun page BESAGM Interiors for consultation. We would be happy to find a suitable solution for you.
Here are the BEFORE and AFTER pics which we all love checking:

Thank you for visiting this blog!
Besa
