
Poufs are expensive, but they are pretty and quite versatile. You can use them in every room around the house be it as an extra seating, as a feet rest, as a table with a tray on top and the list goes on.
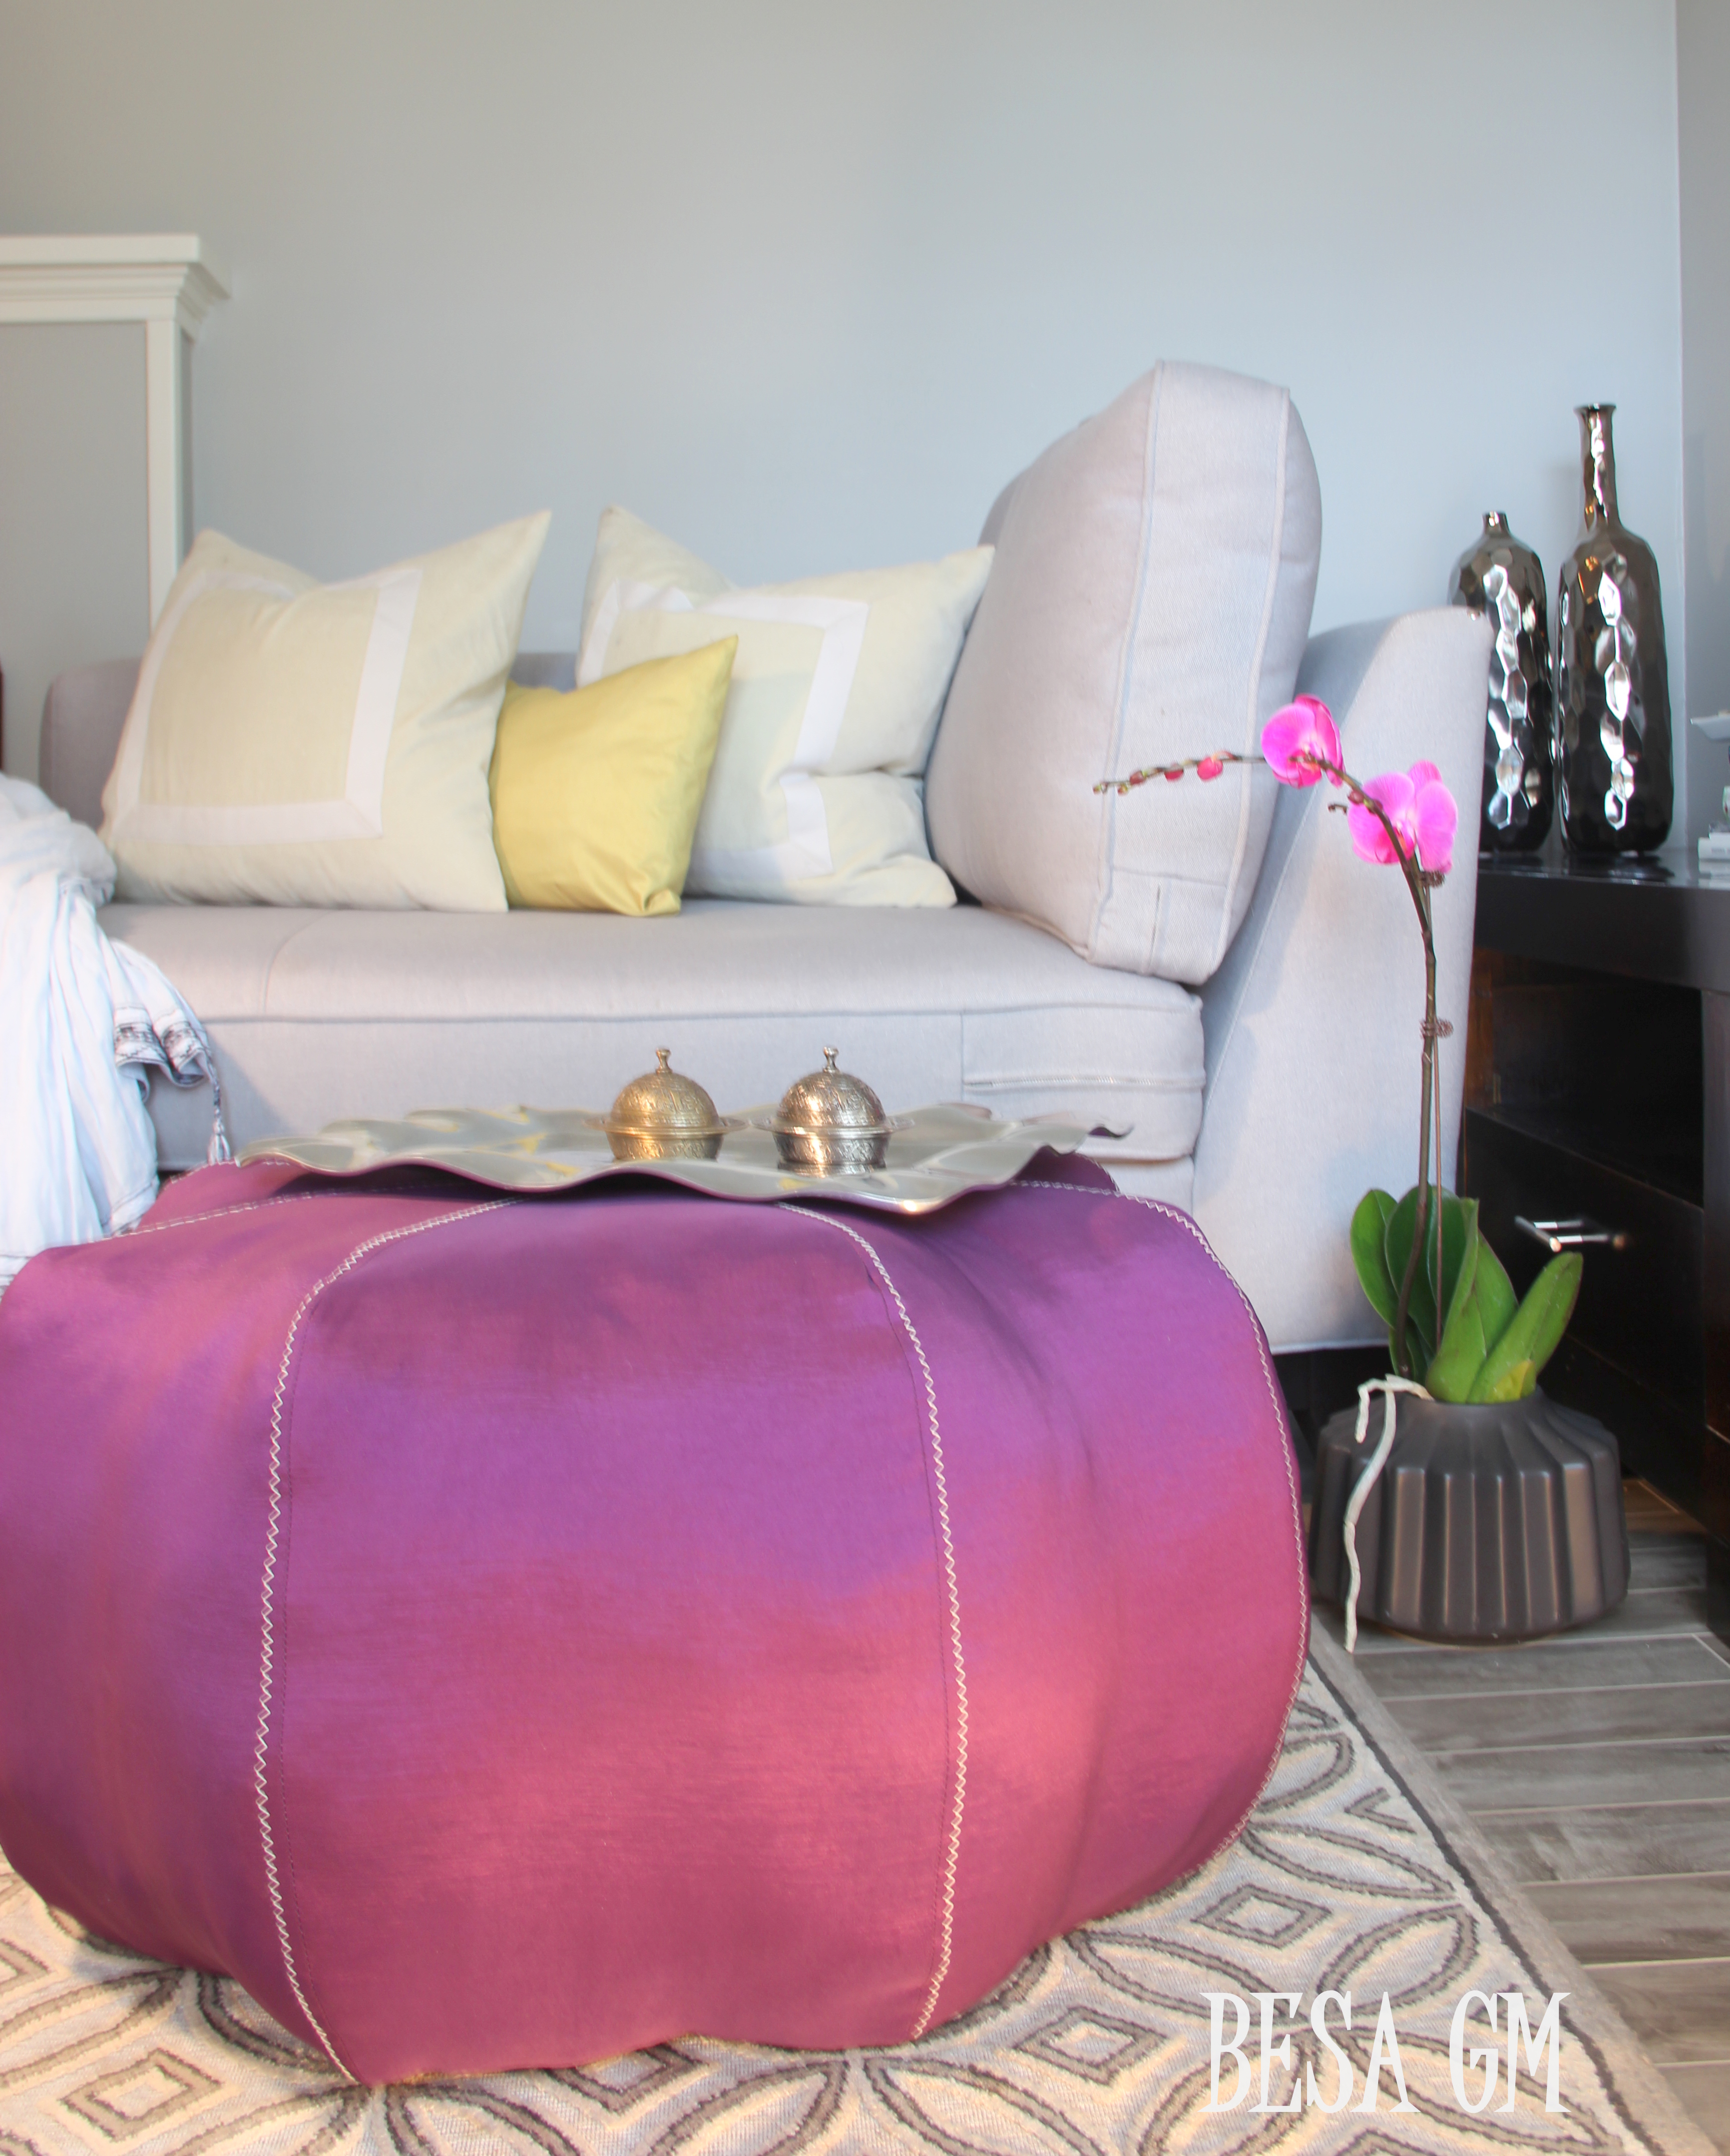
Few years back I made a pretty fuchia coloured pouf. It was my first pouf ever made, and it turned beautiful. Since then I made a lot of of them in different colours and shapes using various fabrics, because in my styling projects I always look for different textures, materials and colours.
What I never thought of though, was creating a pouf slipcover; this way I would use an existing pouf, and add the needed colour and texture to a styling project just by slipcovering it.
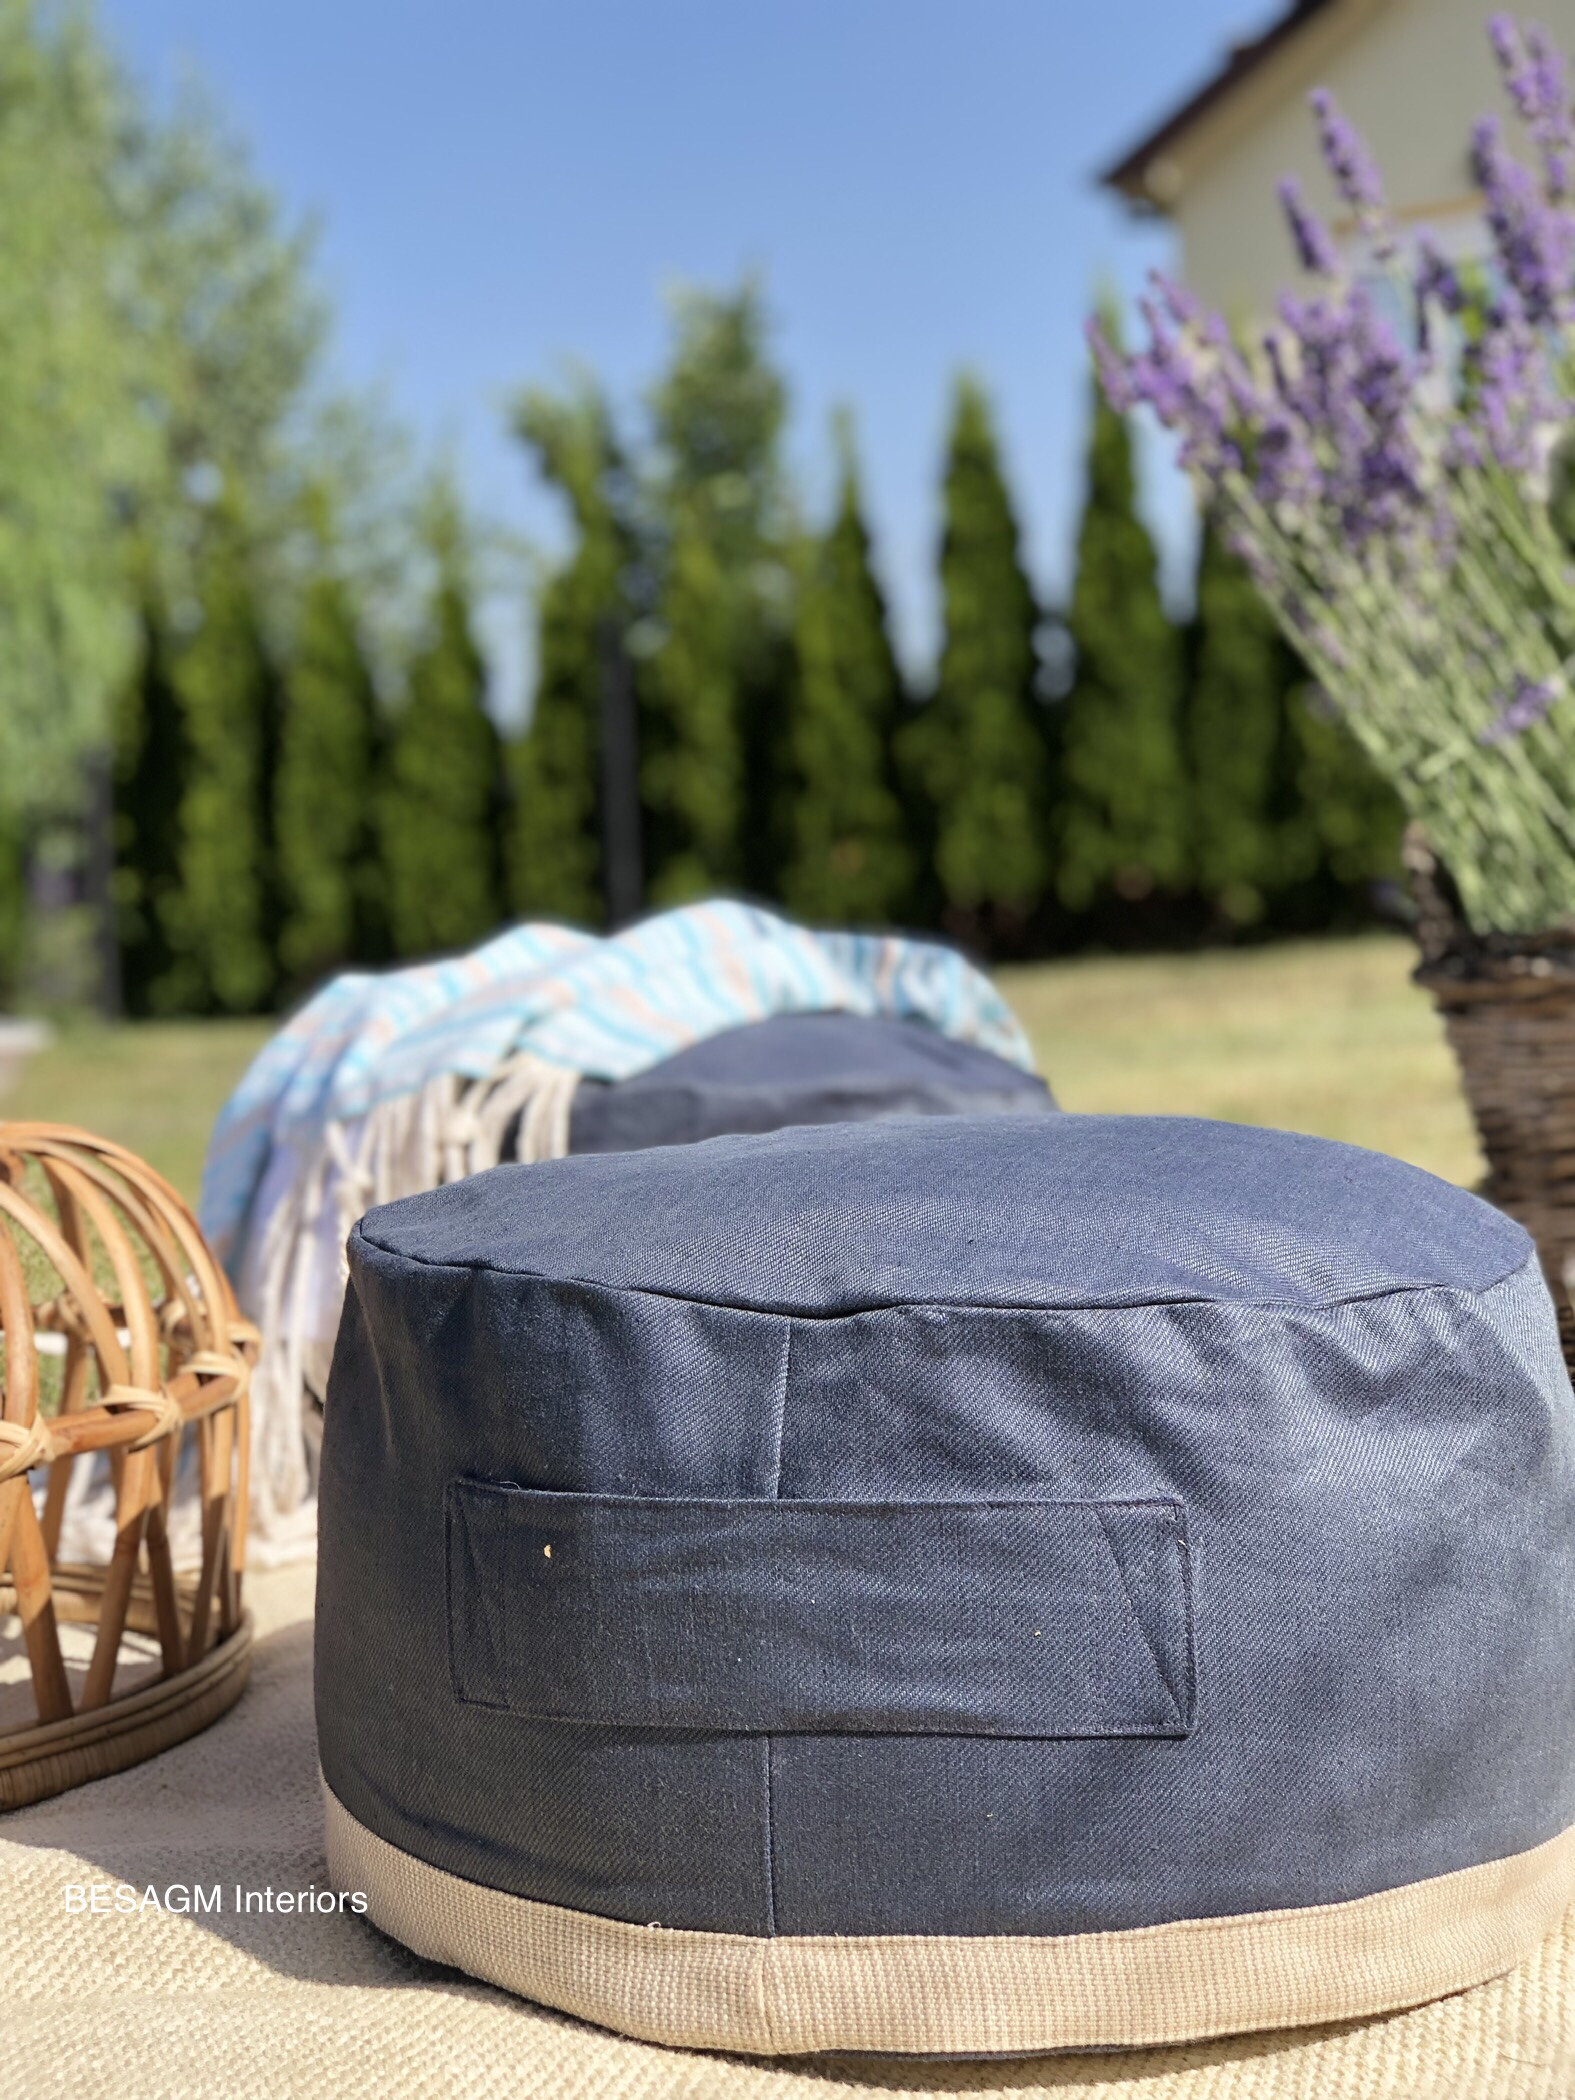
Recently I was in a need of a pouf in specific colour and fabric texture for an outdoor use, so I created these simple and practical pouf slipcovers that changed entirely the look of the previous pouf and are so easy to slip them on and off to the existing pouf. They are machine washable, thus a perfect solution for an outdoor use.
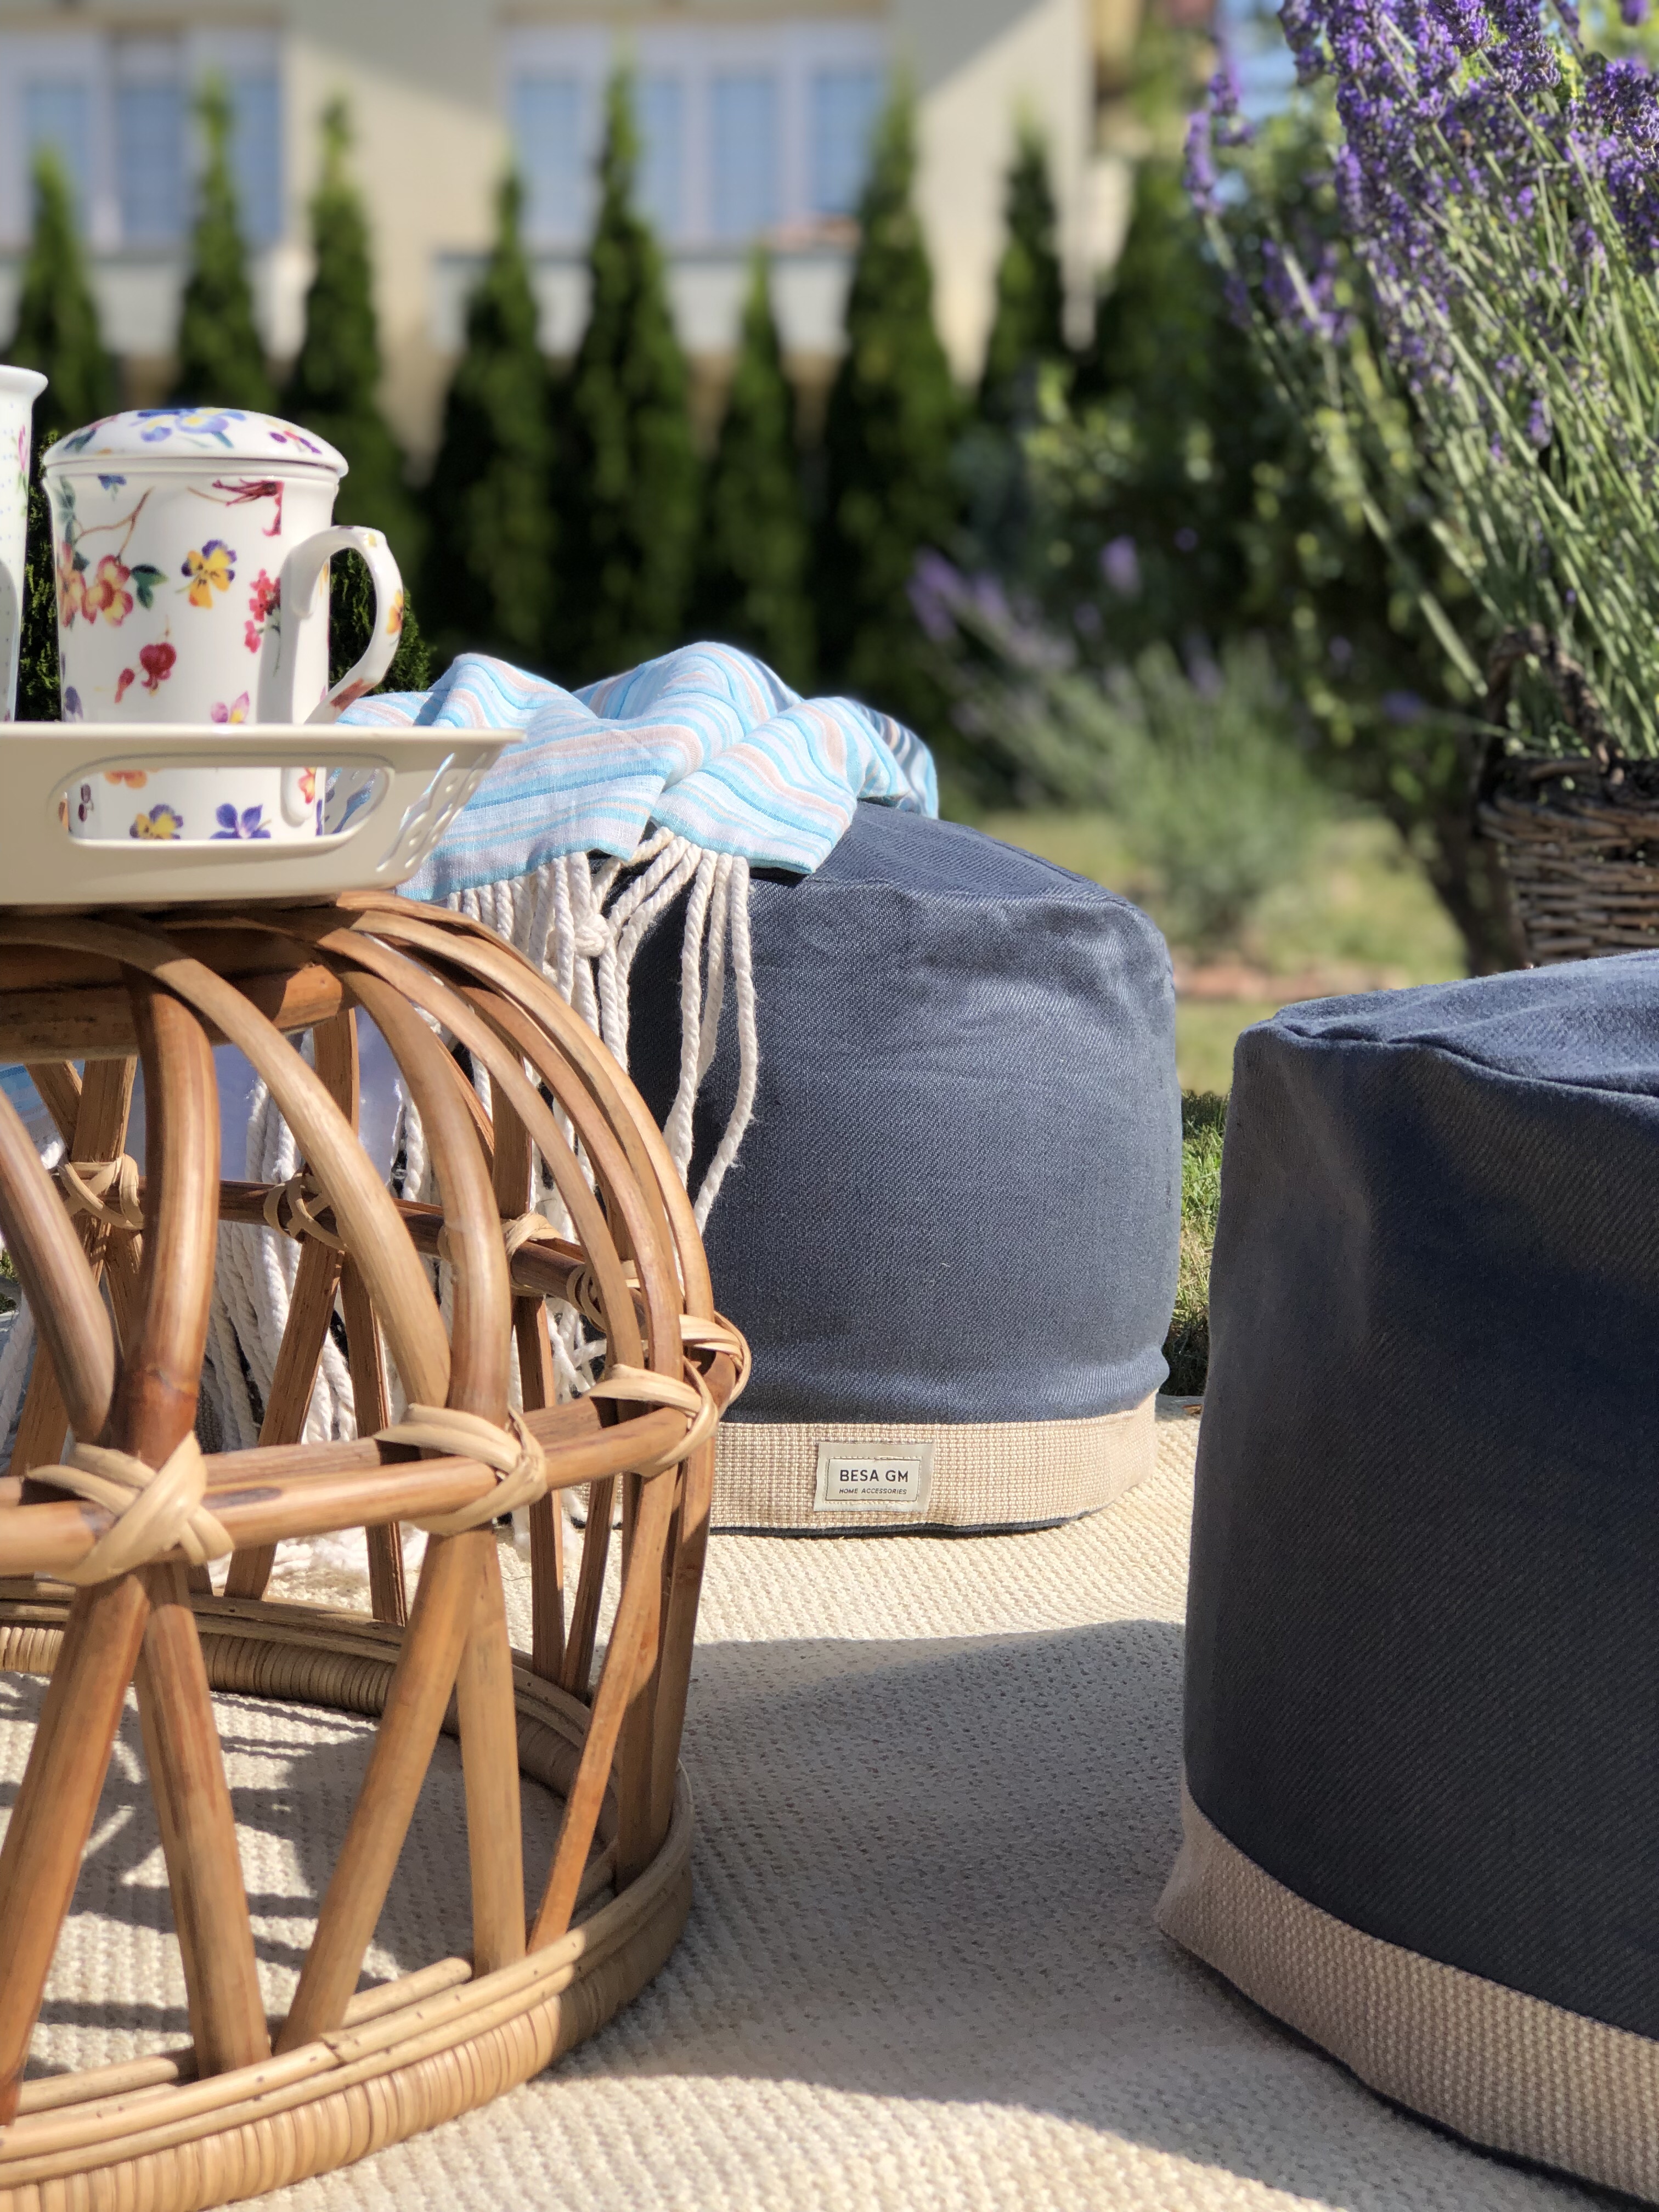
An indoor pouf can be used outdoors throughout summer only by slipcovering it with a proper outdoor fabric.
I used these slipcovered poufs throughout summer as additional seating in different areas of my backyard. They not only provided comfy seating, but also added a stylish touch to the sitting corners in our backyard. In my next post I will share how I styled a teracce by incorporating these slipcovered poufs.


Adding a handle makes it easy to transport the pouf around the house or backyard.

Nona (my mother) loved the idea of slipcovering the poufs and on the photoshooting day we enjoyed our morning coffee sitting on slipcovered poufs in my dog’s IMO playground.
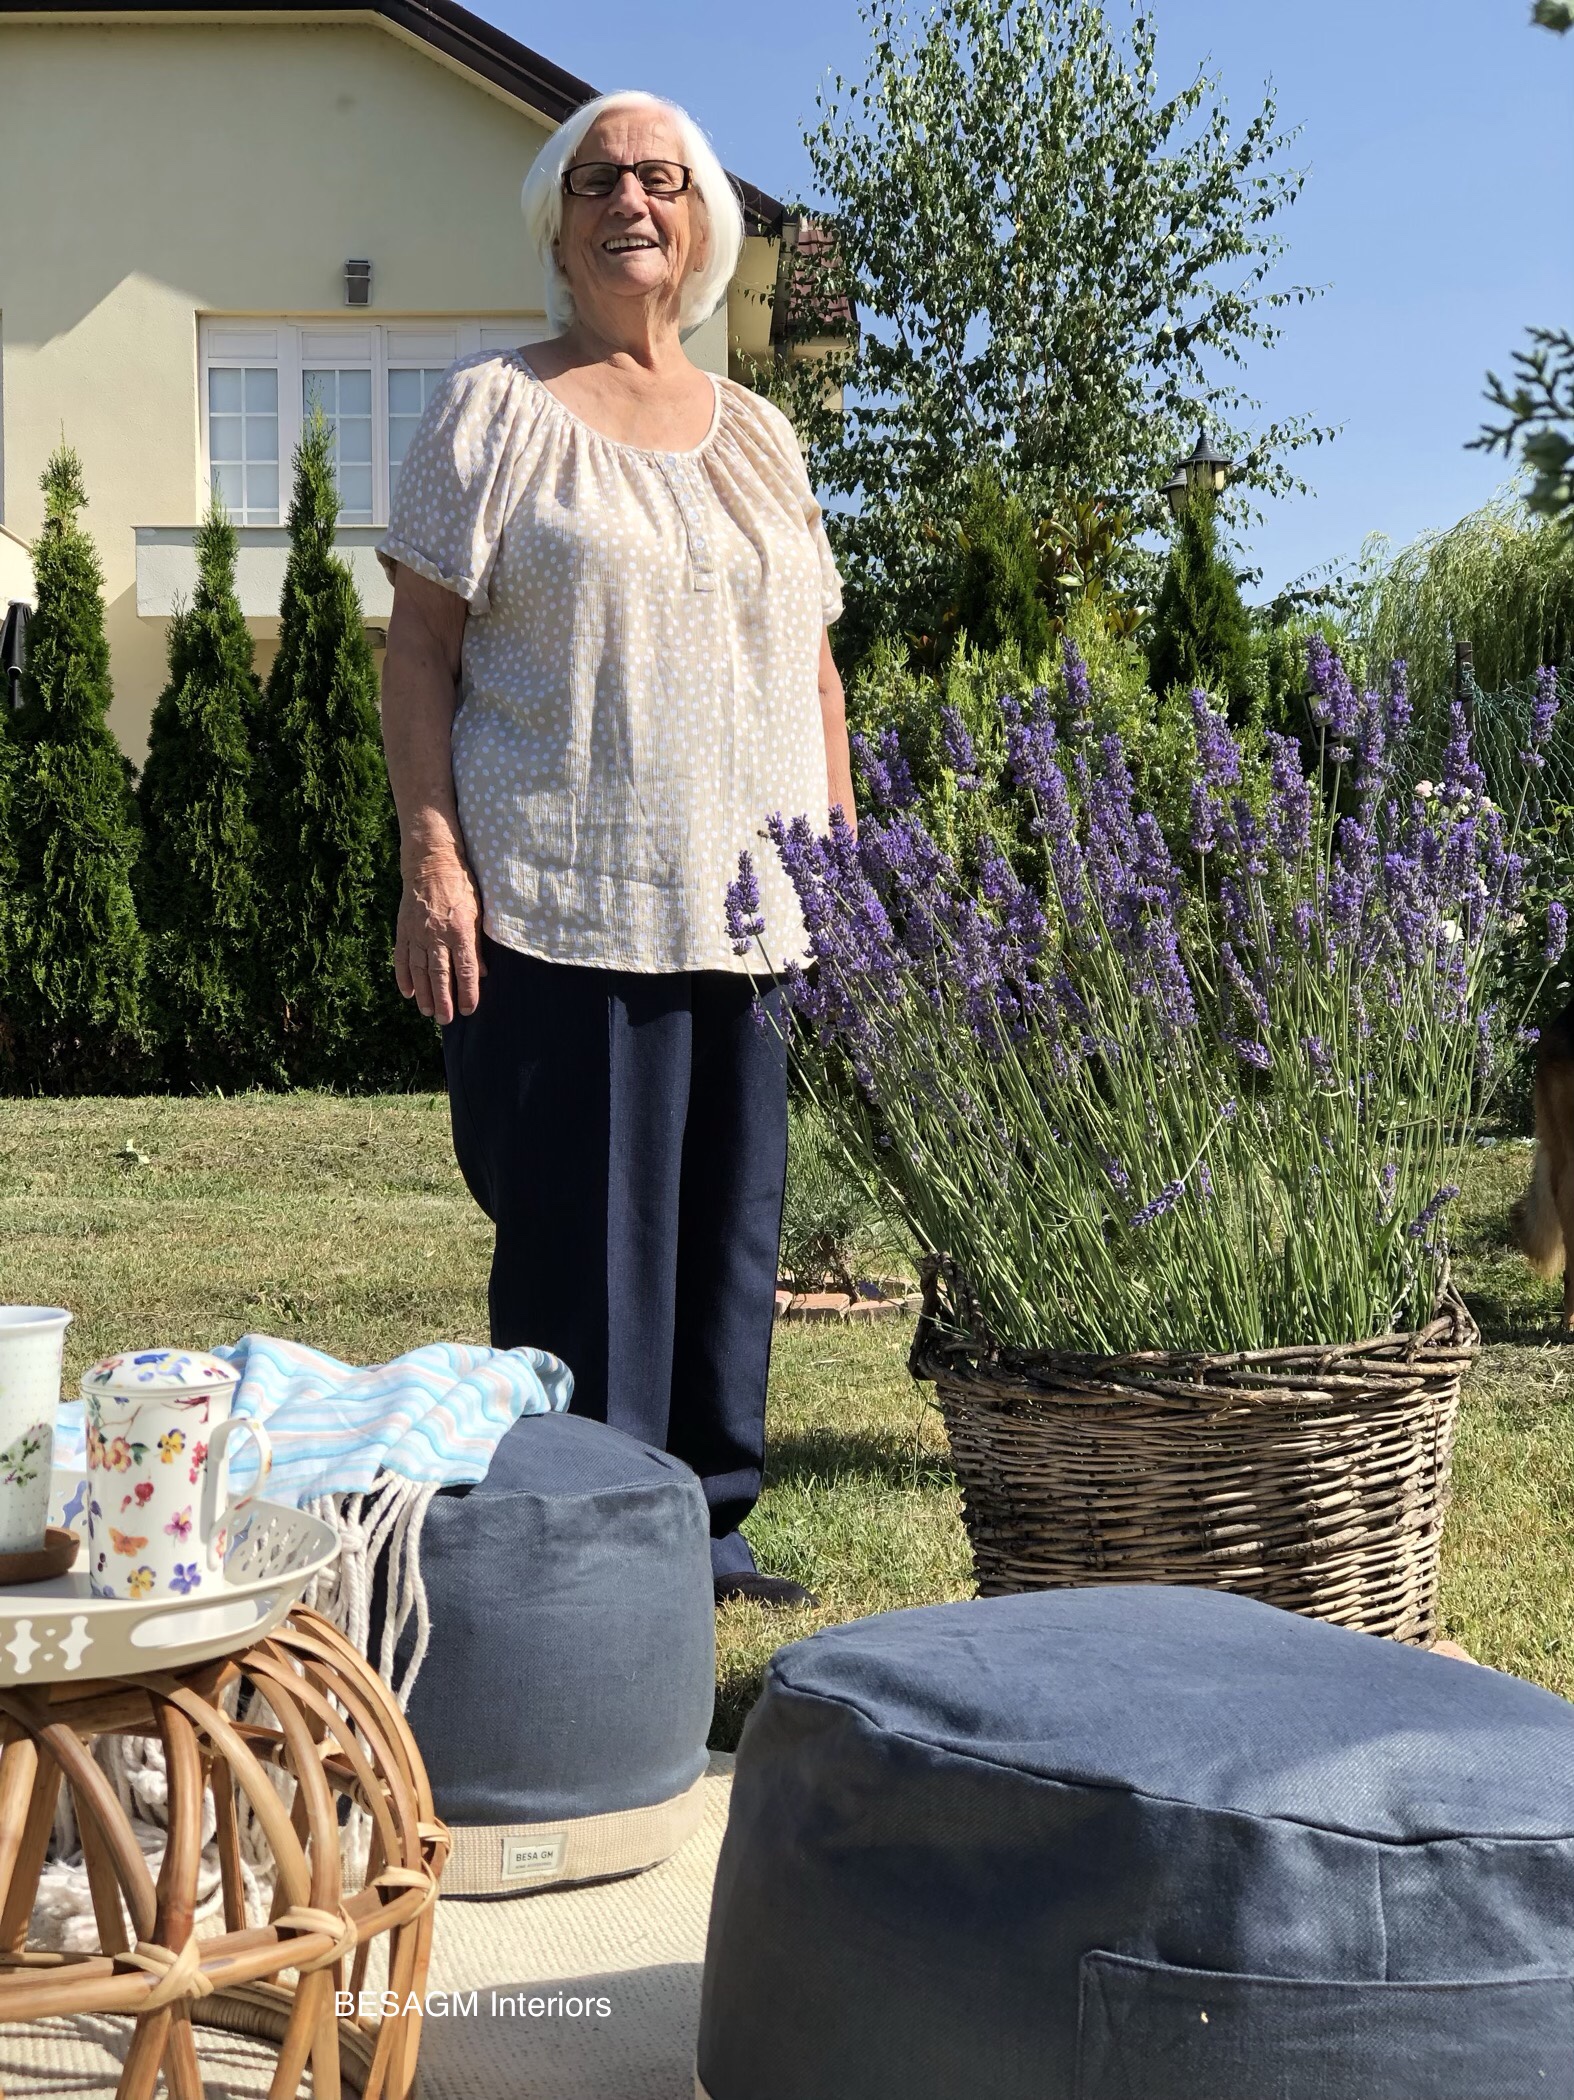
Imo, the dog did not take a seat on the poufs though. While at his playground he kept being bussy chasing bees and butterflies.

Do you like poufs, or do you own one? If you like them and would like to make one check my tutorial on how to make one HERE. If you already own one and would like to slipcover it then follow the below written instructions:
1.Measure the width of the ottoman’s top with a fabric tape measure. Add 1 inch to the width to allow for a 1/2-inch seam allowance the entire way around the circle. Record the measurement.
2. Measure the distance from the ottoman’s top to the floor. Add 1 1/2 inches to the measurement to allow for the seams. Record the measurement.
3. Wrap the tape measure around the sides of the ottoman to measure its circumference, or length of fabric needed for its sides. Add 1 inch to the measurement for seam allowance.
4. Spread the fabric out flat on a work surface, positioning its patterned side down. Measure and draw a circle on the fabric using the tape measure and a fabric pencil, making it equal in diameter, or width, to the calculated measurement from the first step.
5. Measure and mark a rectangle on the fabric’s surface using the tape measure and fabric pencil. Make the rectangle equal in width to the measurement from the second step and equal in length to the measurement from the third step.
6. Cut out the fabric circle with a pair of scissors, following the marked line. Cut out the rectangle with the scissors.
7. Spread the fabric rectangle out on the work surface with its patterned side down. Fold one of its lengthwise edges inward by 1/2 inch with wrong sides together. Fold the edge over again by 1/2 inch to create the hem. Pin along the edge with straight pins to hold the folds in place.
8. Select a color of polyester thread that matches the fabric’s main color as closely as possible. Thread the sewing machine with the thread.
9. Sew a 1/2-inch seam of straight stitches along the pinned edge to secure the hem in place. Remove each straight pin before sewing over it to prevent the machine’s needle from breaking. Clip any thread tails at the beginning and end of the seam using scissors.
10. Fold the rectangle in half with patterned sides together, matching up its two short edges and pinning them together. Sew a 1/2 inch seam across the pinned edge to turn the rectangle into a cylinder. Remove the pins before sewing over them.
11. Cut off any thread tails on either end of the seam with scissors. Press the seam open with a warm iron.
12. Lay the fabric circle flat on the work surface with its patterned side facing up. Match up the cylinder’s raw edge, or edge opposite to its hemmed edge, with the raw edge of the fabric circle, positioning their patterned sides together. Pin the matched edges together with straight pins.
13. Sew a 1/2 inch seam around the pinned edge, removing each straight pin before sewing over it. Cut back any thread tails.
14. Turn the slipcover right side out, pulling its circular sides down around its round top. Pull the slip cover over top of the ottoman.
The written instructions are from https://homeguides.sfgate.com/make-slipcover-round-ottoman-88622.html.
Thank you for checking this page.
Besa
