
Hello everyone! I’m so glad that you found yourself here today for the reveal of my Home Decor/Styling Studio Office Space. It has been, if I may say, a very short six week period along with a lot of sweat and hard work involved to transform this room from a modern farm house style sitting room into a chic, modern and stylish office where I will meet my clients to discuss and plan the projects that I will be working on.

This room which is now being used as an office is part of a two bedroom flat which is the premise of my Home Decor and Styling business branded as BESA GM Interiors. The other areas in this flat are also being utilised for various tasks associated with this business. This new location of my business is more central than the previous one, and I am happy that I will be operating my business from this location.
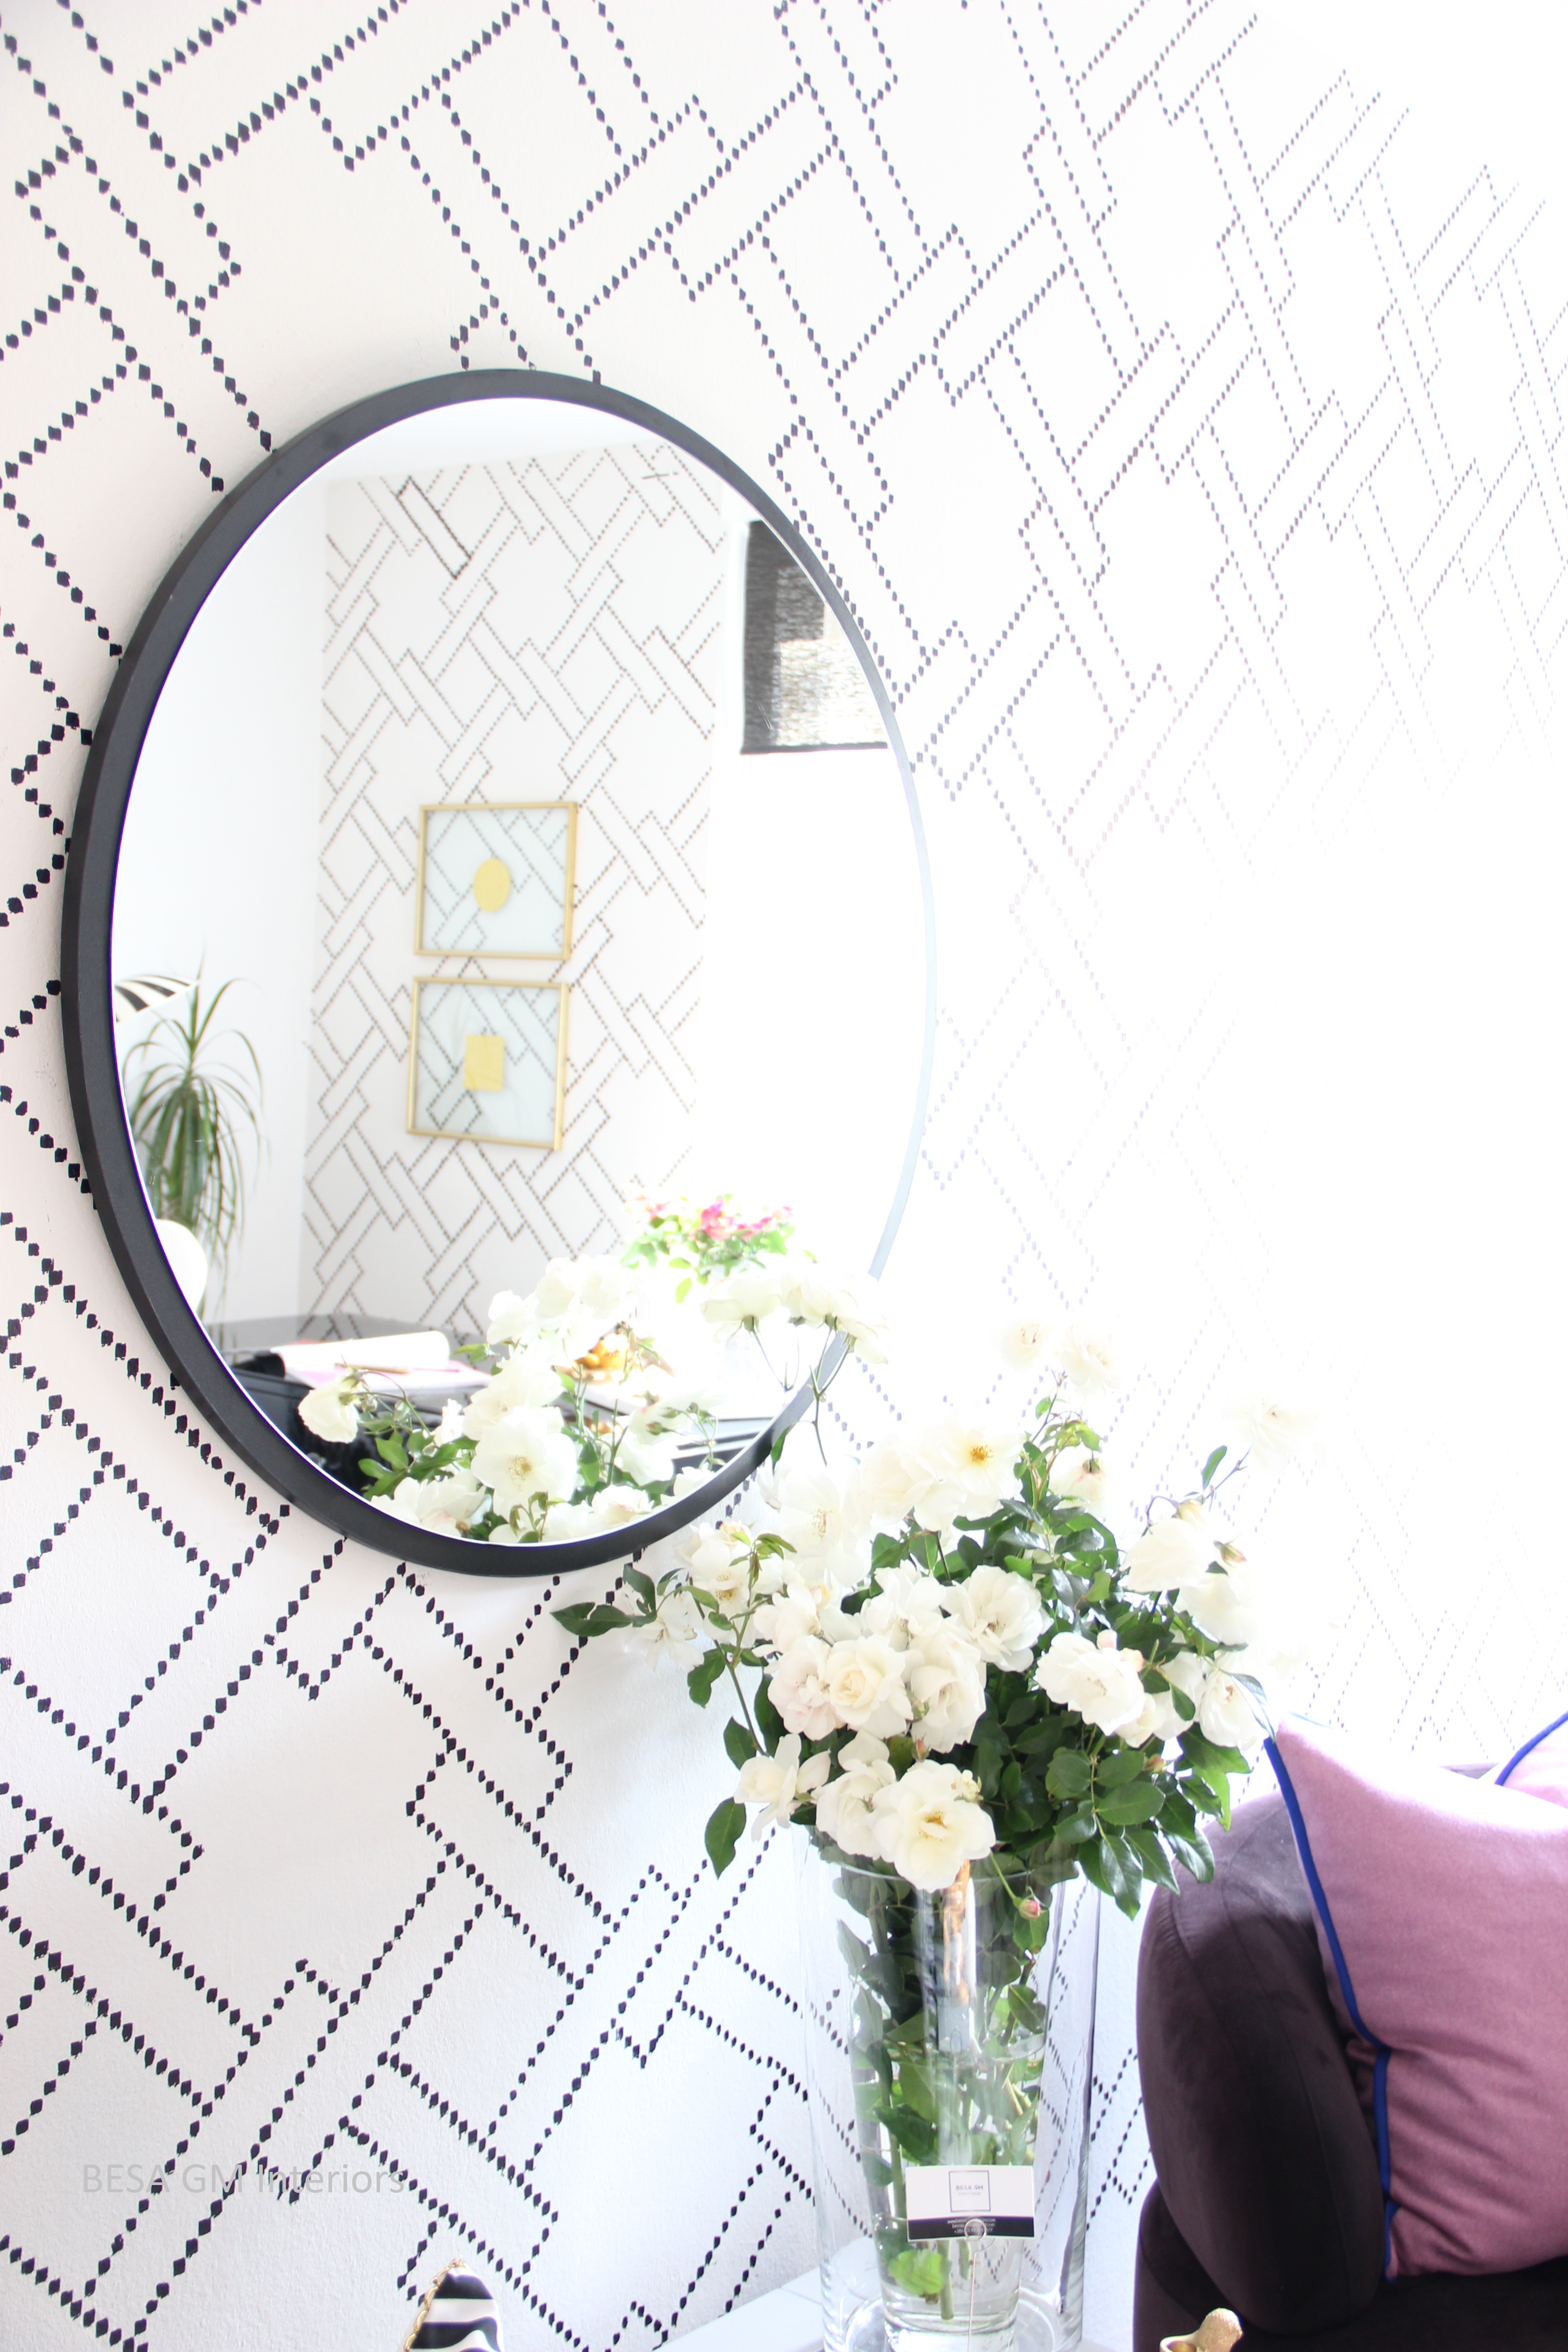
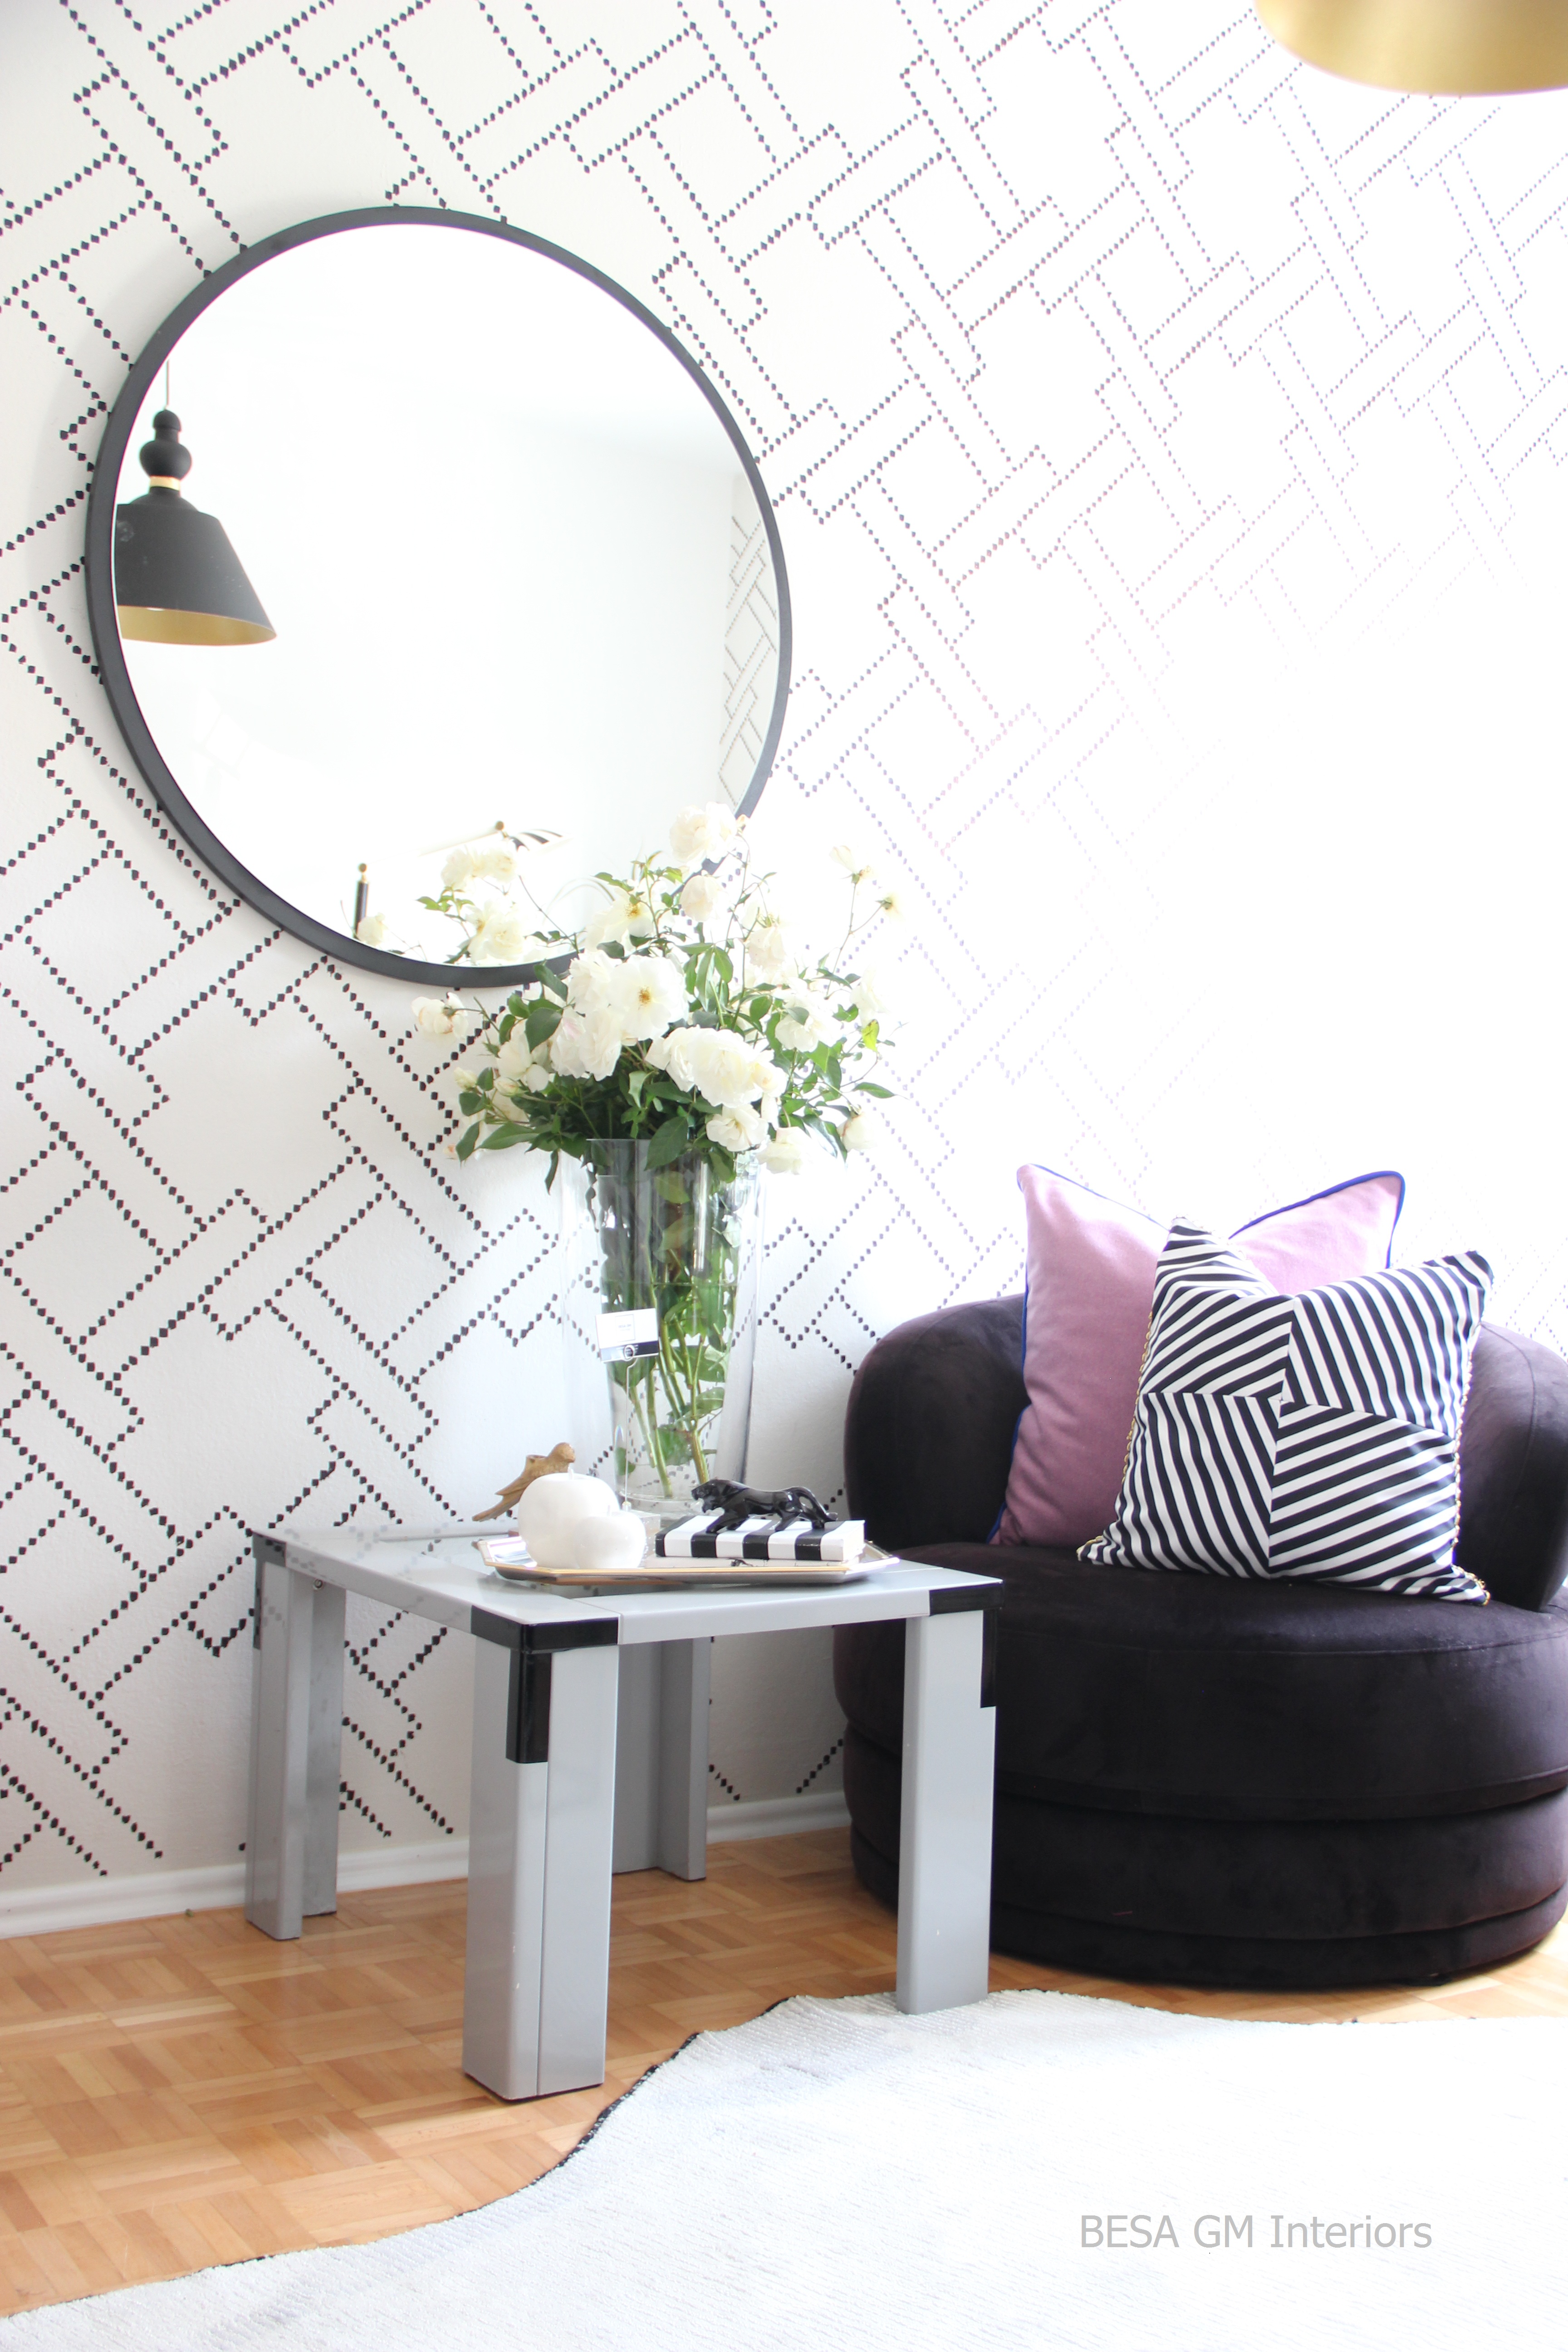
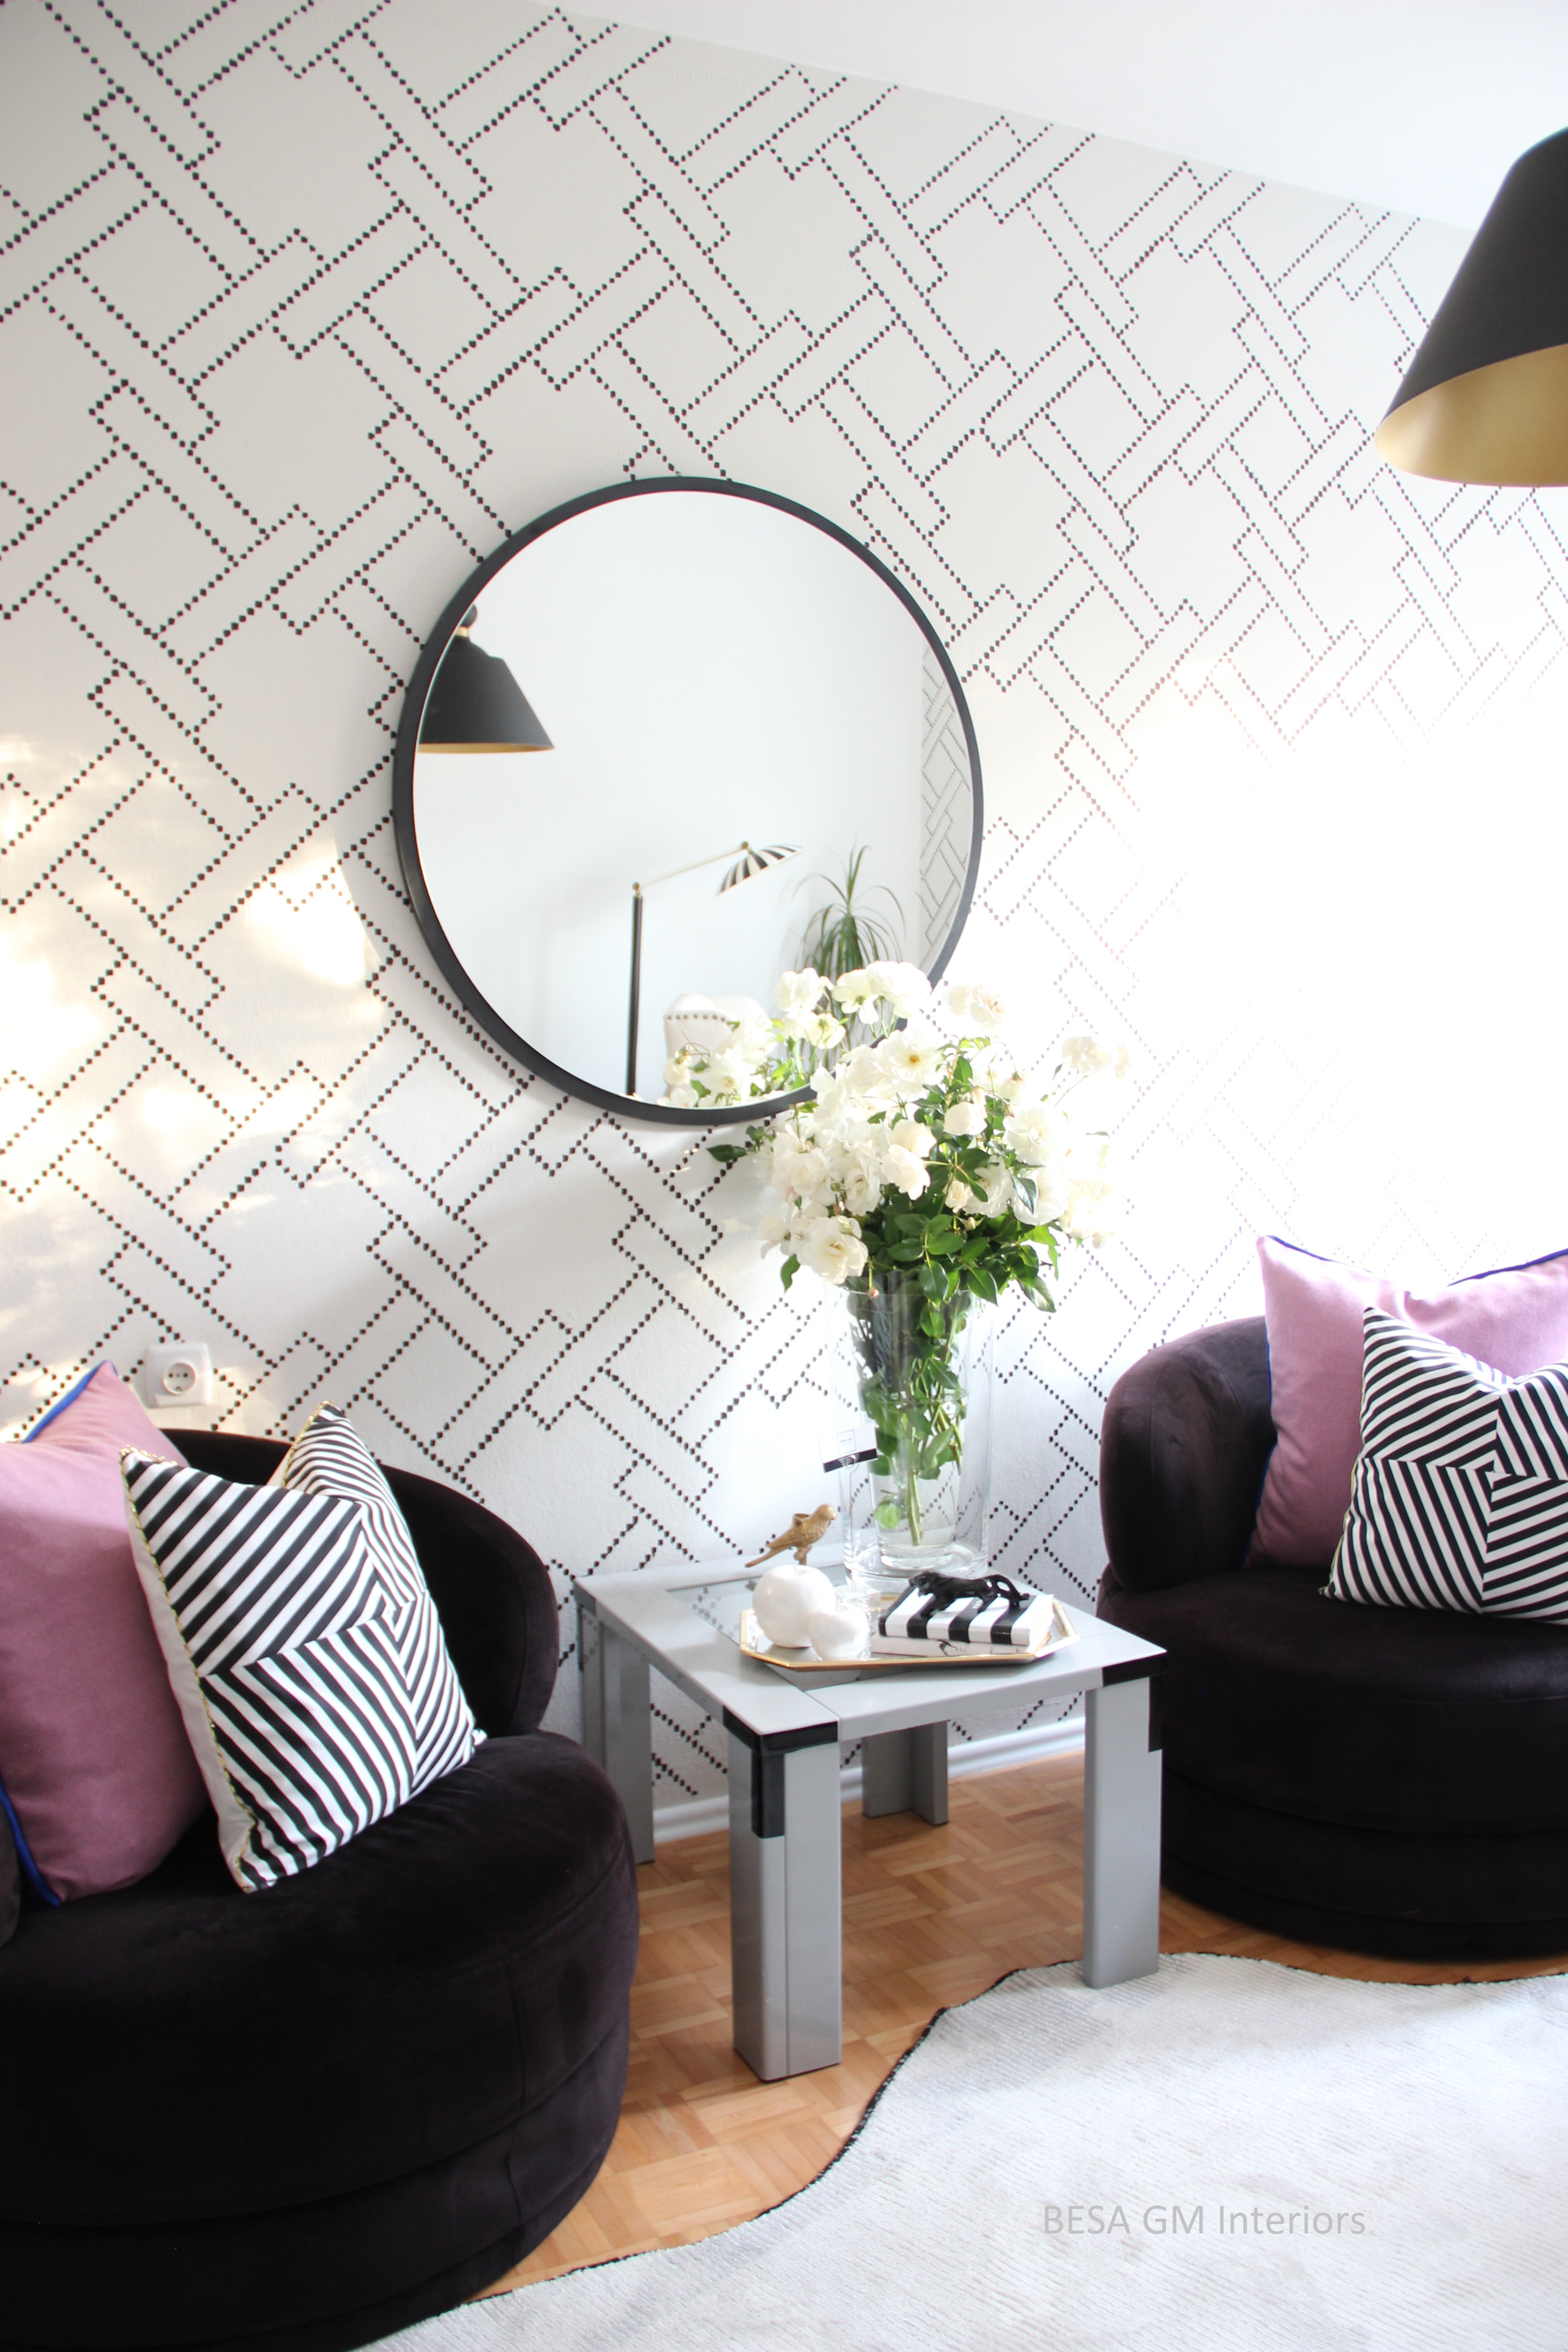
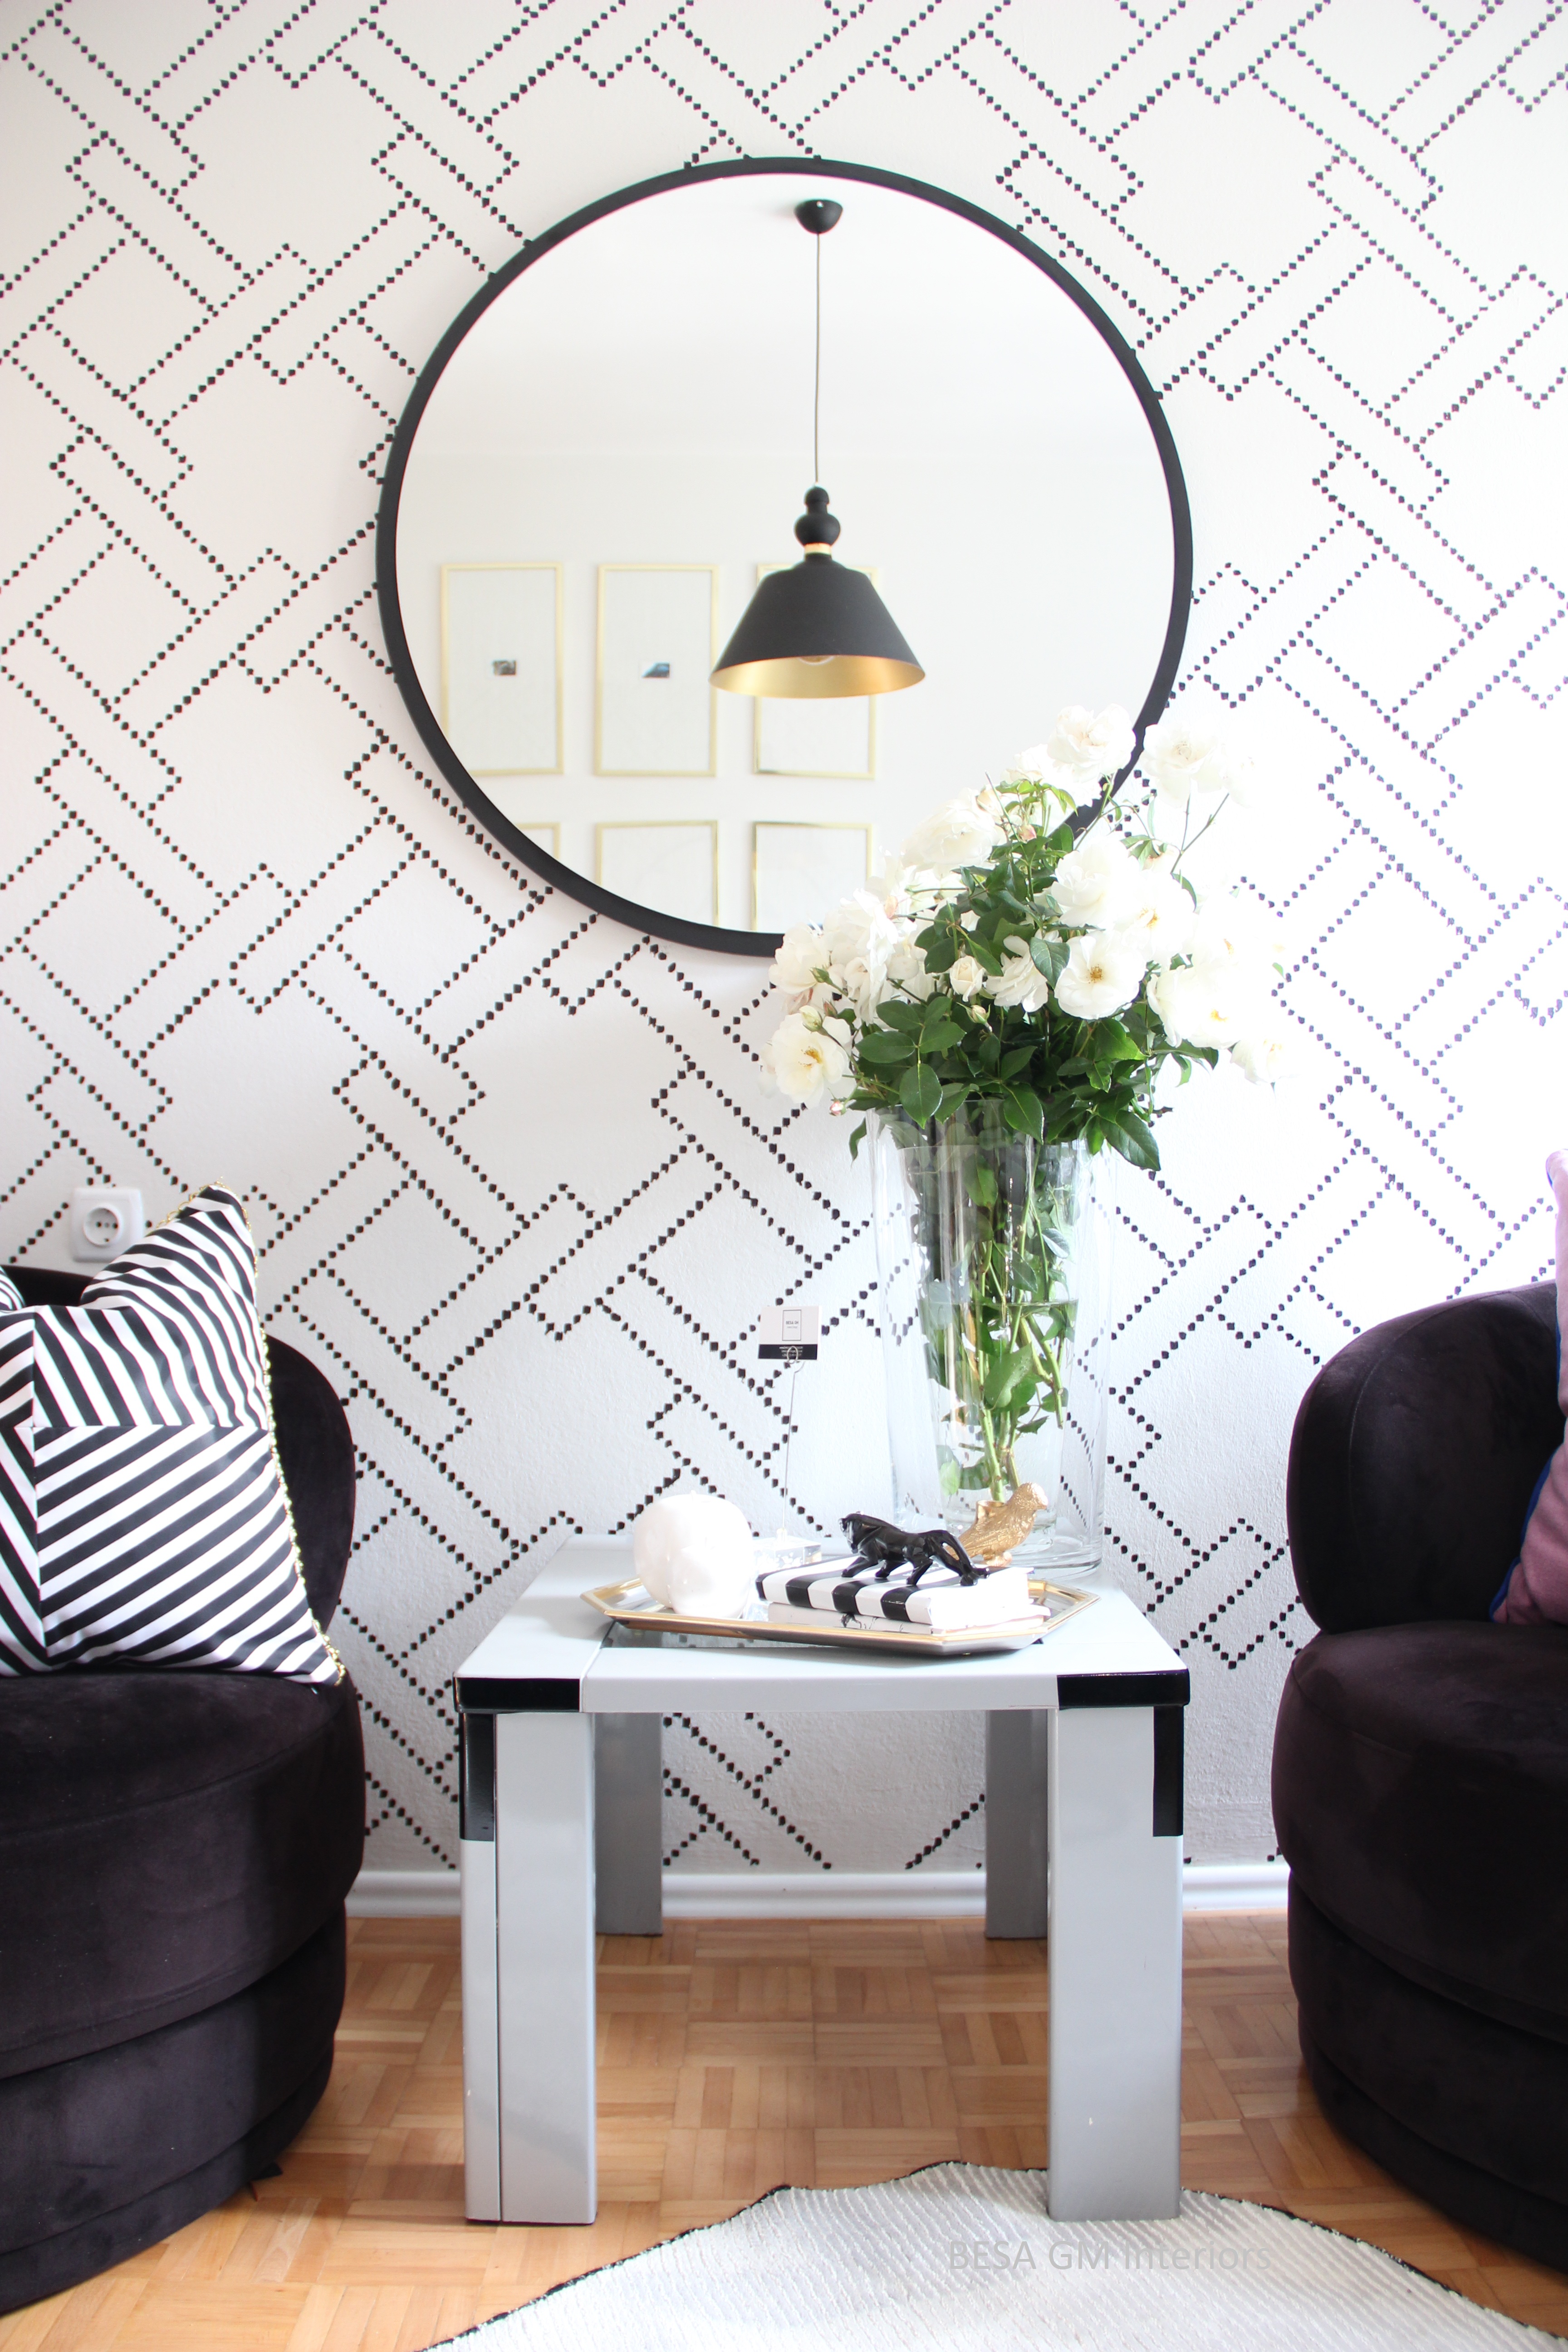
Almost every furnishing item used in this design project was either DIY’ed or previously owned by me or others. The only new purchases which I made to complete this project were the round mirror, the light pendant, and a few yards of fabric for pillows. The pillows were also designed and made by me, and I love them how they turned out.
To cut down the costs, and to make this event even more challenging for me, I painted the walls and the window by myself, and the only thing I had to pay for was the costs for refinishing the floors. Moreover, I DIY’ed the stencil also, hence the costs went further down!
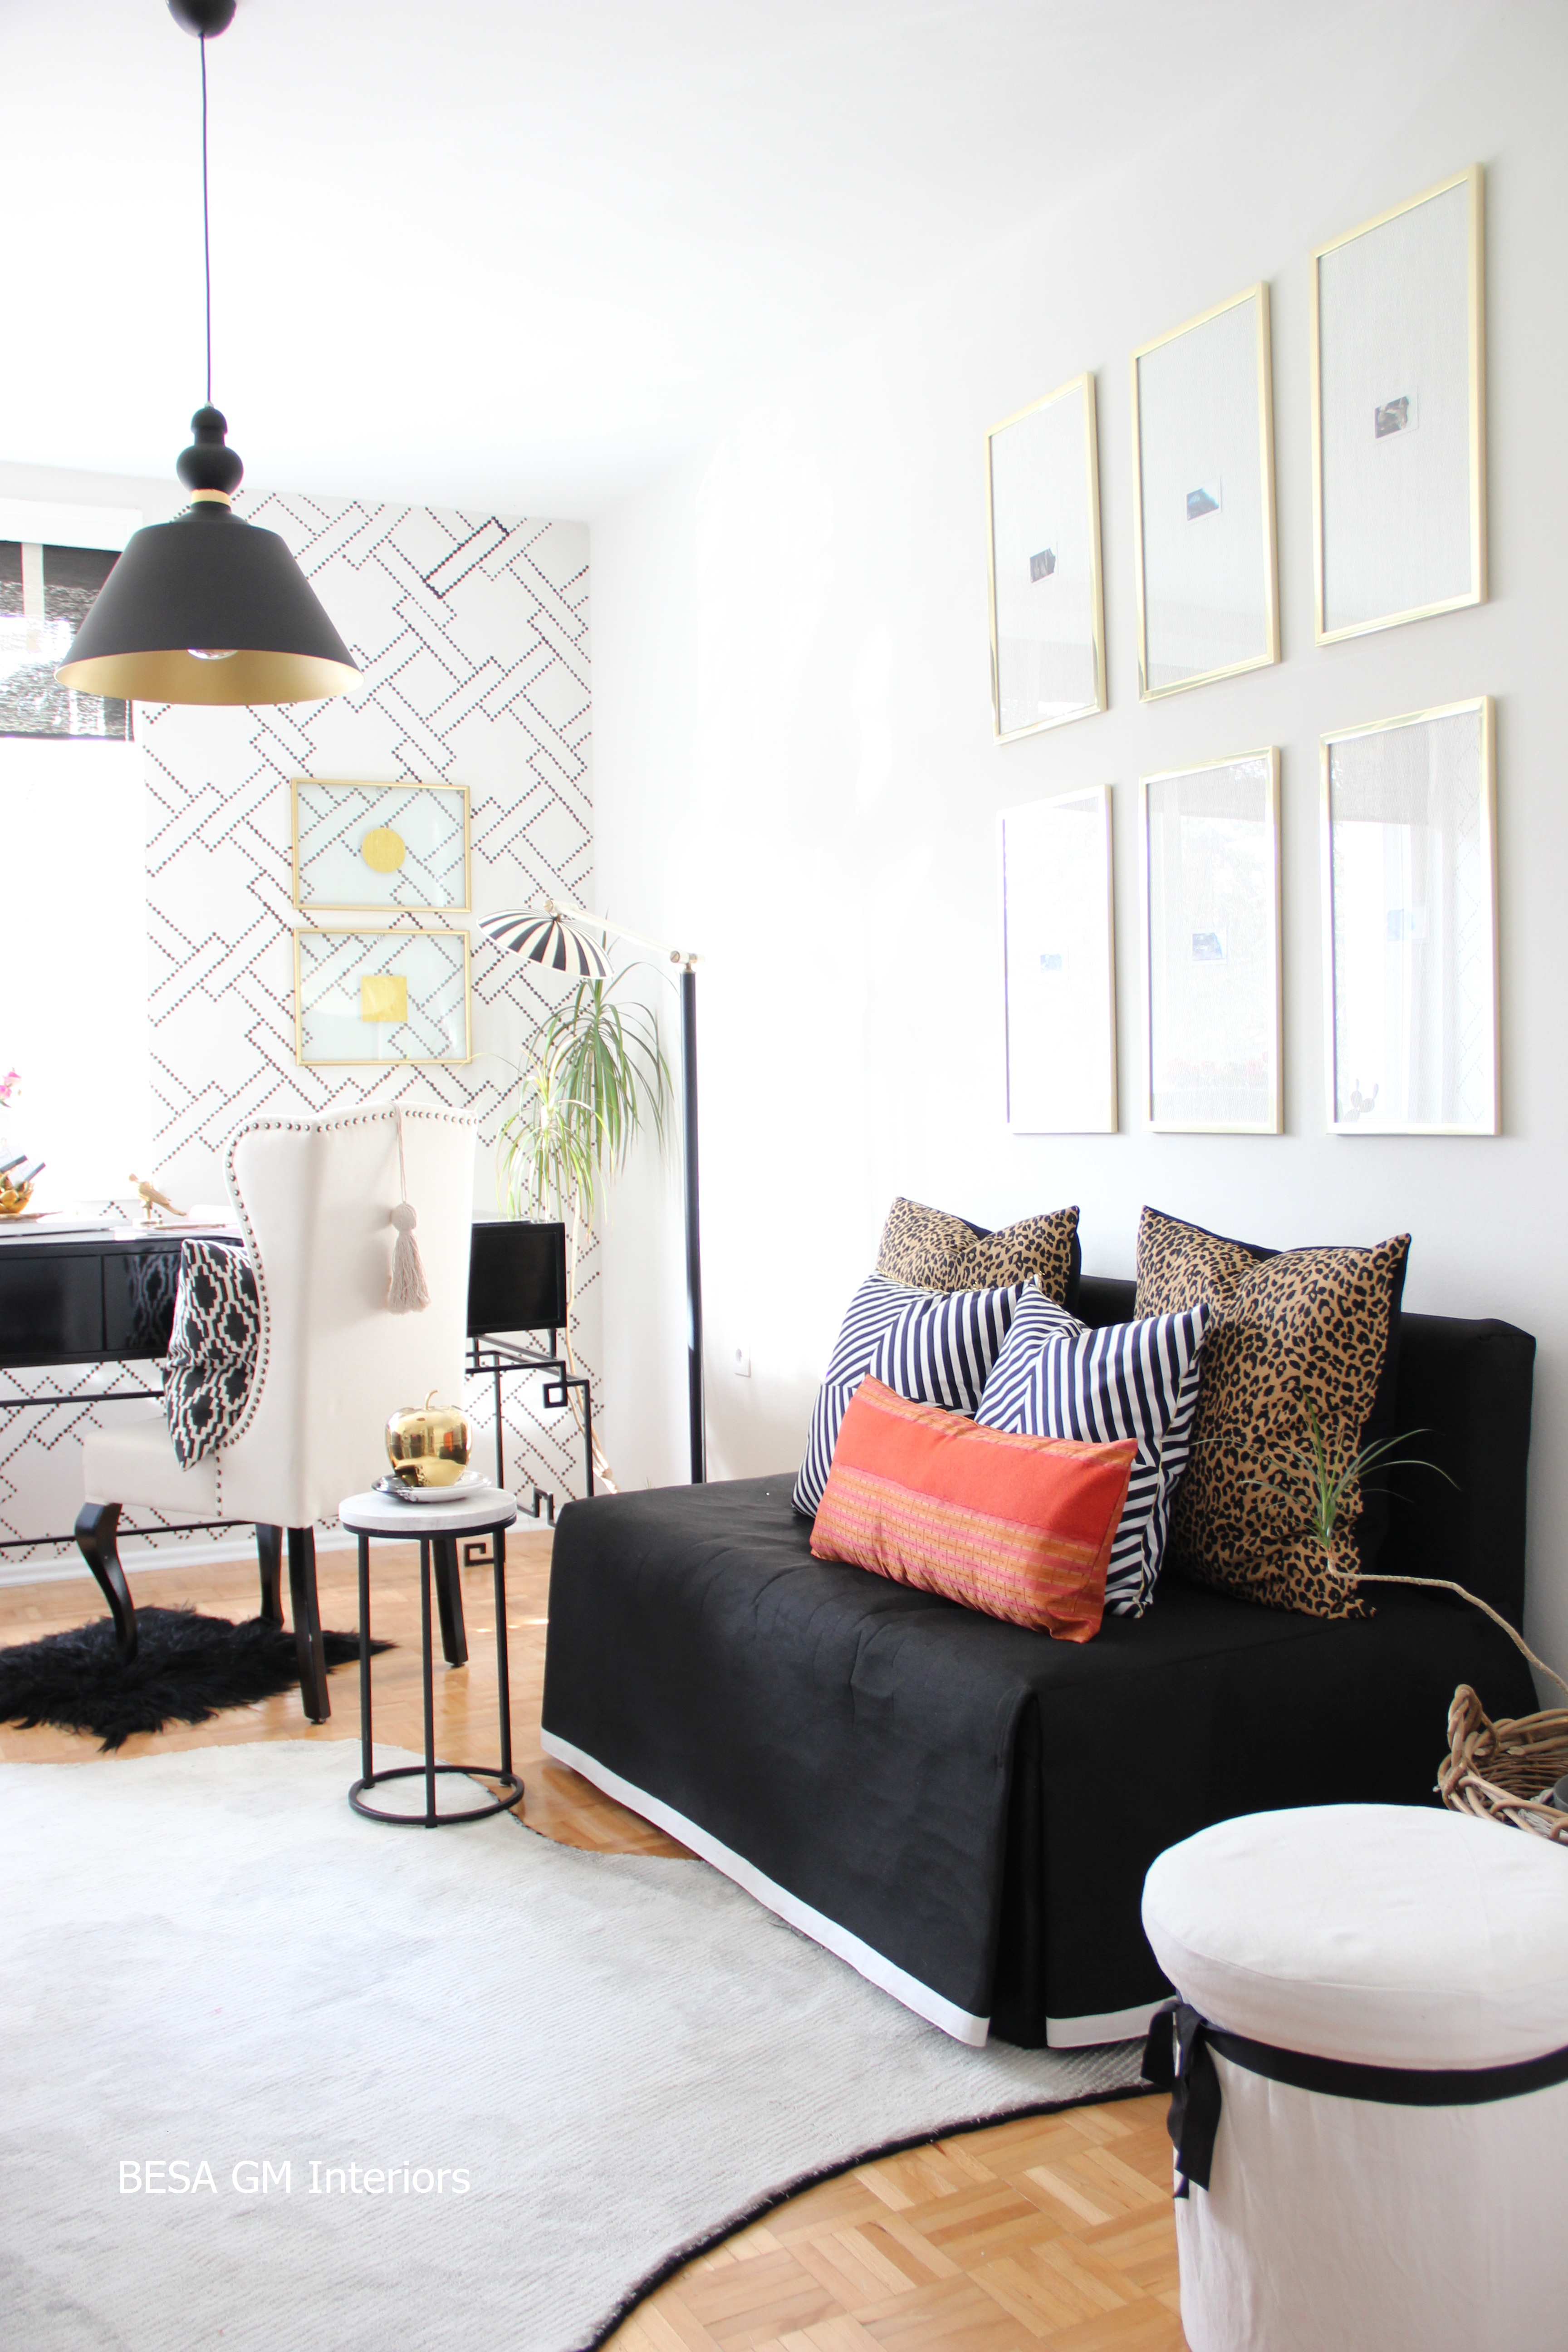
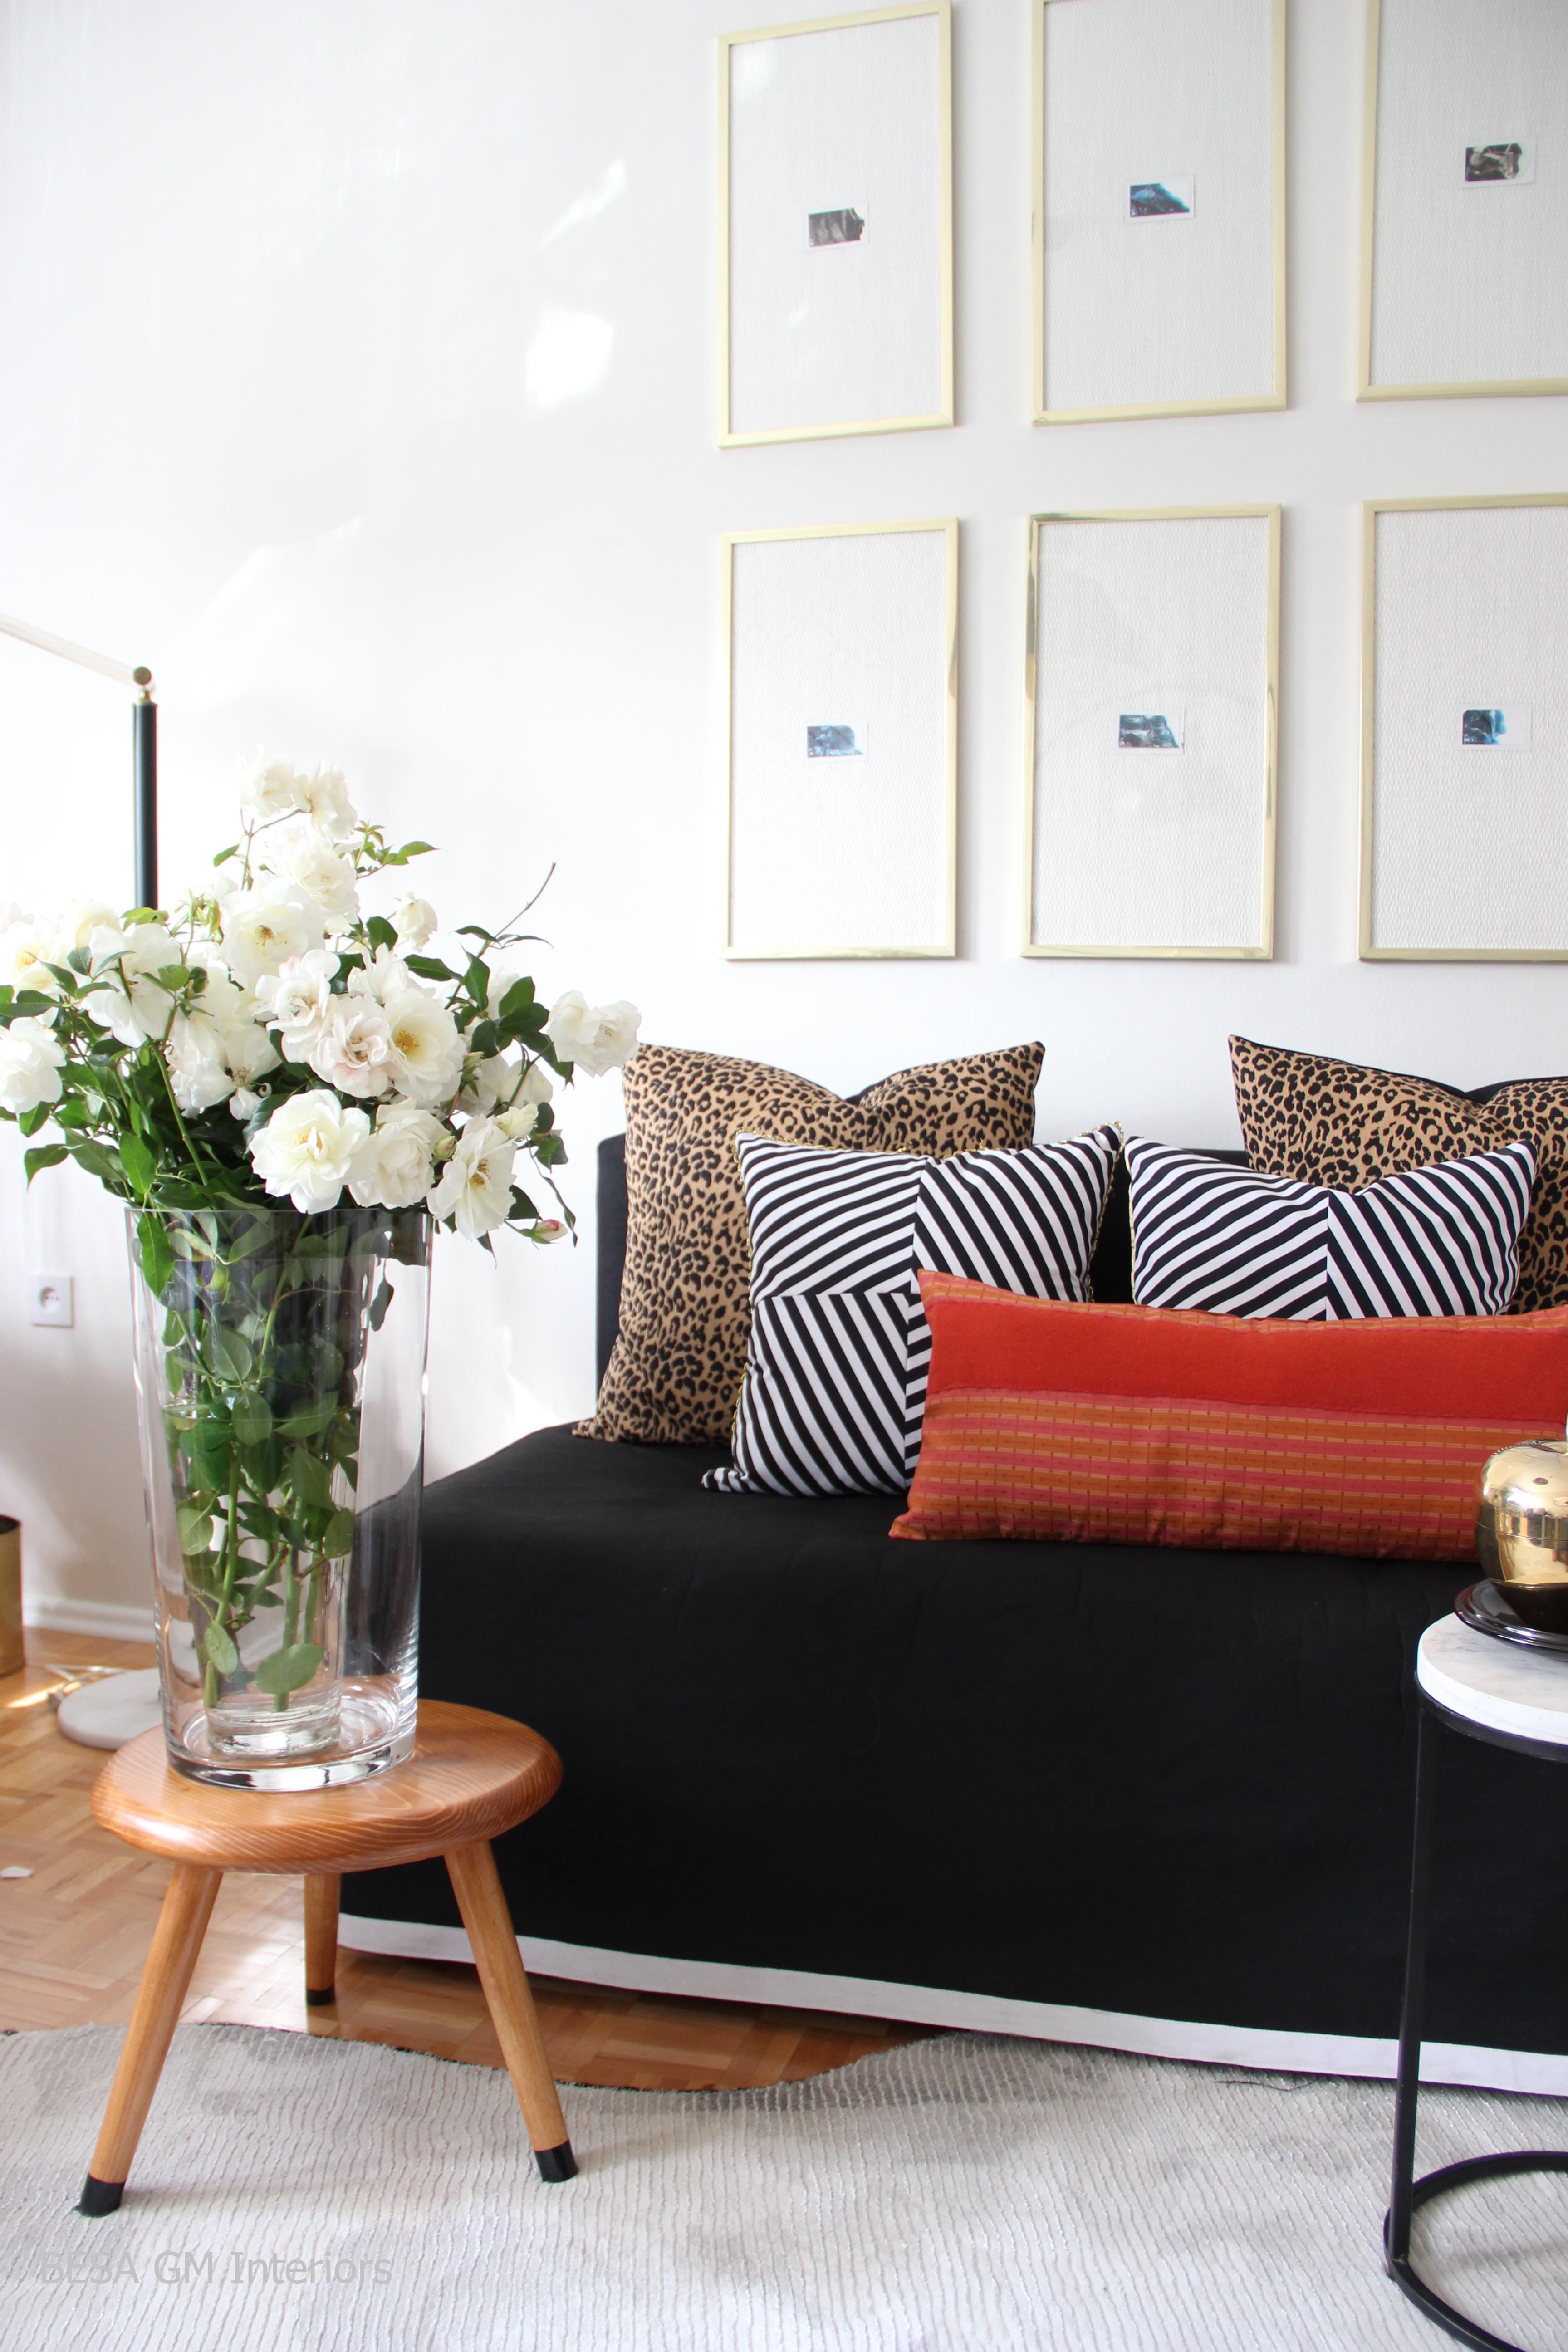
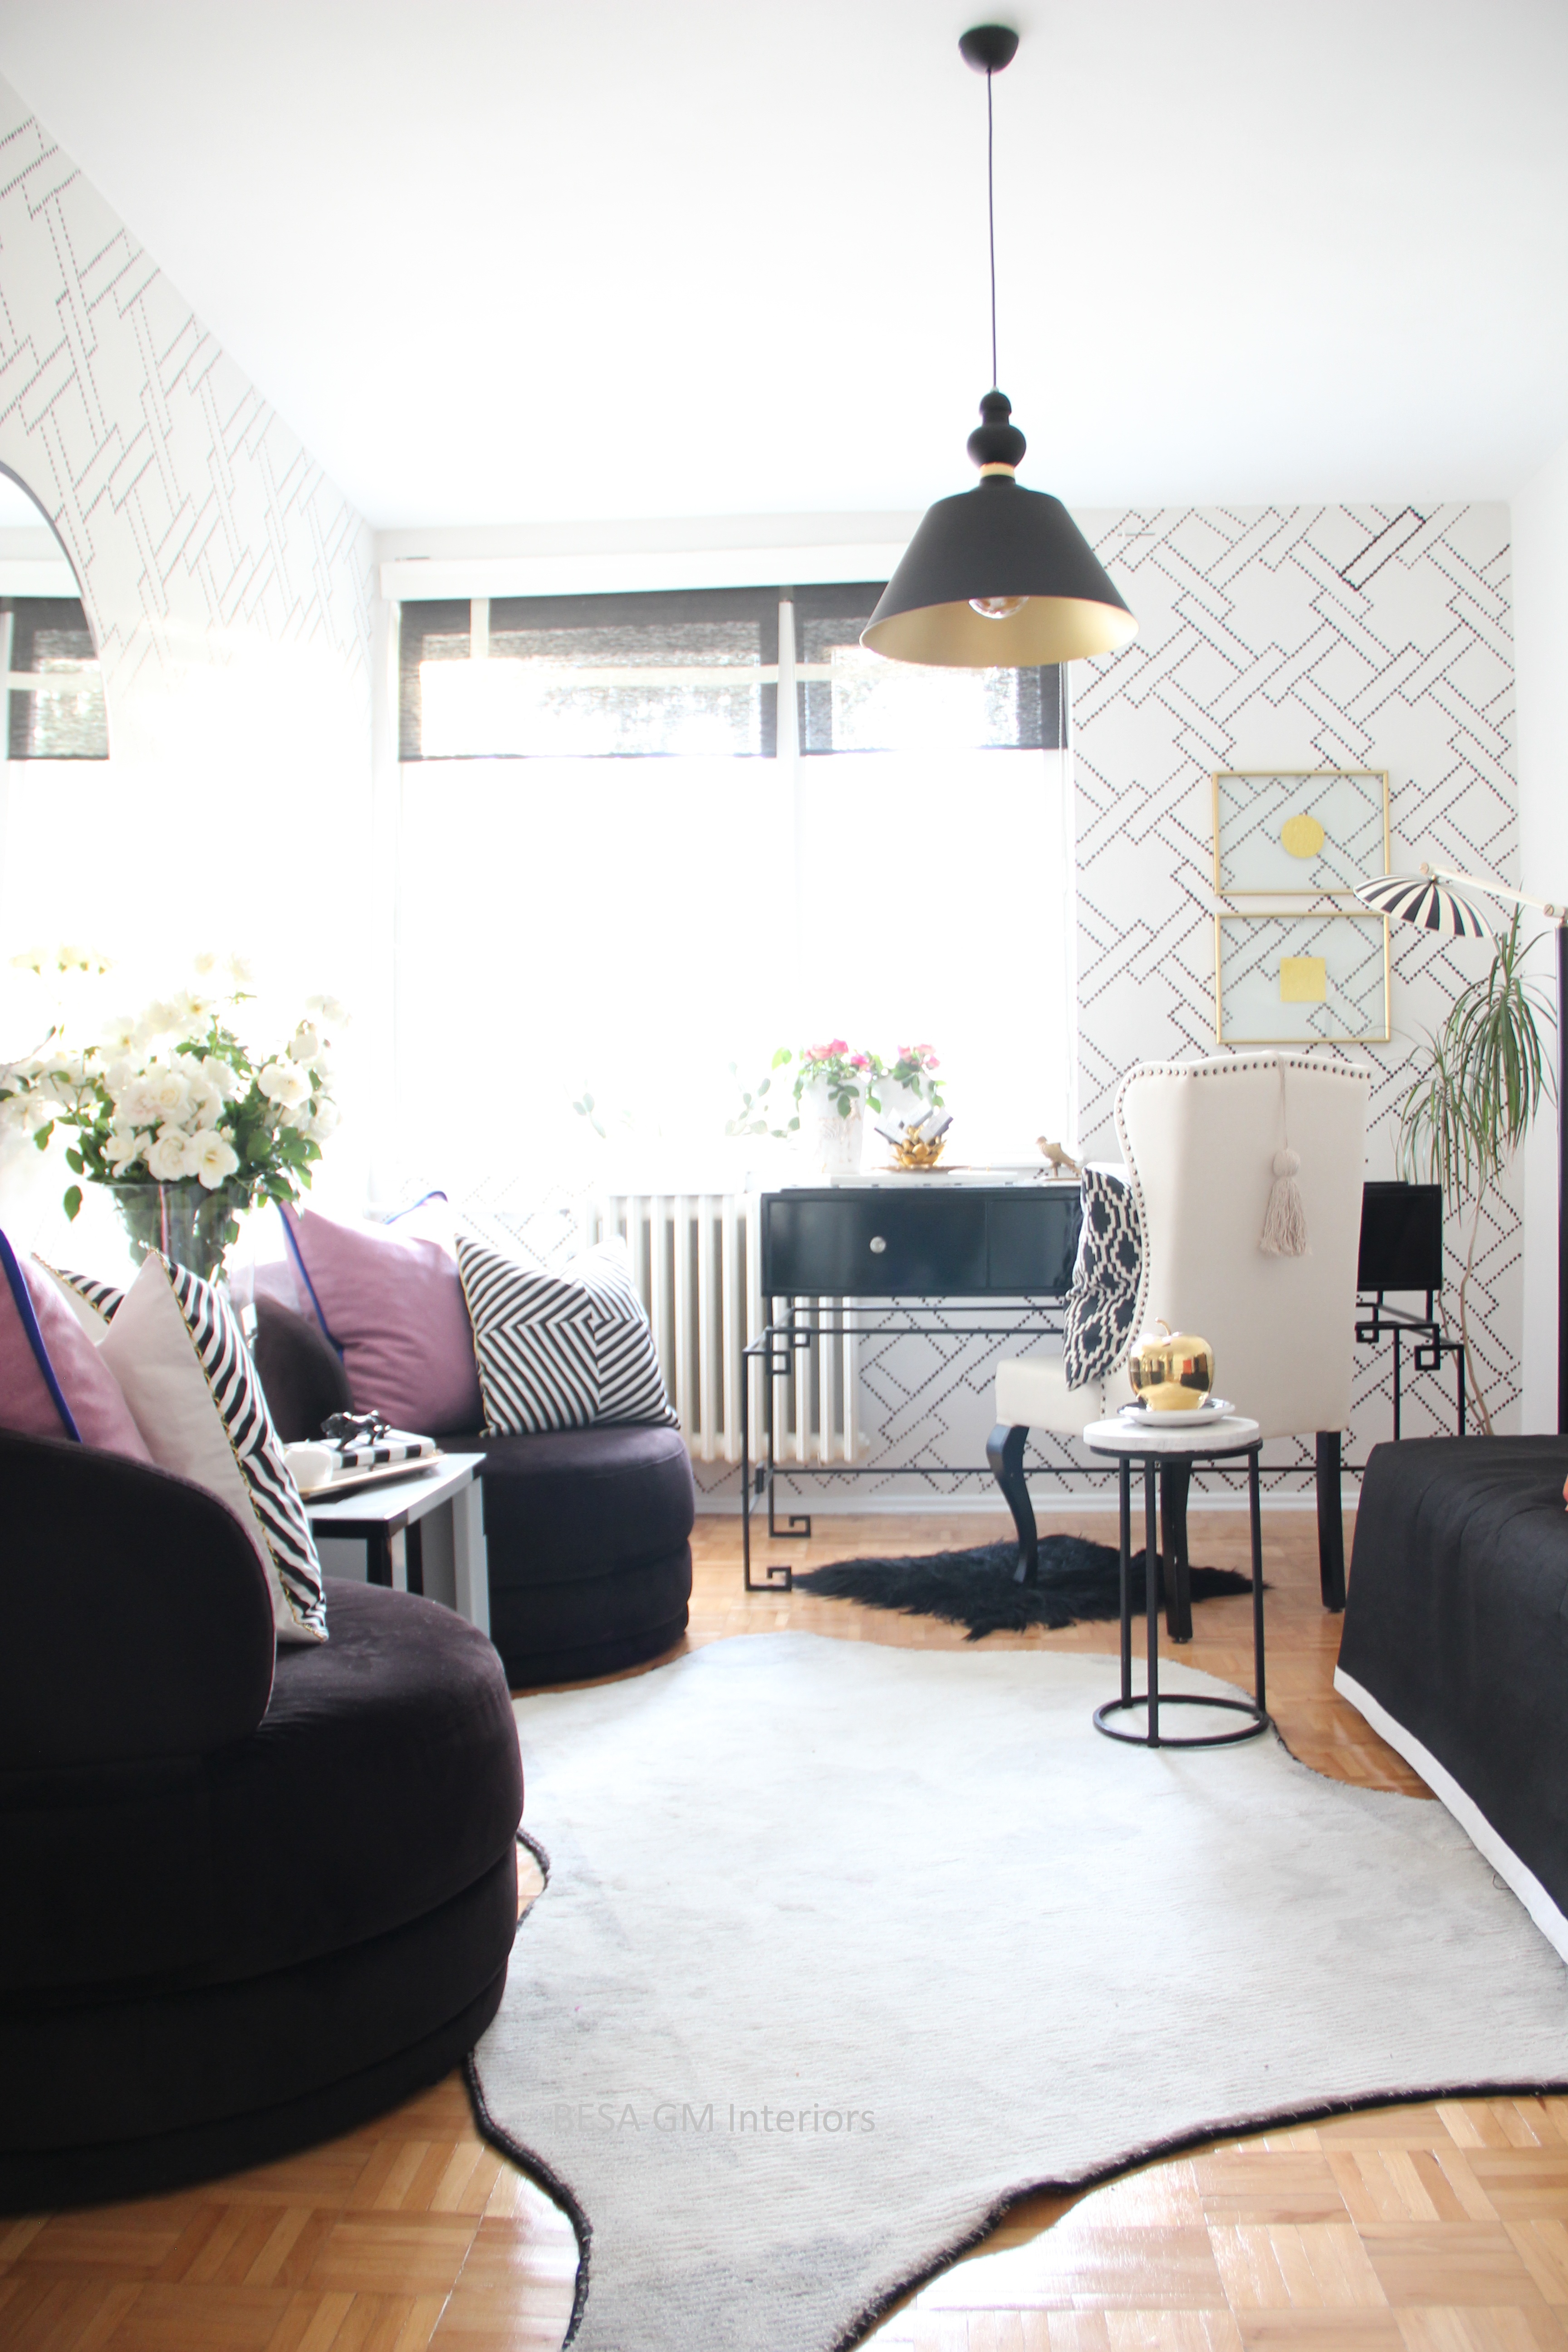
The wall art above the settee is the artwork from a local artist and these frames used to hung above my desk in my previous office space. I think that they look even better now above the small settee which is another slipcover DIY for this project. The settee used to be part of a small sectional and it is a hand me down piece which I fancied up with a black slipcover.
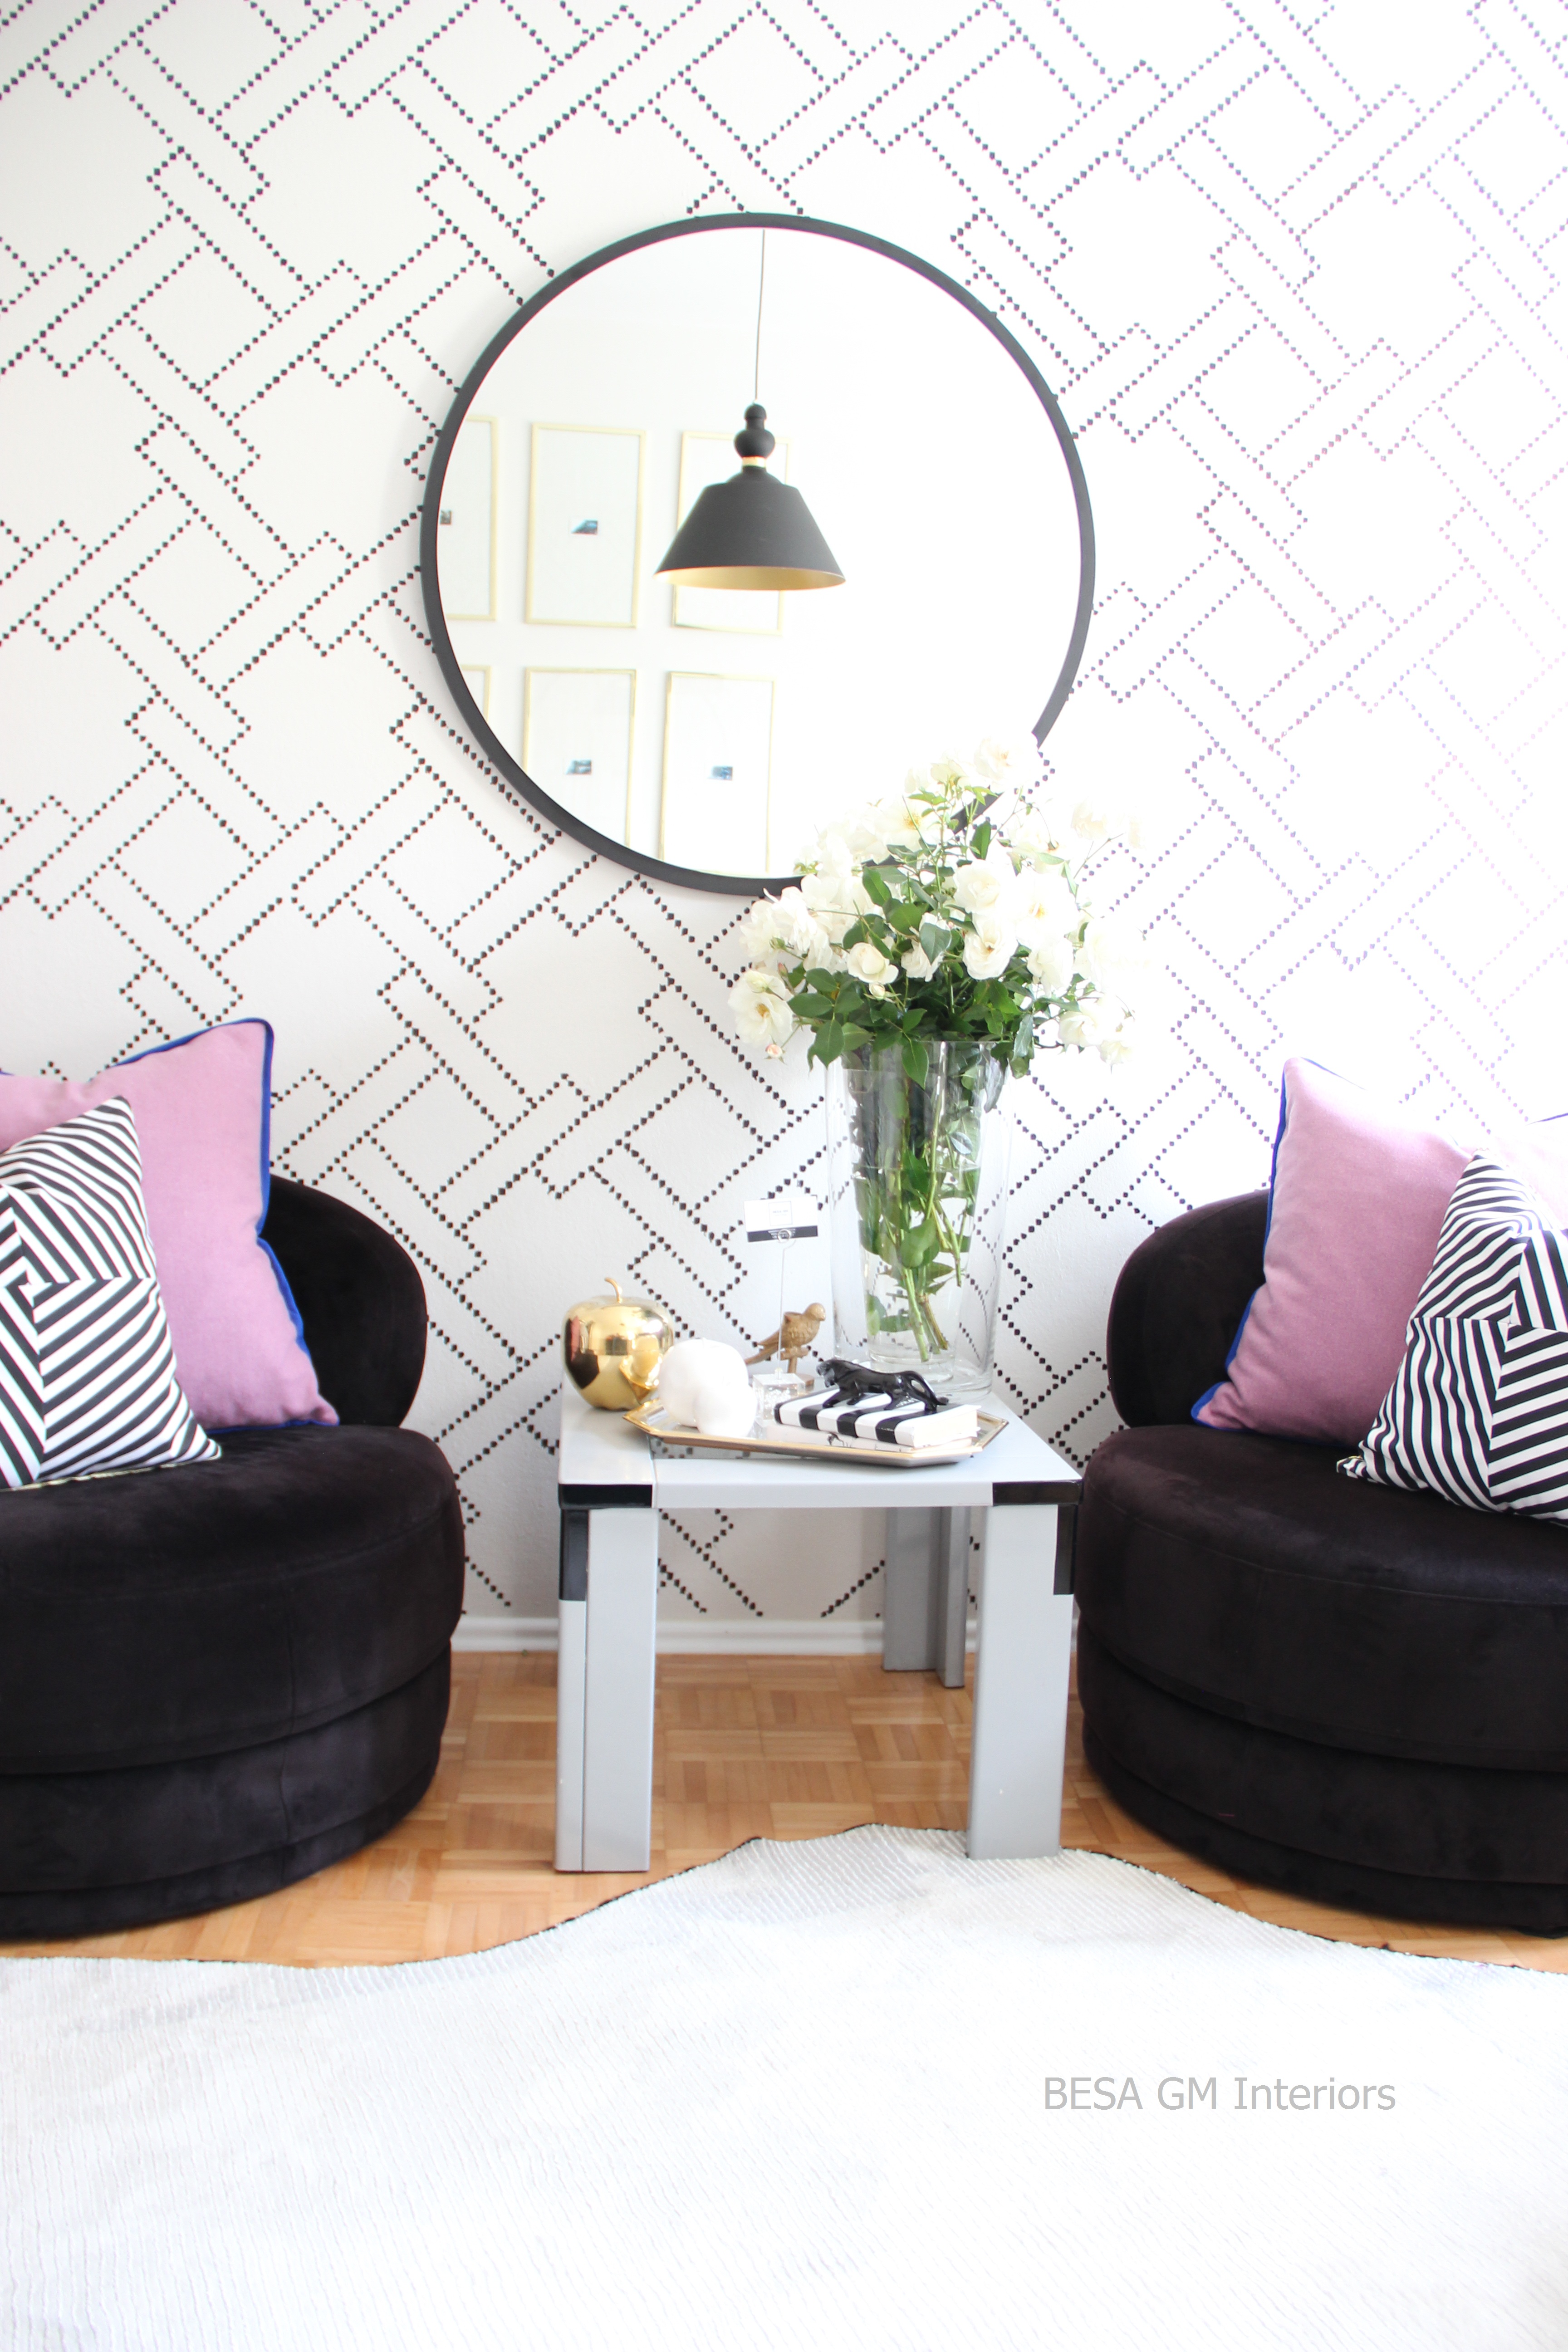
I used to have these two round black velvet chairs in my previous office space, and frankly I think that against this pretty stencilled wall they look gorgeous and way much better than in the previous space.

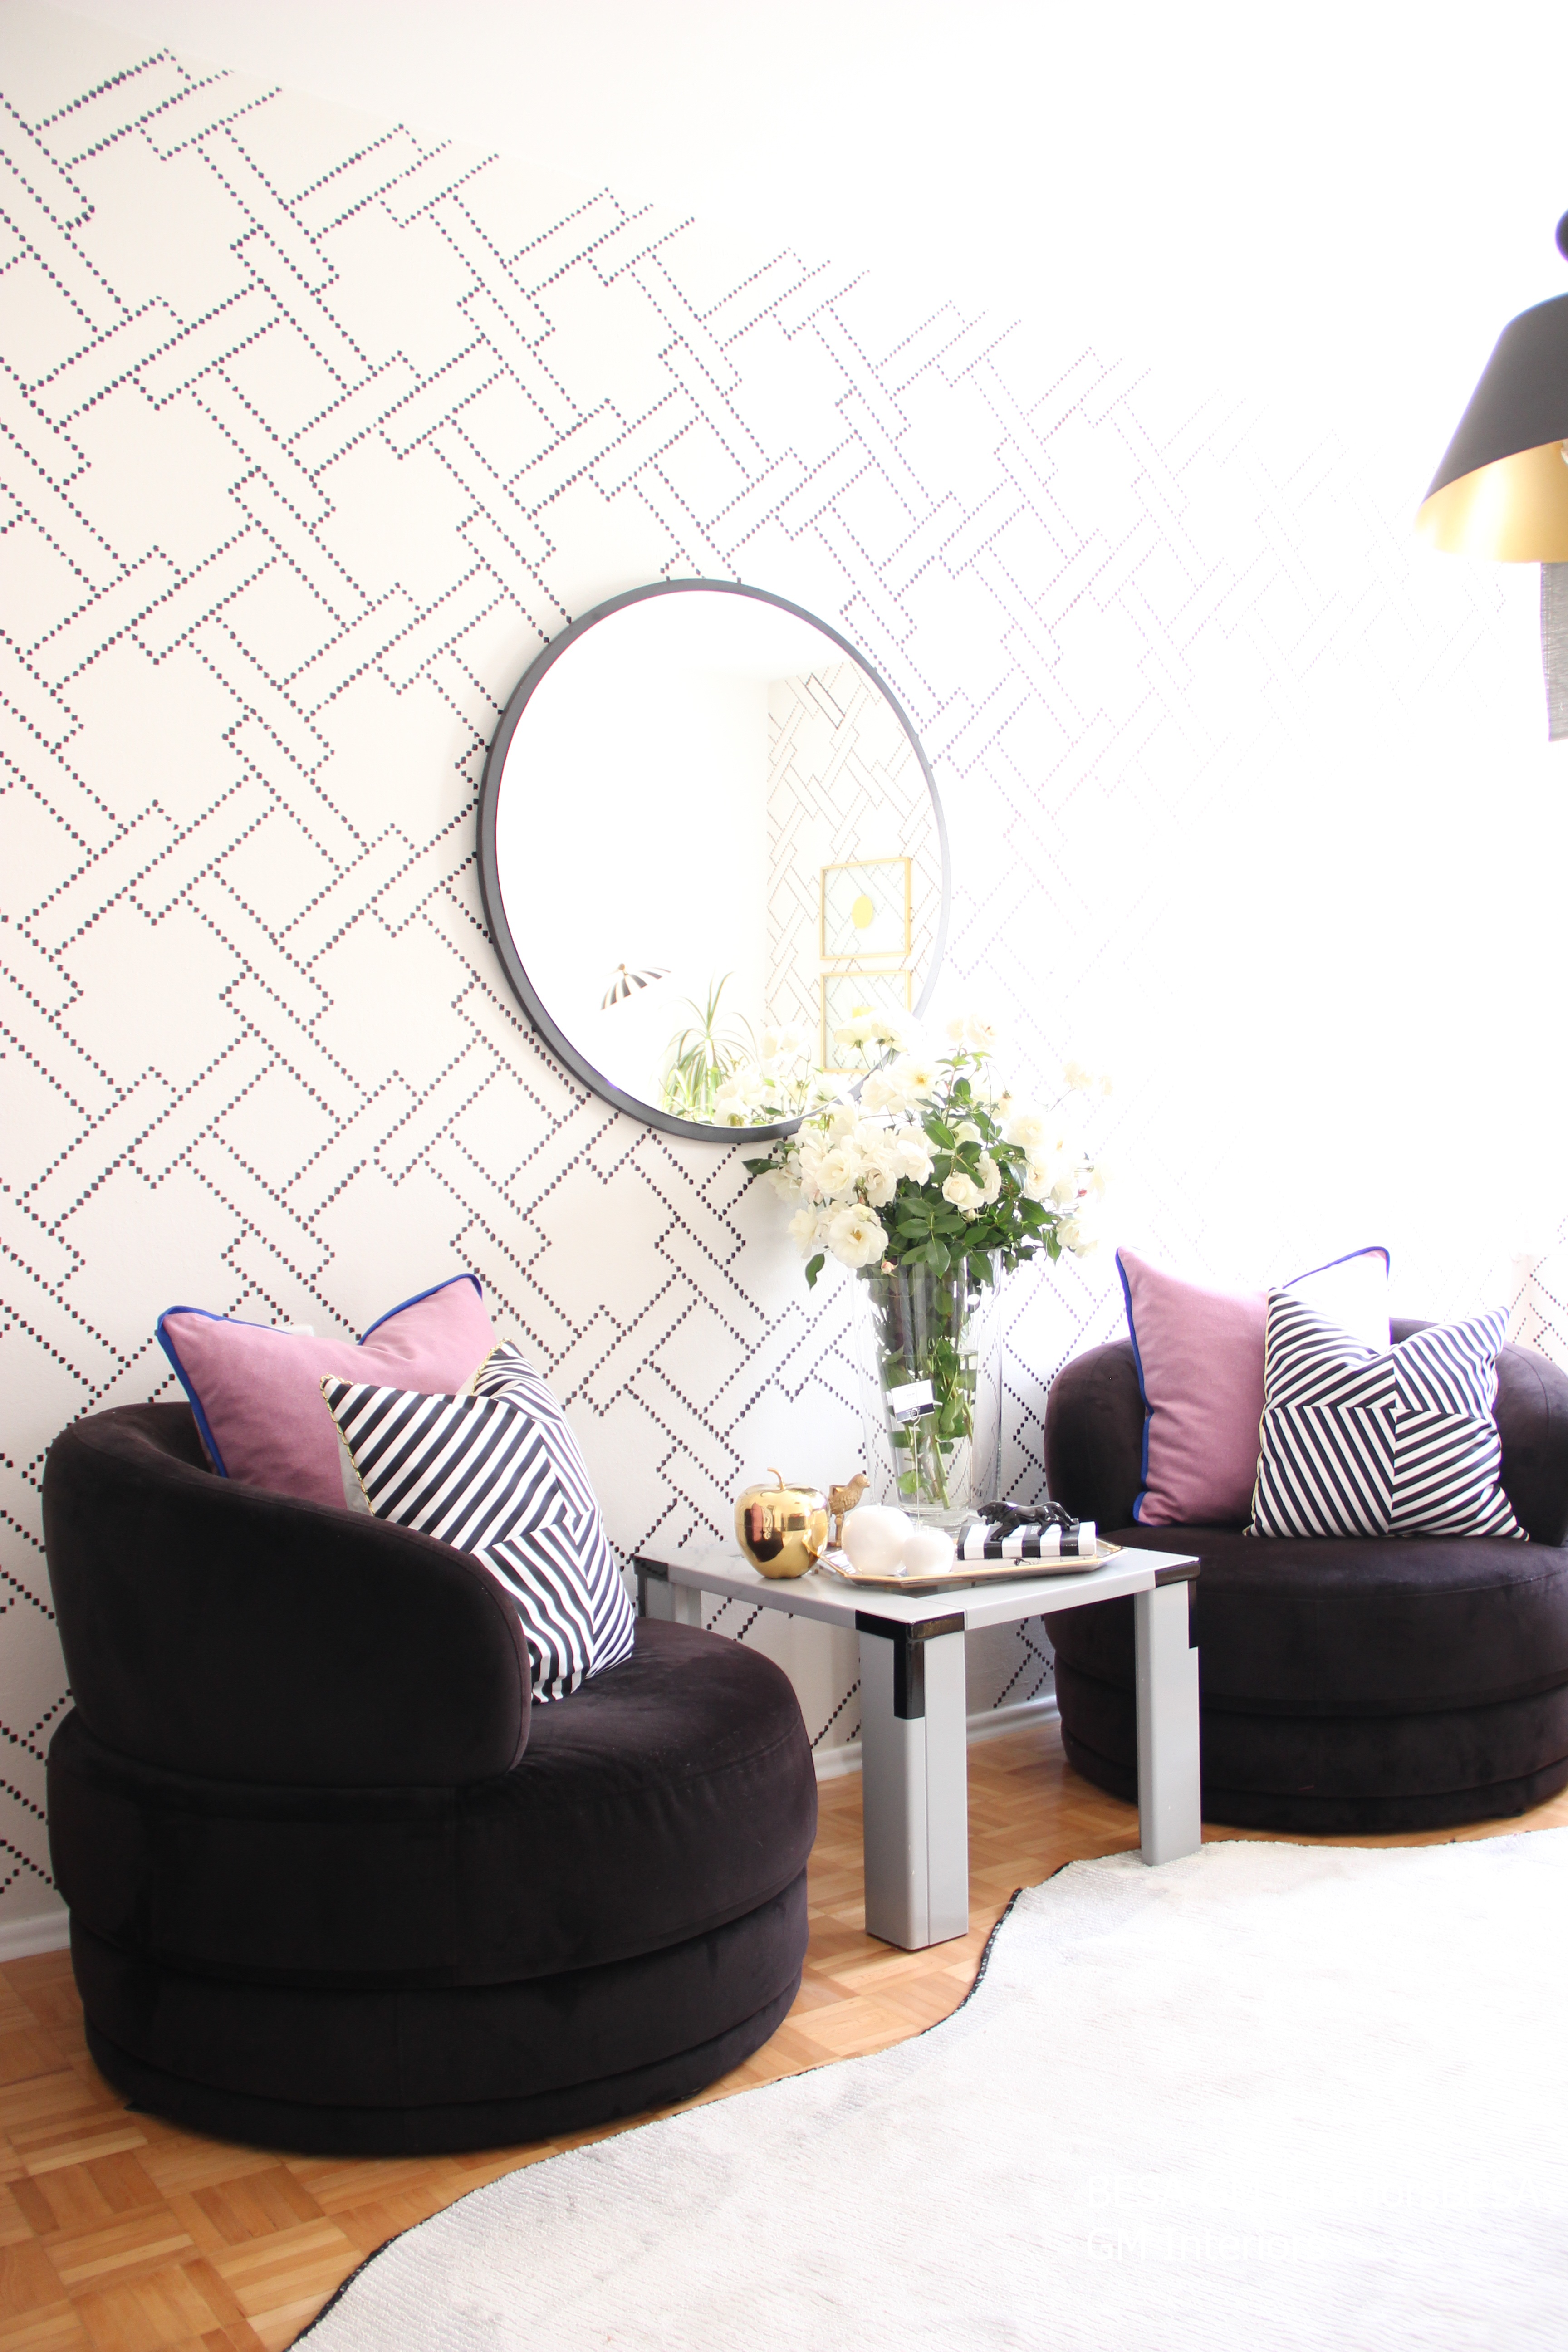
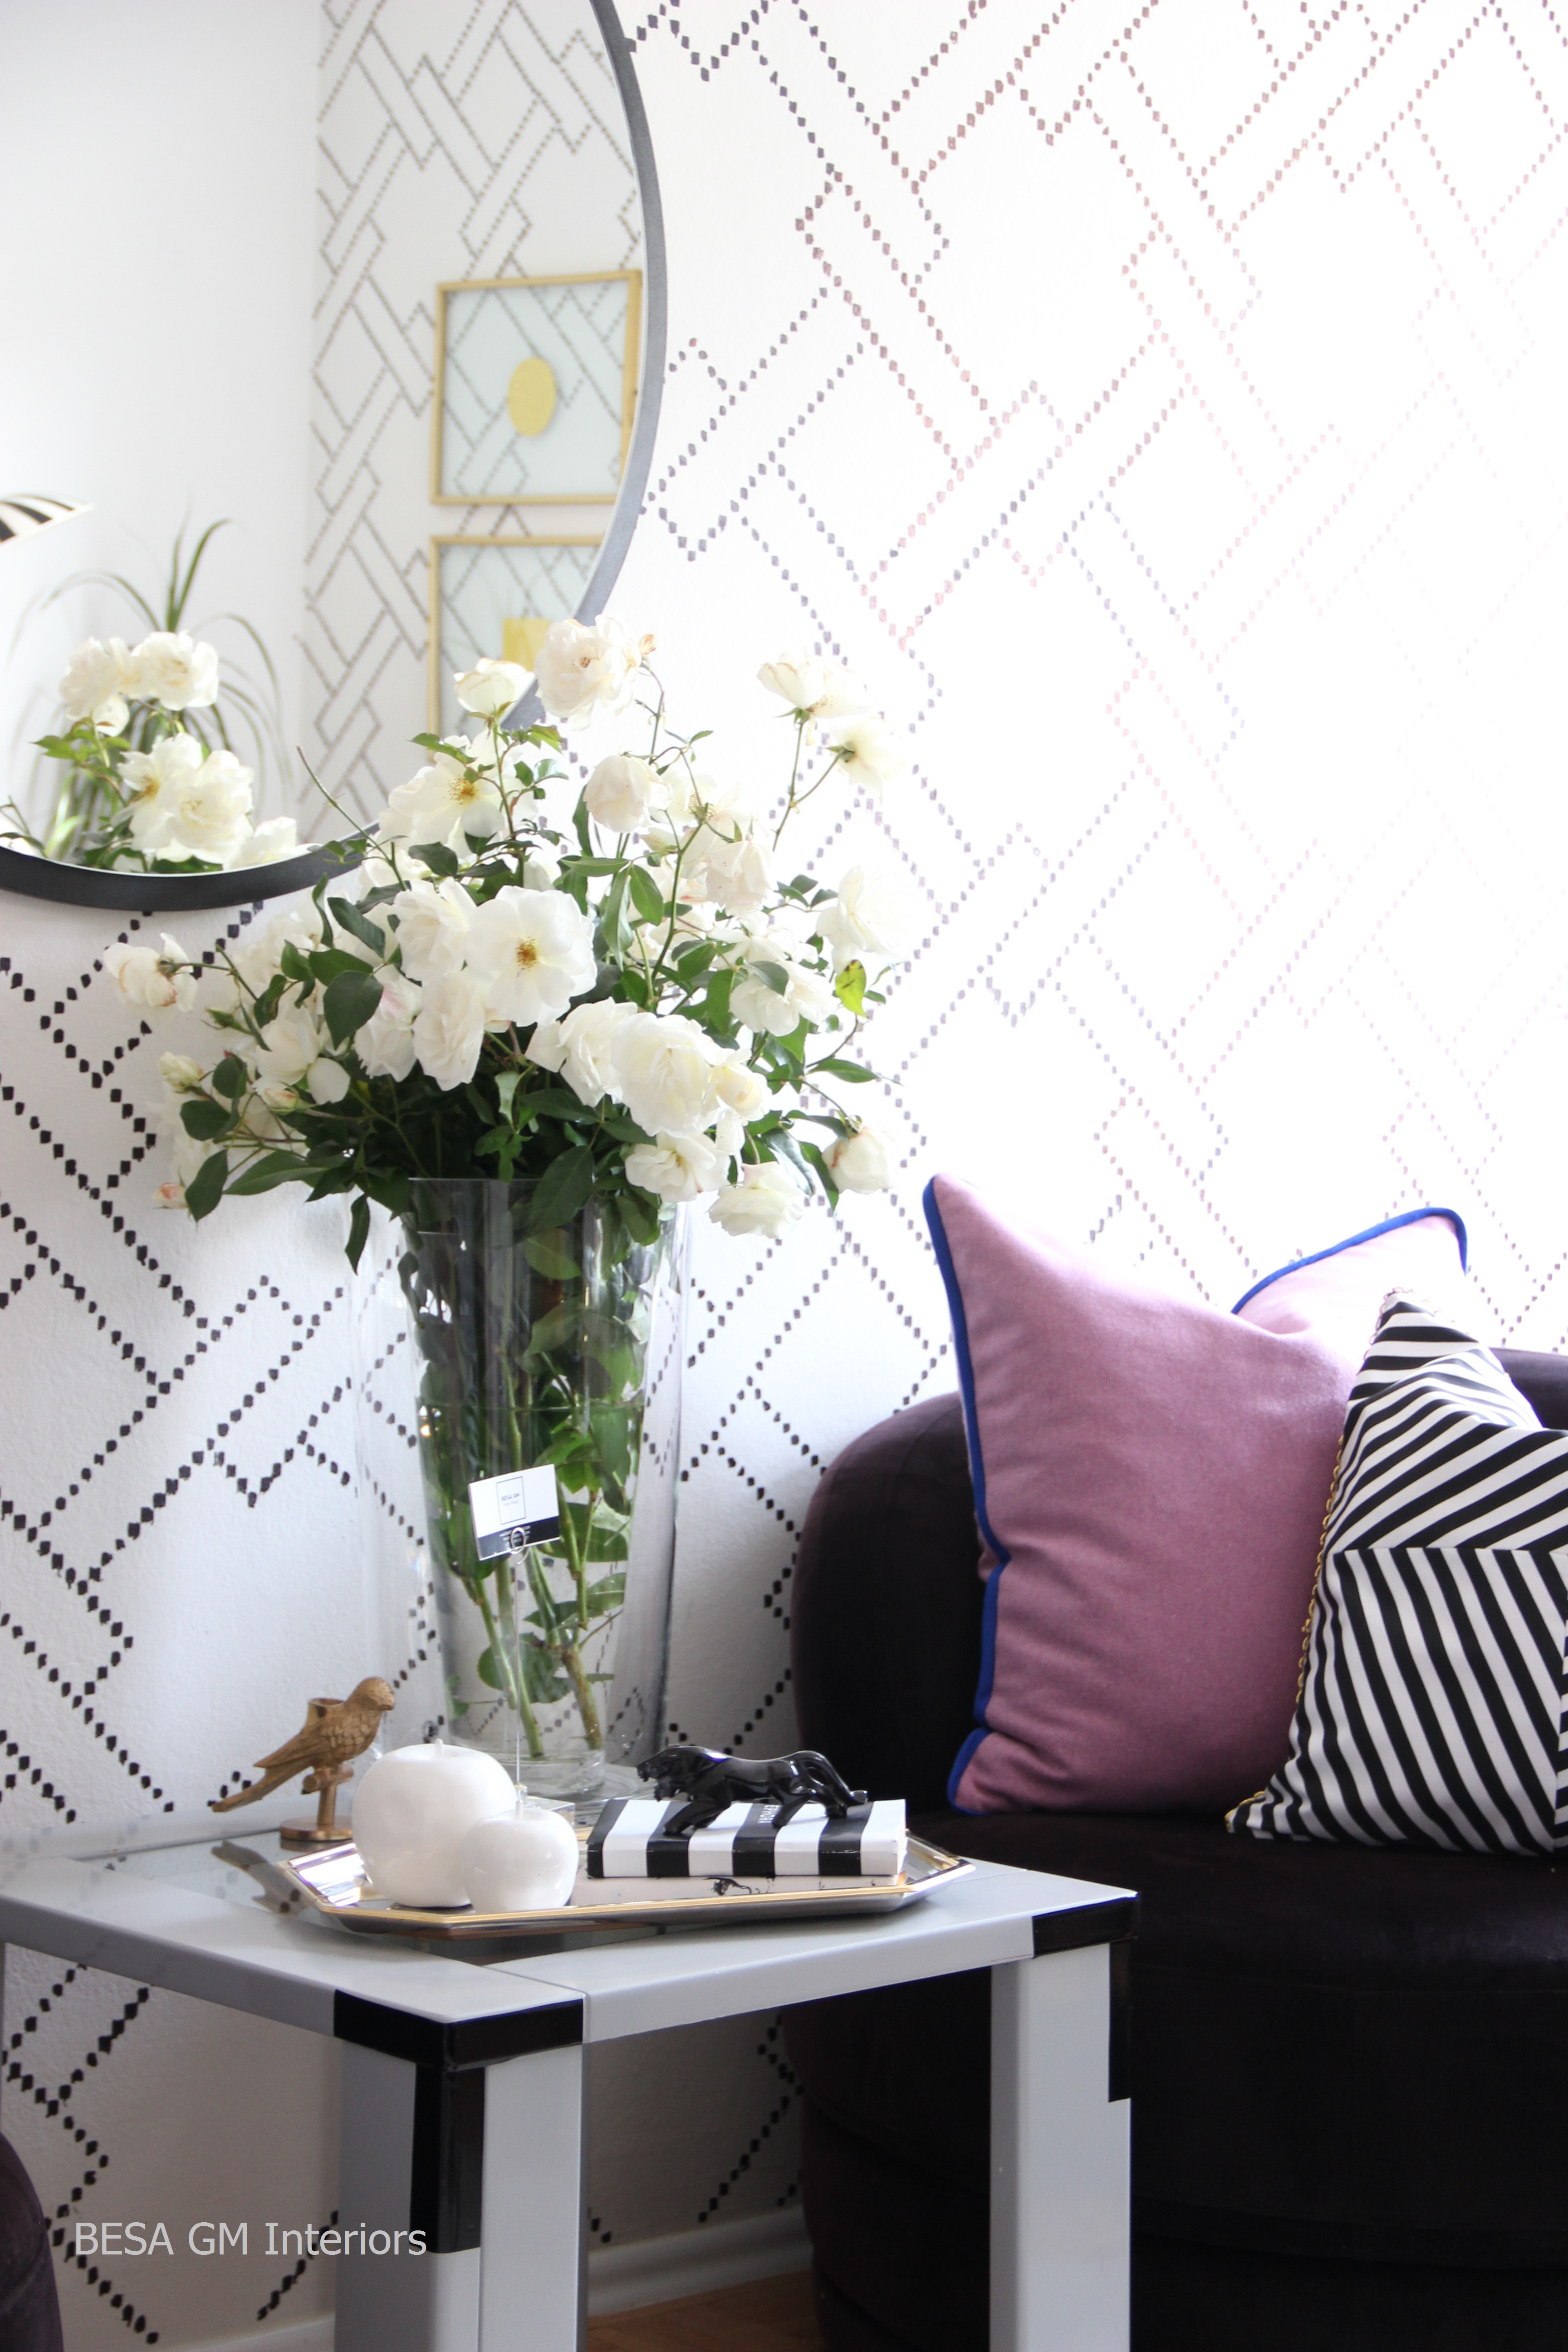
The DIY blush wool fabric pillows with a bias loose piping in navy look fabulous on these chairs as they added colour, texture and more comfort to the chairs.
I made these black and white geometric design pillows for another project but I will be using them in this space now. They added such a modern vibe to the room.
The leopard print pillows, as well as the orange one were made for this project and I think that they make this settee look much more comfortable and modern.
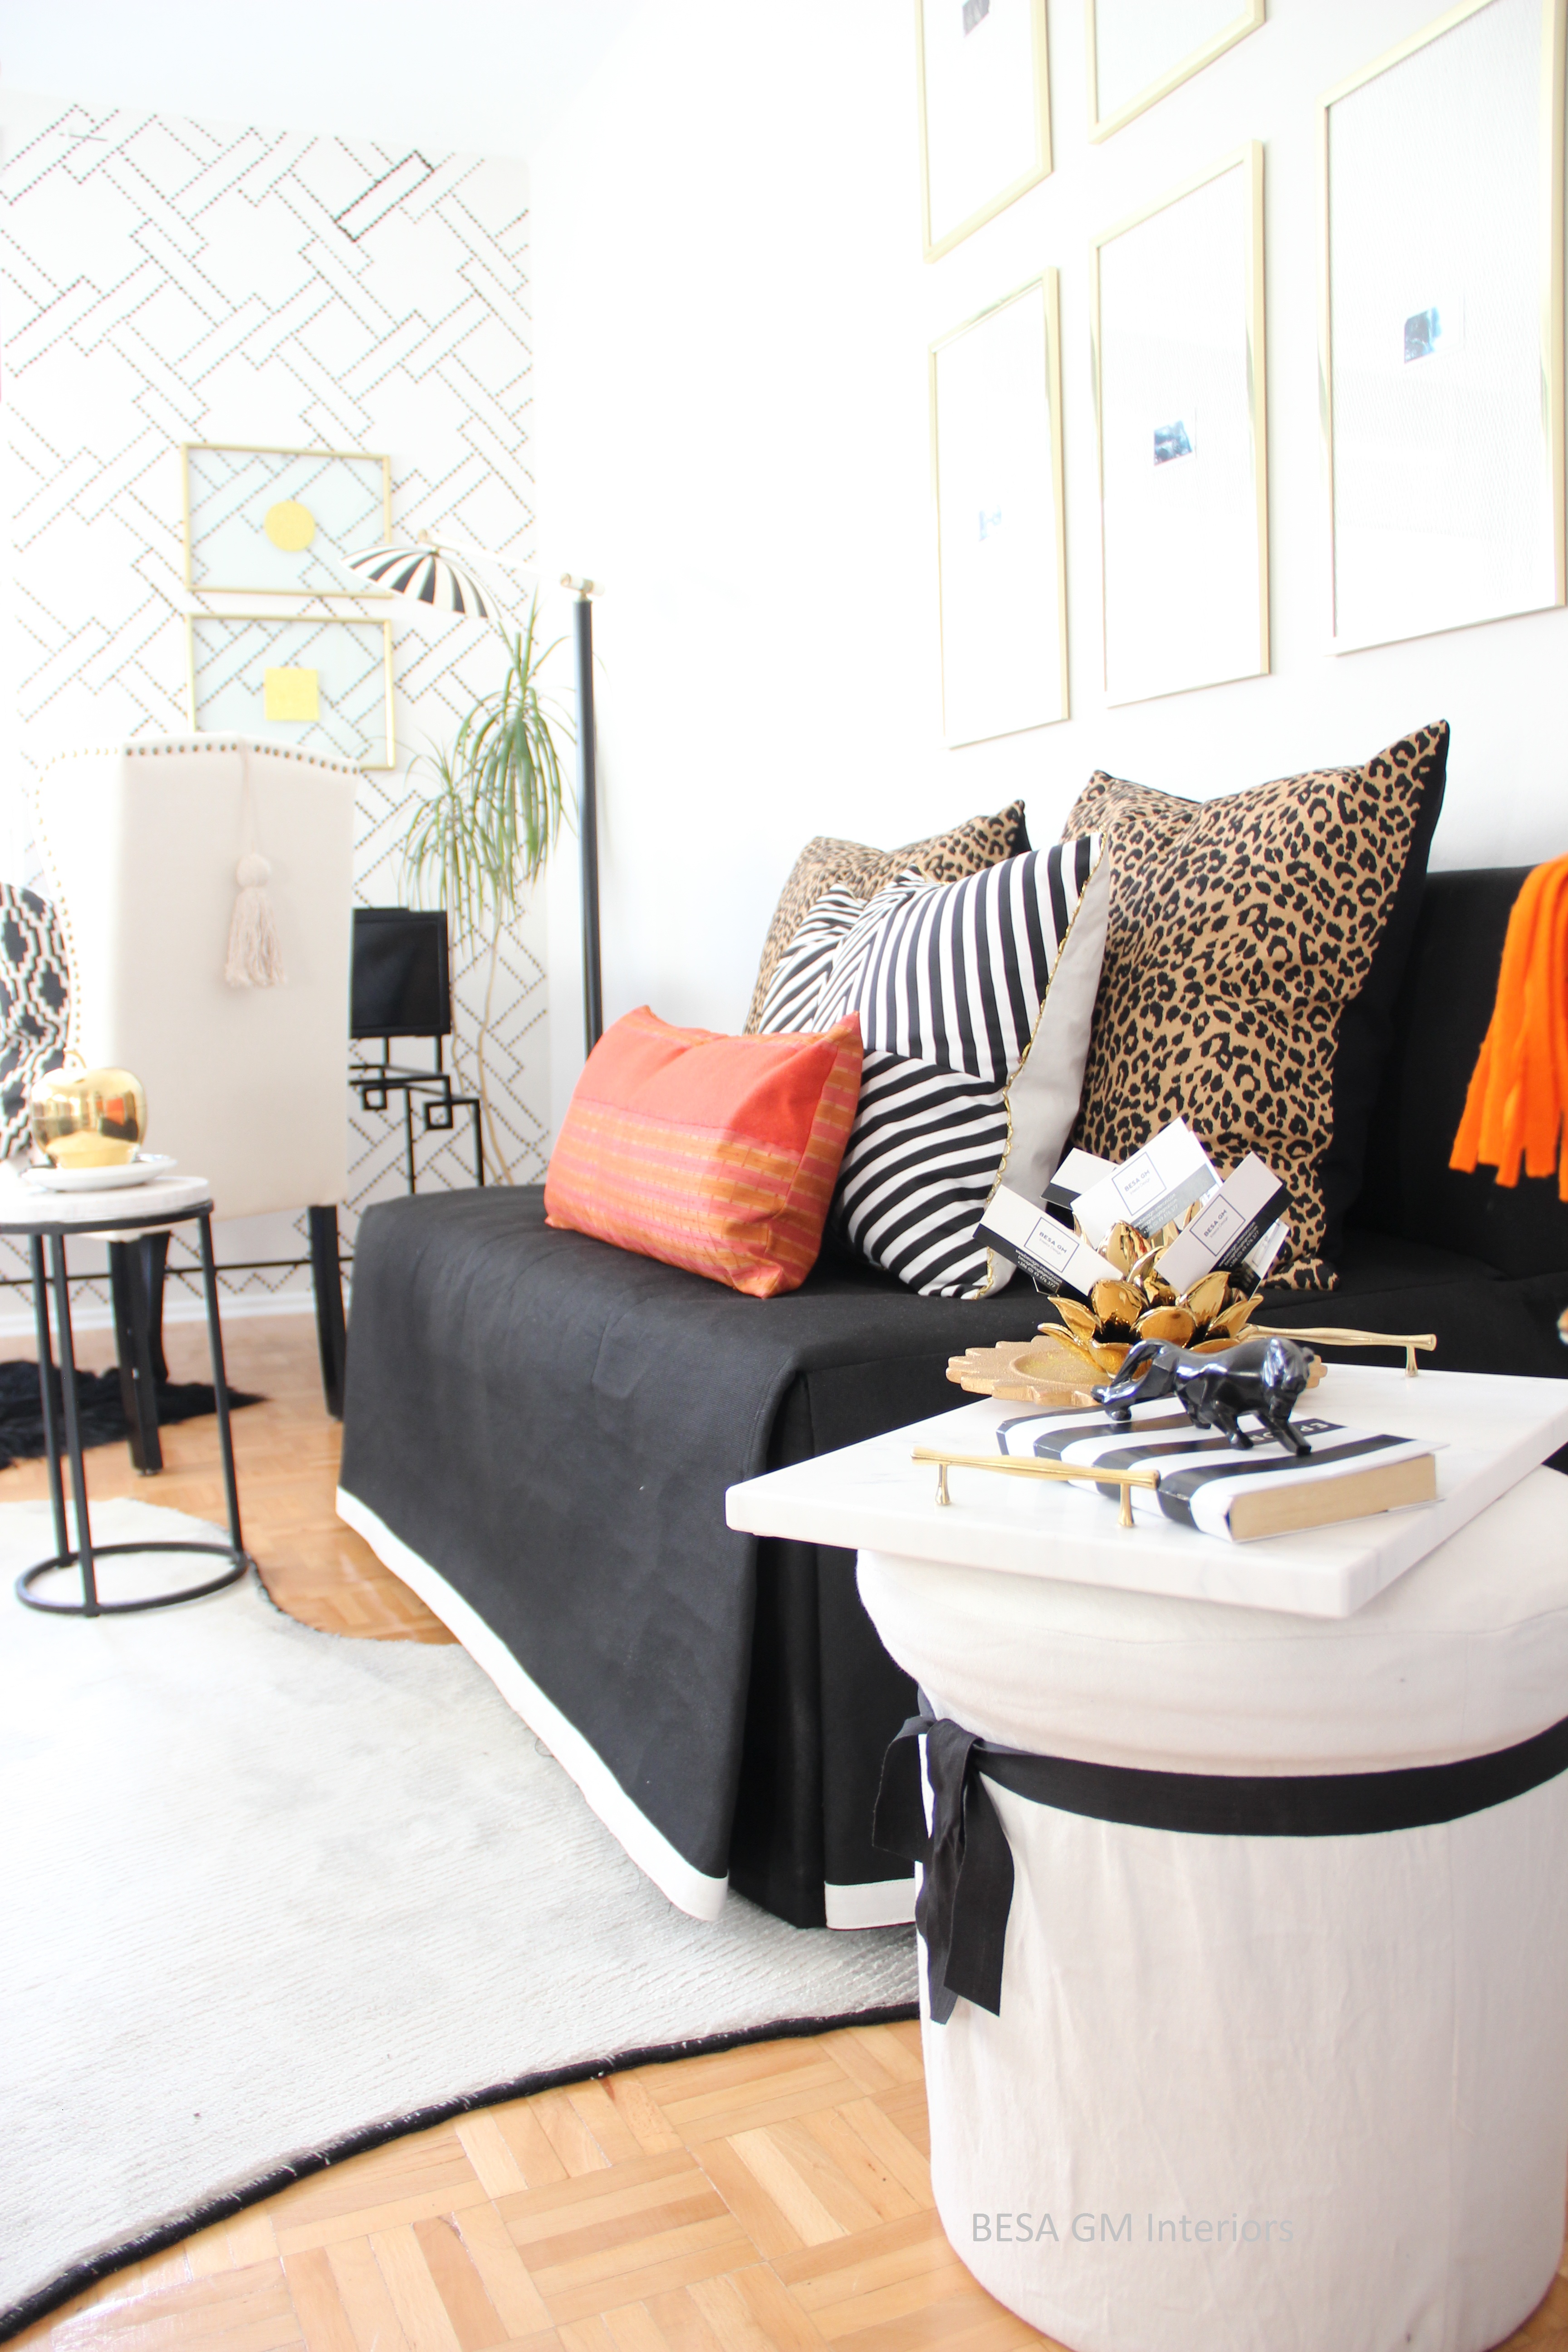
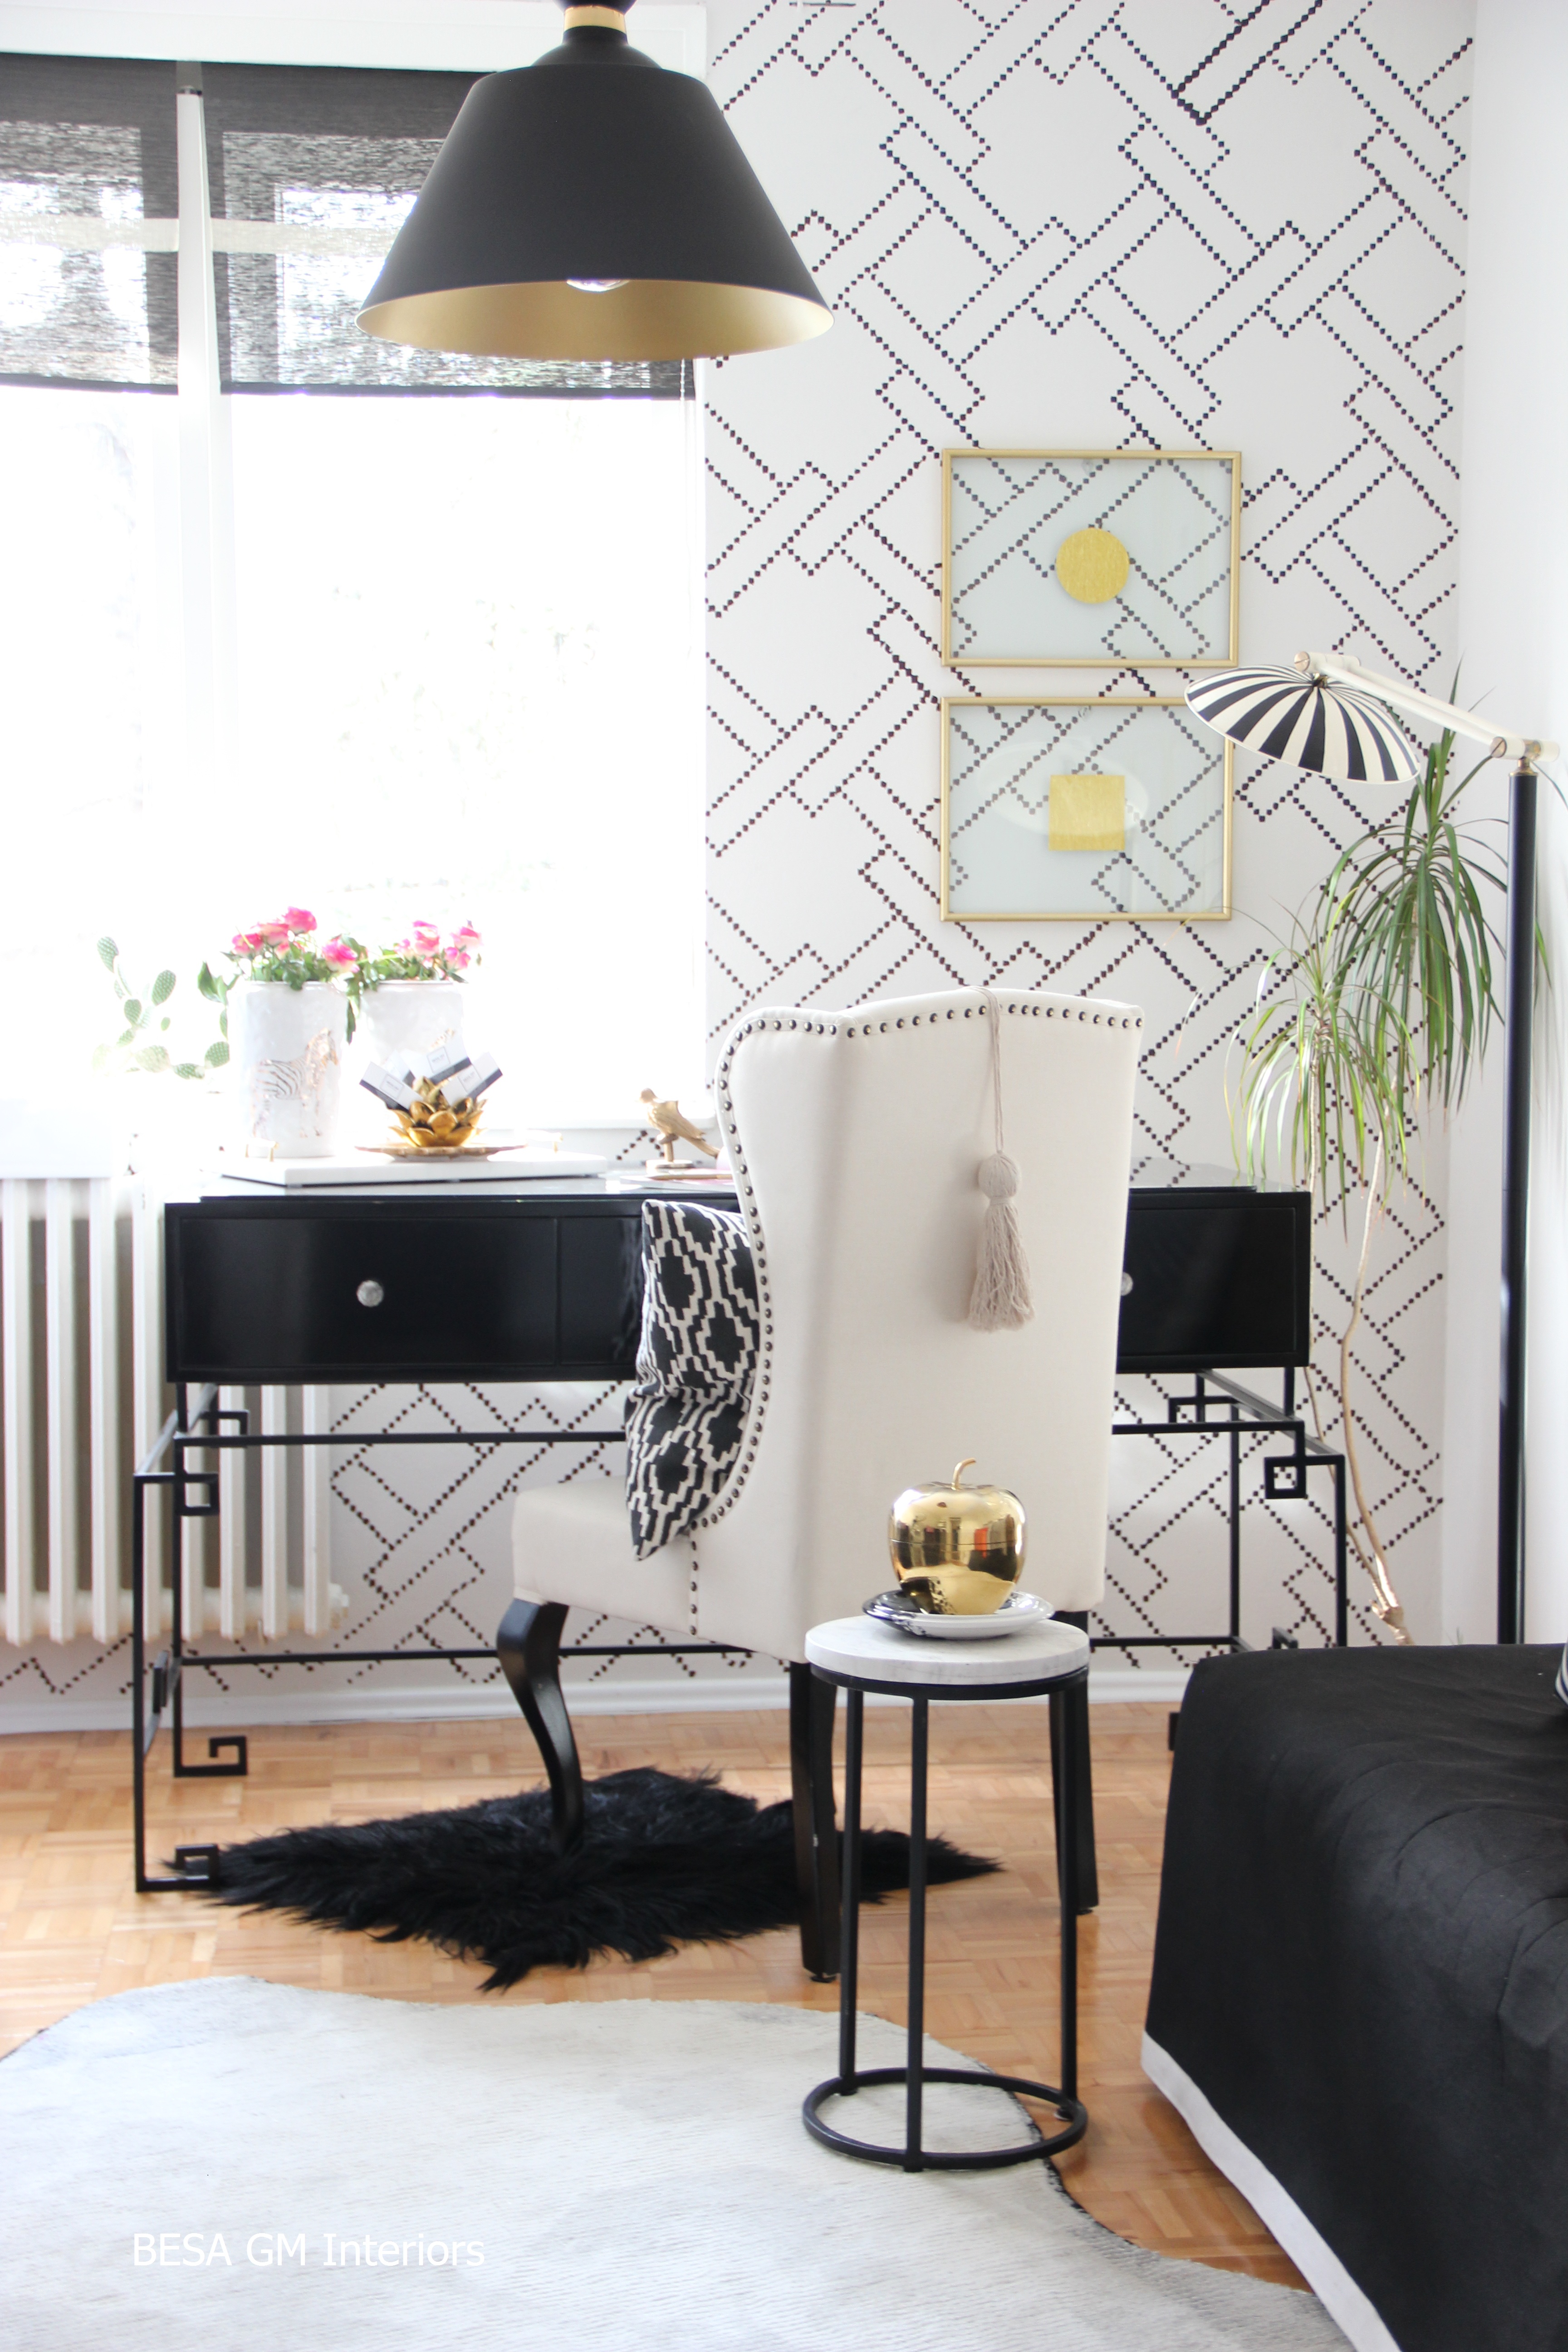
The art above the desk is another DIY. I especially love how the featured stencil wall in front of my desk looks, so I wanted that the artwork that I intended to hung on that wall be somewhat see through.
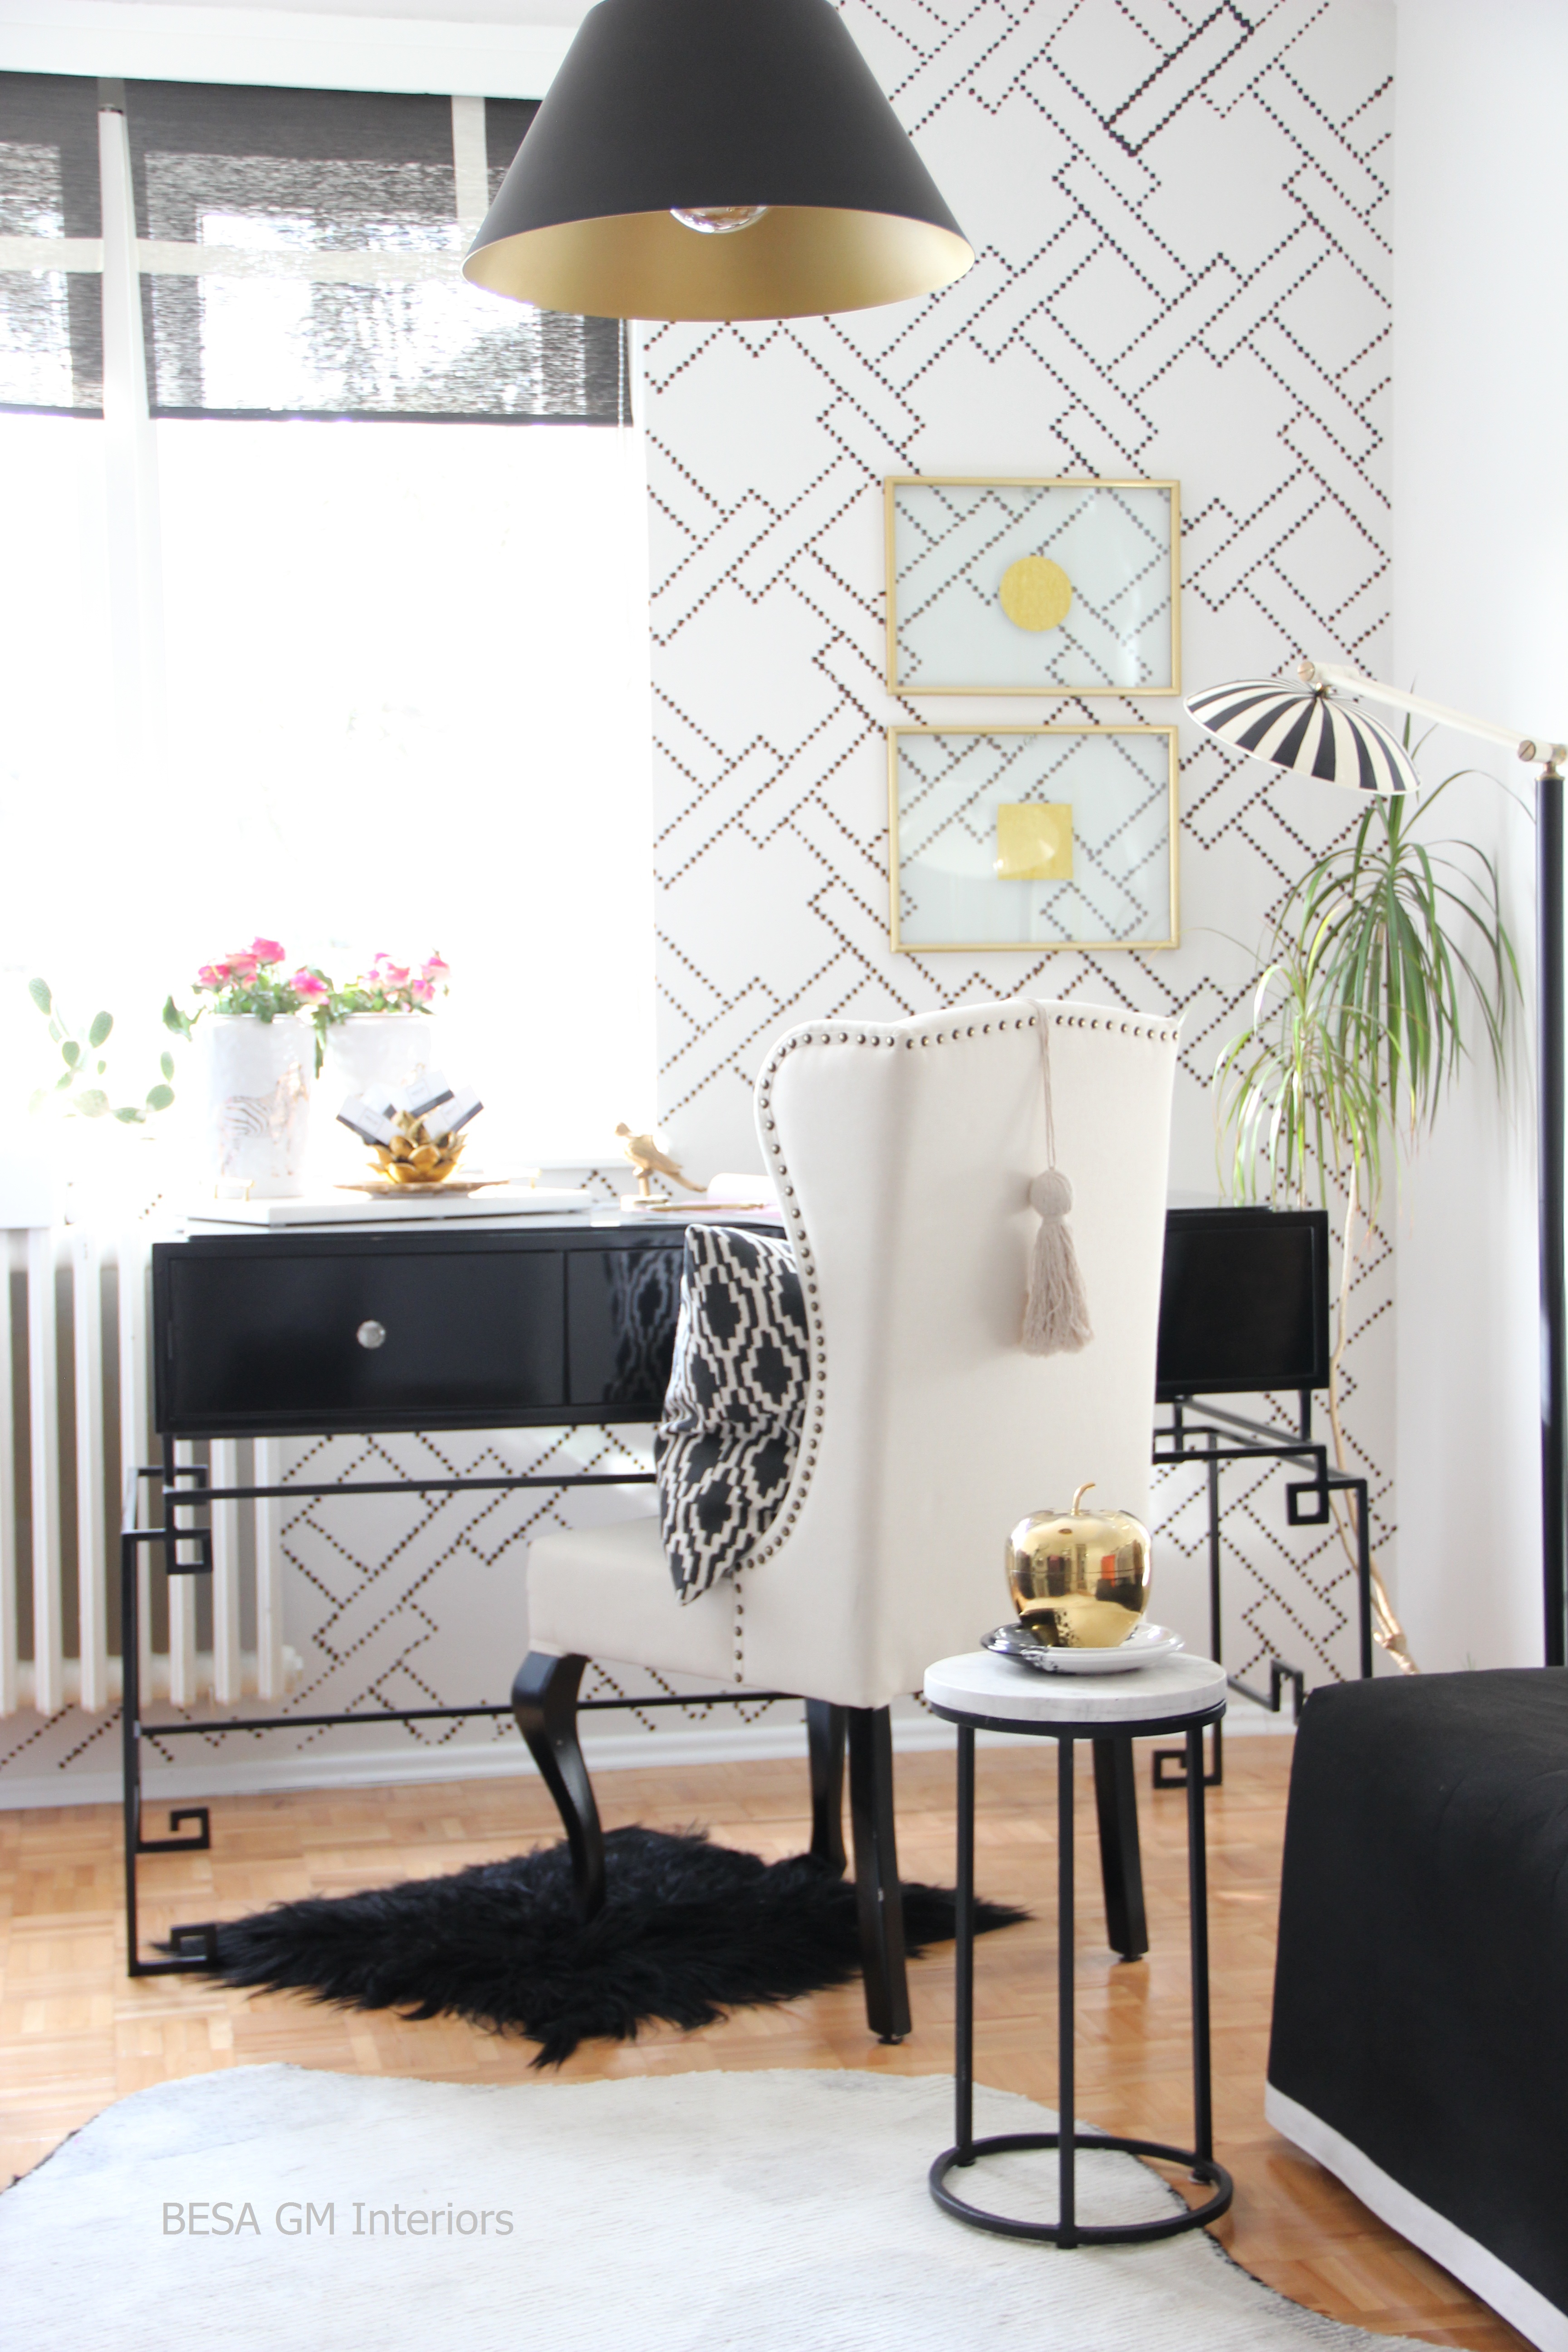

To achieve the intended “see through” look I created these two pieces of artwork using quality preowned brass frames on which I placed double sided glass, in between of which I inserted geometric shapes of golden wrap paper. The result? Just what I wanted, and I love how these frames are cheering up that corner without holding any actual artwork; however, these are a true artwork to me now!
The floor lamp is an old lamp and altered its look a bit for this project. In one of my future posts I will be sharing how I changed the look of the lamp for the use in this project.
An existing carpet, as I showed in my previous post, was cut into a cowhide shape which turned quite nice and I think it really ties nicely together everything in the room.
So this is all what I could do in six weeks on a super limited budget, and considering the circumstances I think that I did OK. I hope that this may inspire someone out there to challenge herself/himself to tackle a big project on a super tight budget.
I want to thank Linda from Call It Home blog for organising the ORC event twice a year where we may inspire and get inspired from the featured designers and so many talented guest participants taking part in this event.
Just a small recap about the ORC event:

The One Room Challenge is a 6 week room makeover challenge for designers and bloggers In North America, all started by Linda from Call It Home blog. There are 2 sides of this event. One side being the 20 selected designers competing for the win. On the other side, there are hundreds guest participants like myself. At the end of the 6 weeks, the editors of Better Homes and Gardens will select 2 guest participants to be FEATURED DESIGNERS in the 2019 Spring ORC challenge!
Now it is time for you to go and check the reveals from this event of the featured designers and guest participants. WARNING: you will WOW a lot!
Thank you for checking the REVEAL of my project.
P.S. To check the BEFORE of this room check my ORC Week ONE post!
This is the ro
To check the progress I made throughout this challenge you may check the ORC Week TWO, ORC Week THREE, ORC Week FOUR and ORC Week FIVE posts.
Besa

This is just stunning!!! I adore all of the black and white especially the wallpaper and that striped lamp. Fantastic job!!!
Besa, I just can’t get enough of these pics, you really outdid yourself with this project. Considering that almost everything it’s DIY-ed its truly amazing 😍😍😍.
This is one beautiful swanky office!! I knew you’d knock this out ball park!! A big homerun with fans screaming!! Everything looks so posh and perfect!!
Oh Jamala….thank you so much! “….A big homerun with fans screaming” I love this …. the way you cheer and encourage is so heart warming! You are such a sweet person! Hugs !!!
Hugs to you!!! Enjoy your Thanksgiving
Thank you my friend, hugs to you too!!!
I’d love to spend time in this office space. So chic. All the black and white patterns blend so well without being overpowering.
Thank you so much for stopping by to check the ORC reveal of my office space. It turned really nice and I am very happy with the way it turned out considering the budgetary restrains during challenge!
Looks great and I also love the wall paper!!!
Thank you so much for stopping by! It is actually a DIY stencil and it really looks great on the walls!
Man, you are so talented. You have to give me the link for this stensil. You are so magical and have so much talent. I love the pictures and everything about that. It is nice that you participated in ORC. I missed it. But next year I am going for it. I am so glad to connect with you in this blogging world. Stay blessed and stay connected
You know to put black and white together is the hardest thing on earth when it comes to designing and you just nailed it.
Thank you so much for such nice words, and for the encouragement. You are so nice and kind. It is good that you have committed to participate in ORC, it is challenging but fun at the same time! As for the stencil, I have created this stencil by myself but you can by the same one at this link
https://istencils.com/large-stencils/cuckoo-squares-large-repeat-stencil-89-75.html
I am also glad that that we connected and happy to stay in touch!
Awwe, that is so nice of you. Indeed we will stay connected. I will learn a lot from your site as you are super creative person.