My niece is a busy bee. She is an university student, soon to graduate on two majors Accounting and Finance, so if she is not in a class or at the library studying for her exams, she will be either at the gym lifting weights, boxing, running on treadmill, or taking a class on advanced flute lessons. When at home she will be in the kitchen preparing her vegan recipes, and sometimes even developing some delicious ones to suit her very sophisticated taste for vegan food!
Being busy took its toll on her room! Even though with the help of her mom (my sister) she changed the look of her room several times, she was never quite happy with its overall look; but she new that one day I will be visiting her so I will give her room a quick makeover (…chuckles…).
So that day finally came this spring when I visited my sister and her family.
During this visit we undertook several projects: kitchen project; living room styling project, termostat cover project and the project of repurposing the dinning room into a multifunctional room.
The niece’s bedroom makeover was the last project in line and, judging from my niece’s reaction after the makeover was completed, I must say that it was the most successful project of all.
I suggested to start with changing the layout by rearranging the bedroom furniture.
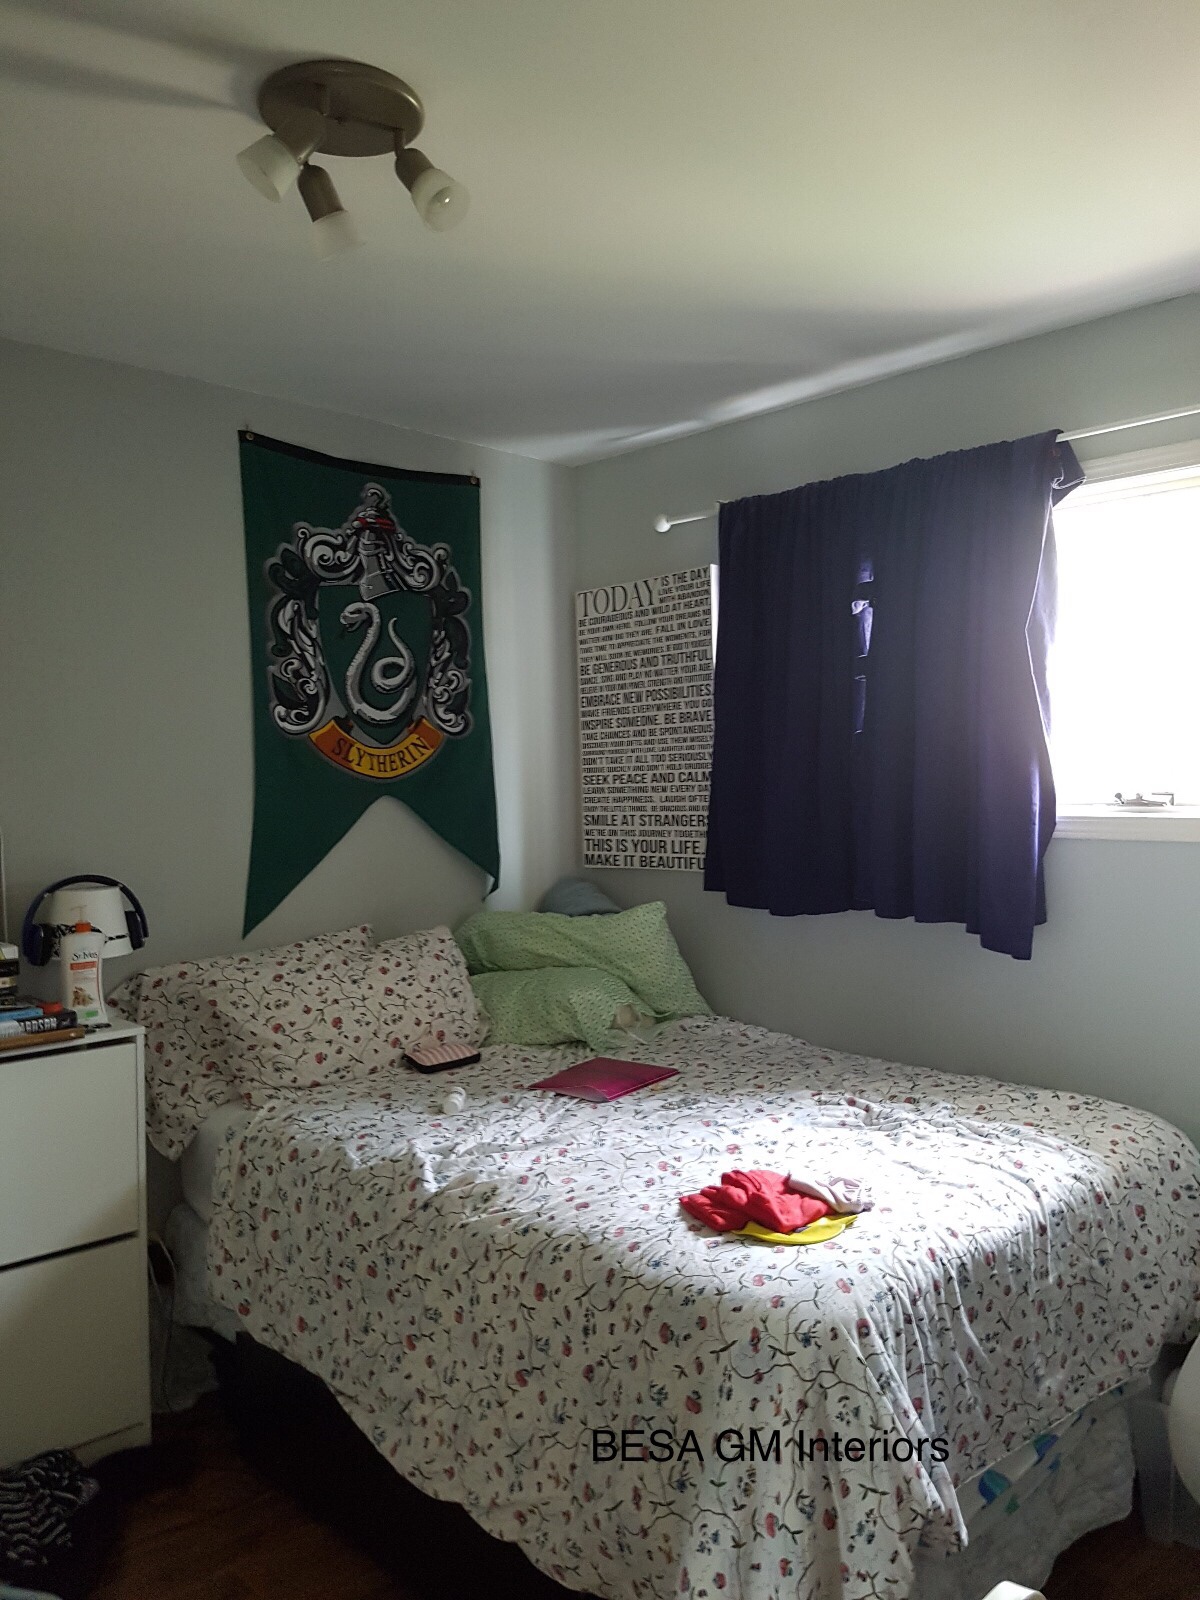
Since the bed is the most important part of the bedroom, it is a good idea to get it in place first. Generally, you’ll want to put the bed against the wall opposite the door or the largest wall with no windows. So this is an interior design guideline that you may want to follow when designing a bedroom, and this is what my niece did previously!
Well, as you may see it did not work, especially not in her small bedroom!
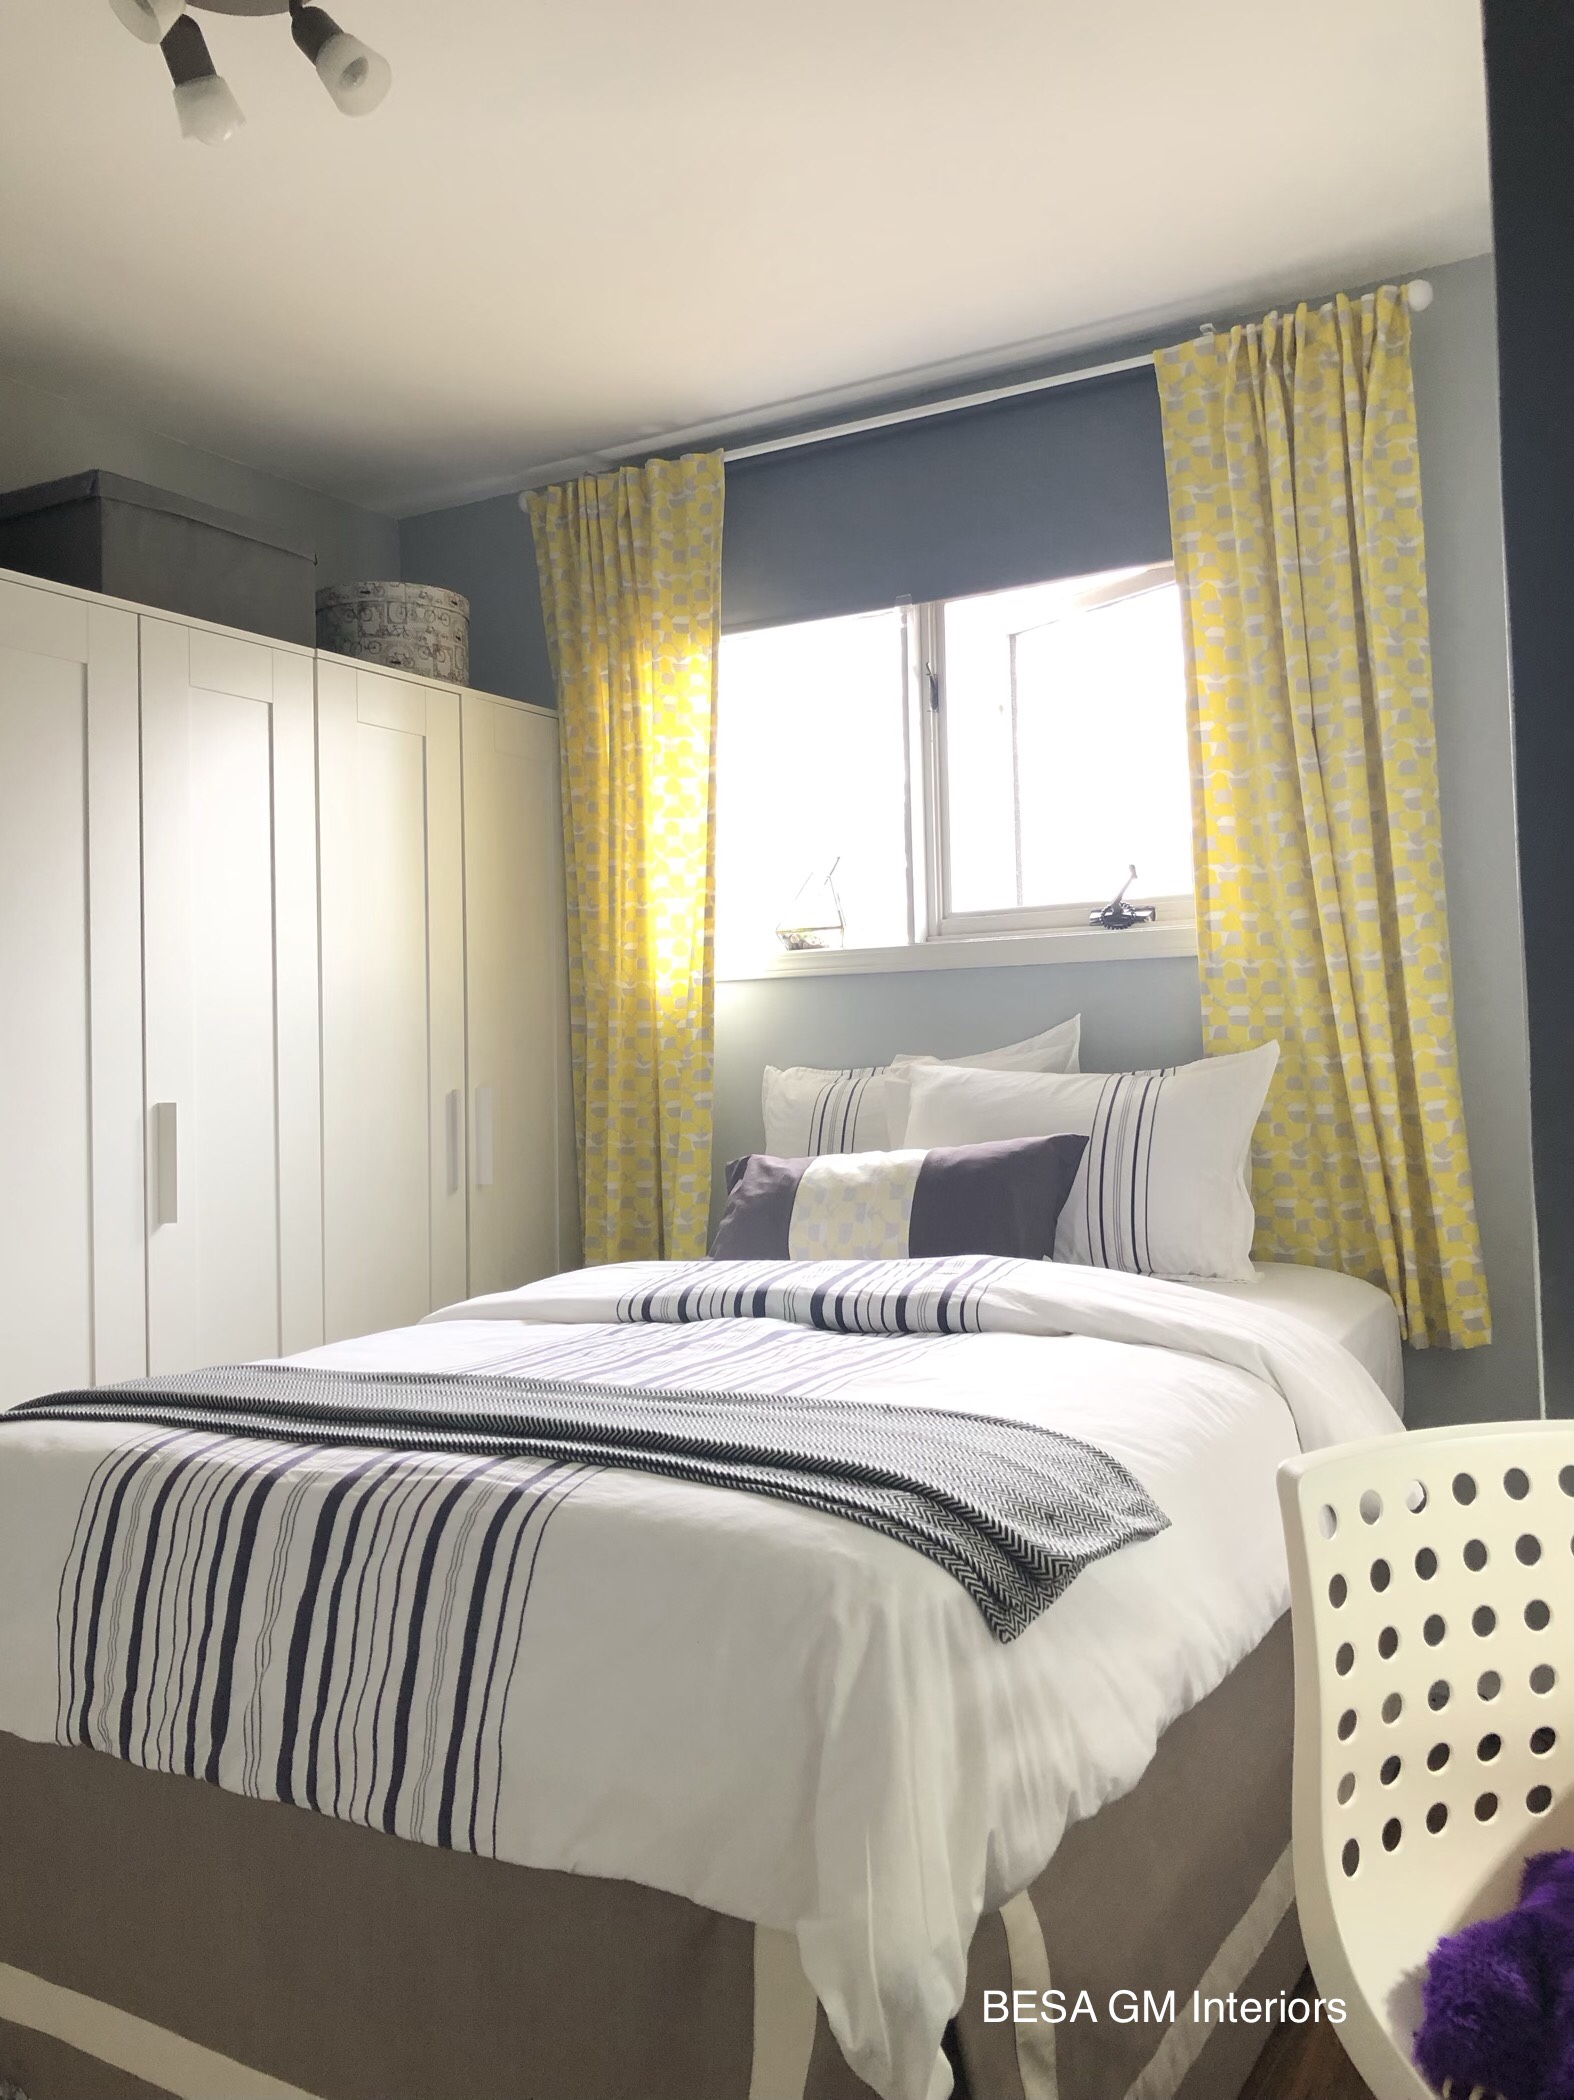
While planning for the layout, I found a perfect spot for the bed that made the most sense to me. After making sure that the wardrobe doors (which we planned to place against the wall where the bed was previously) can be smoothly opened and closed, I suggested that the bed should be placed under the window, and I was so happy that my niece liked the idea.
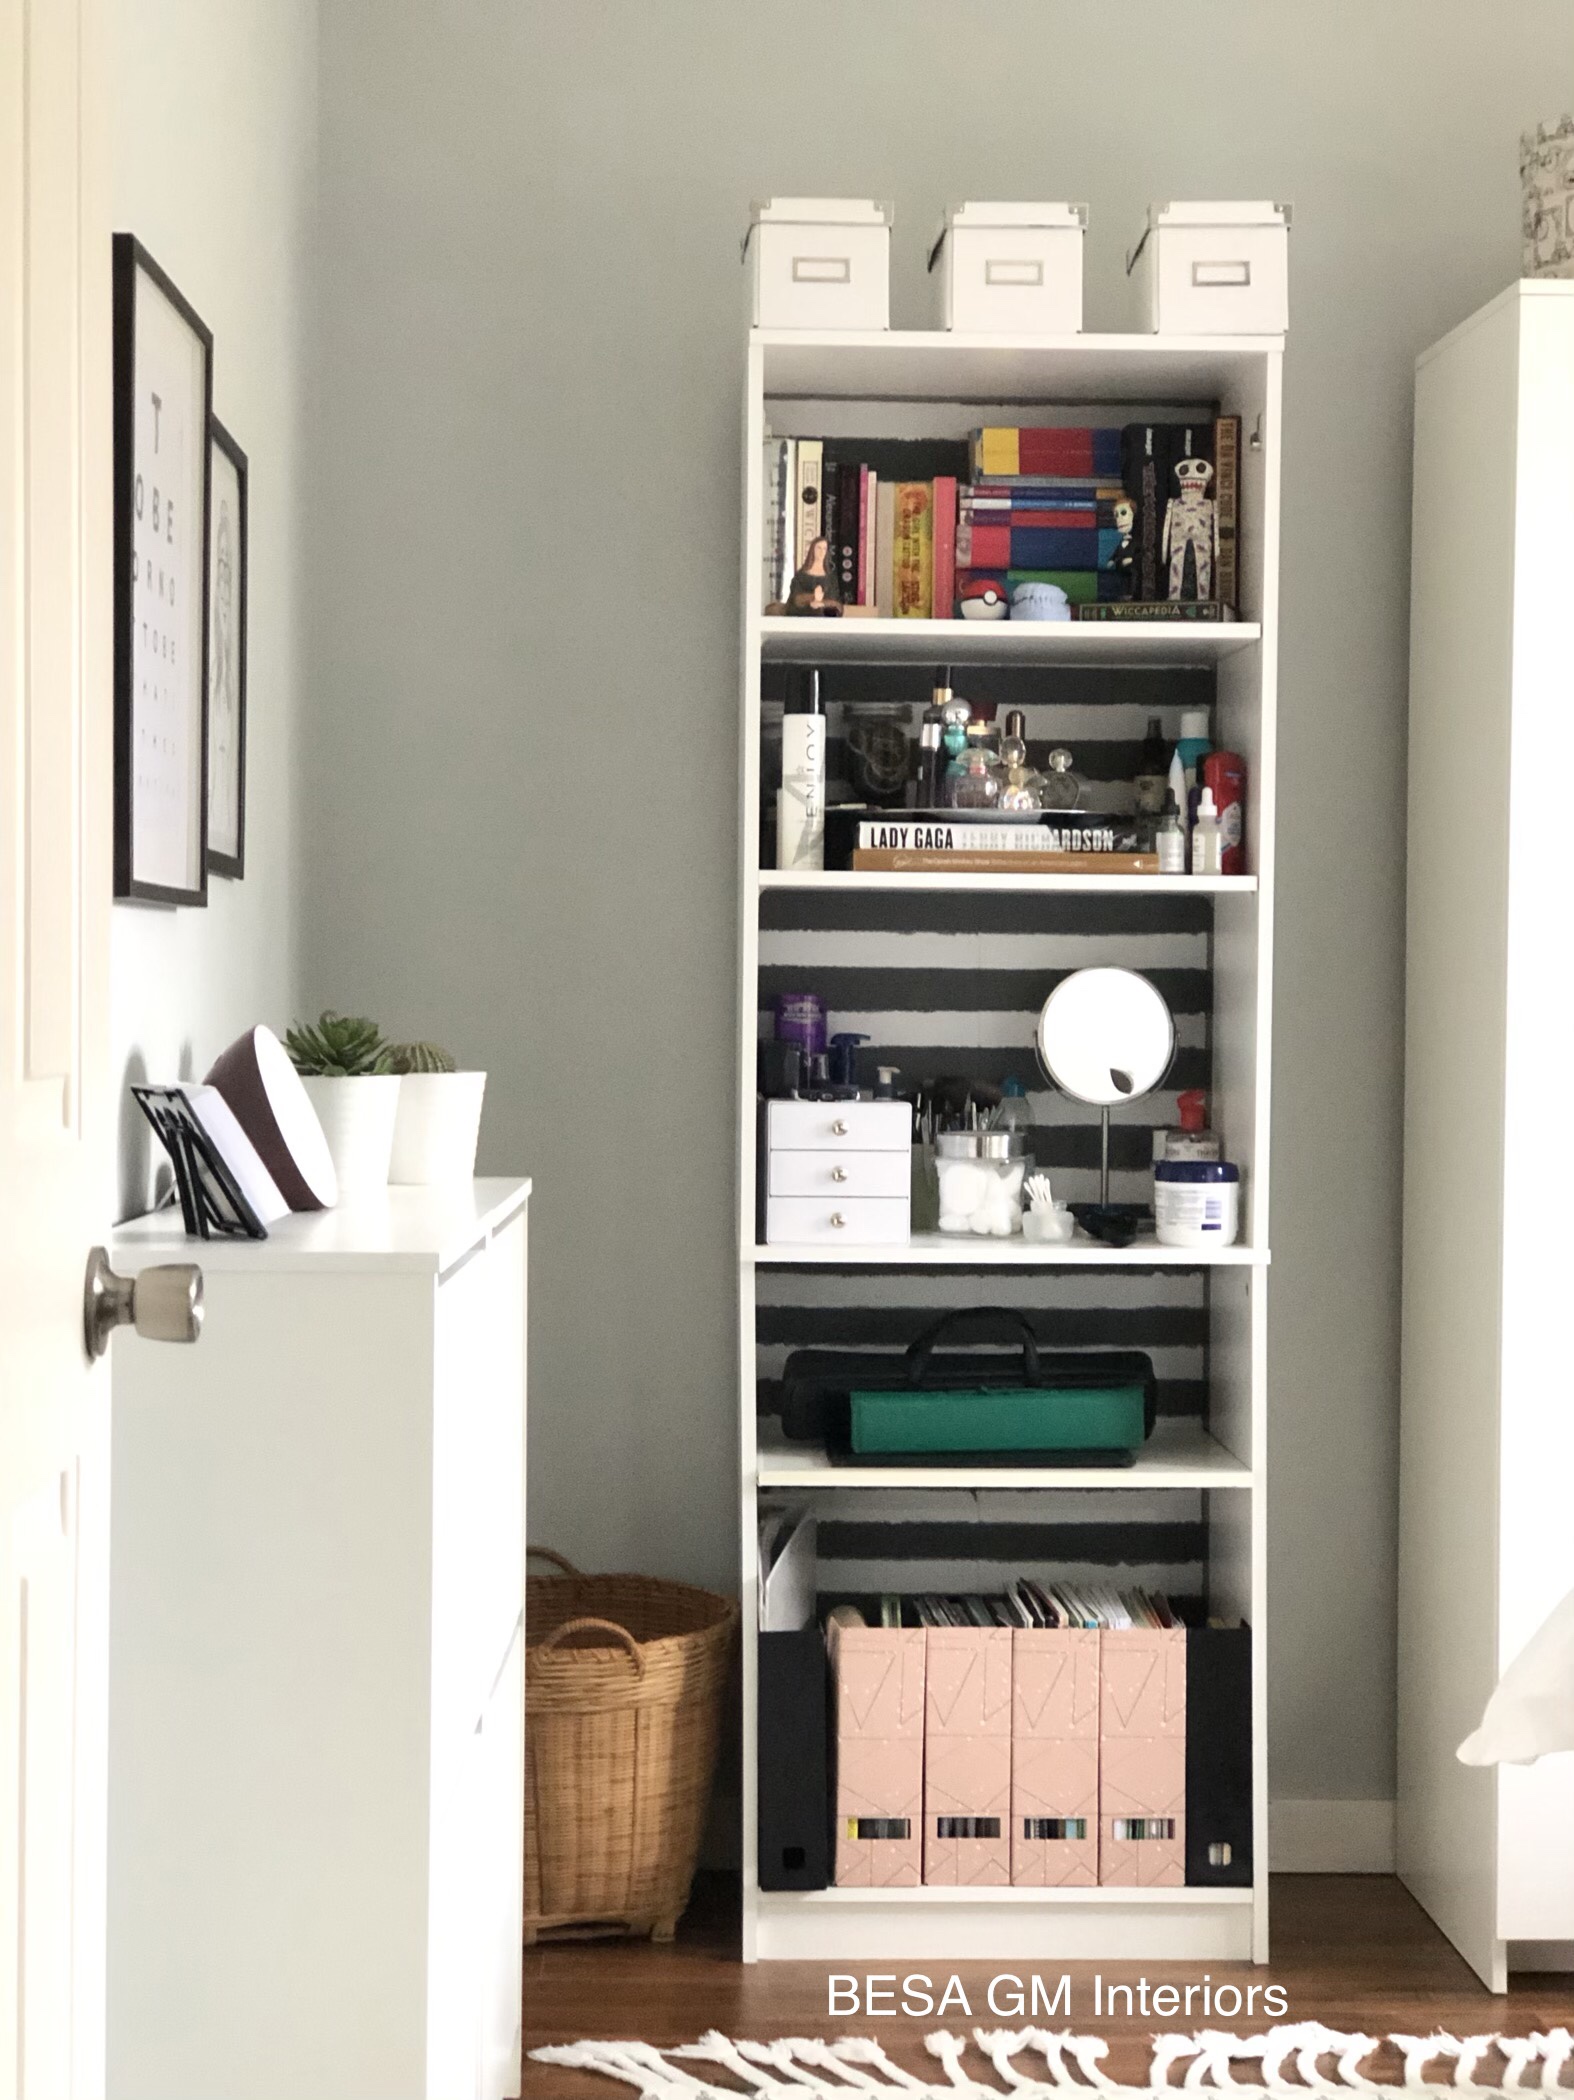
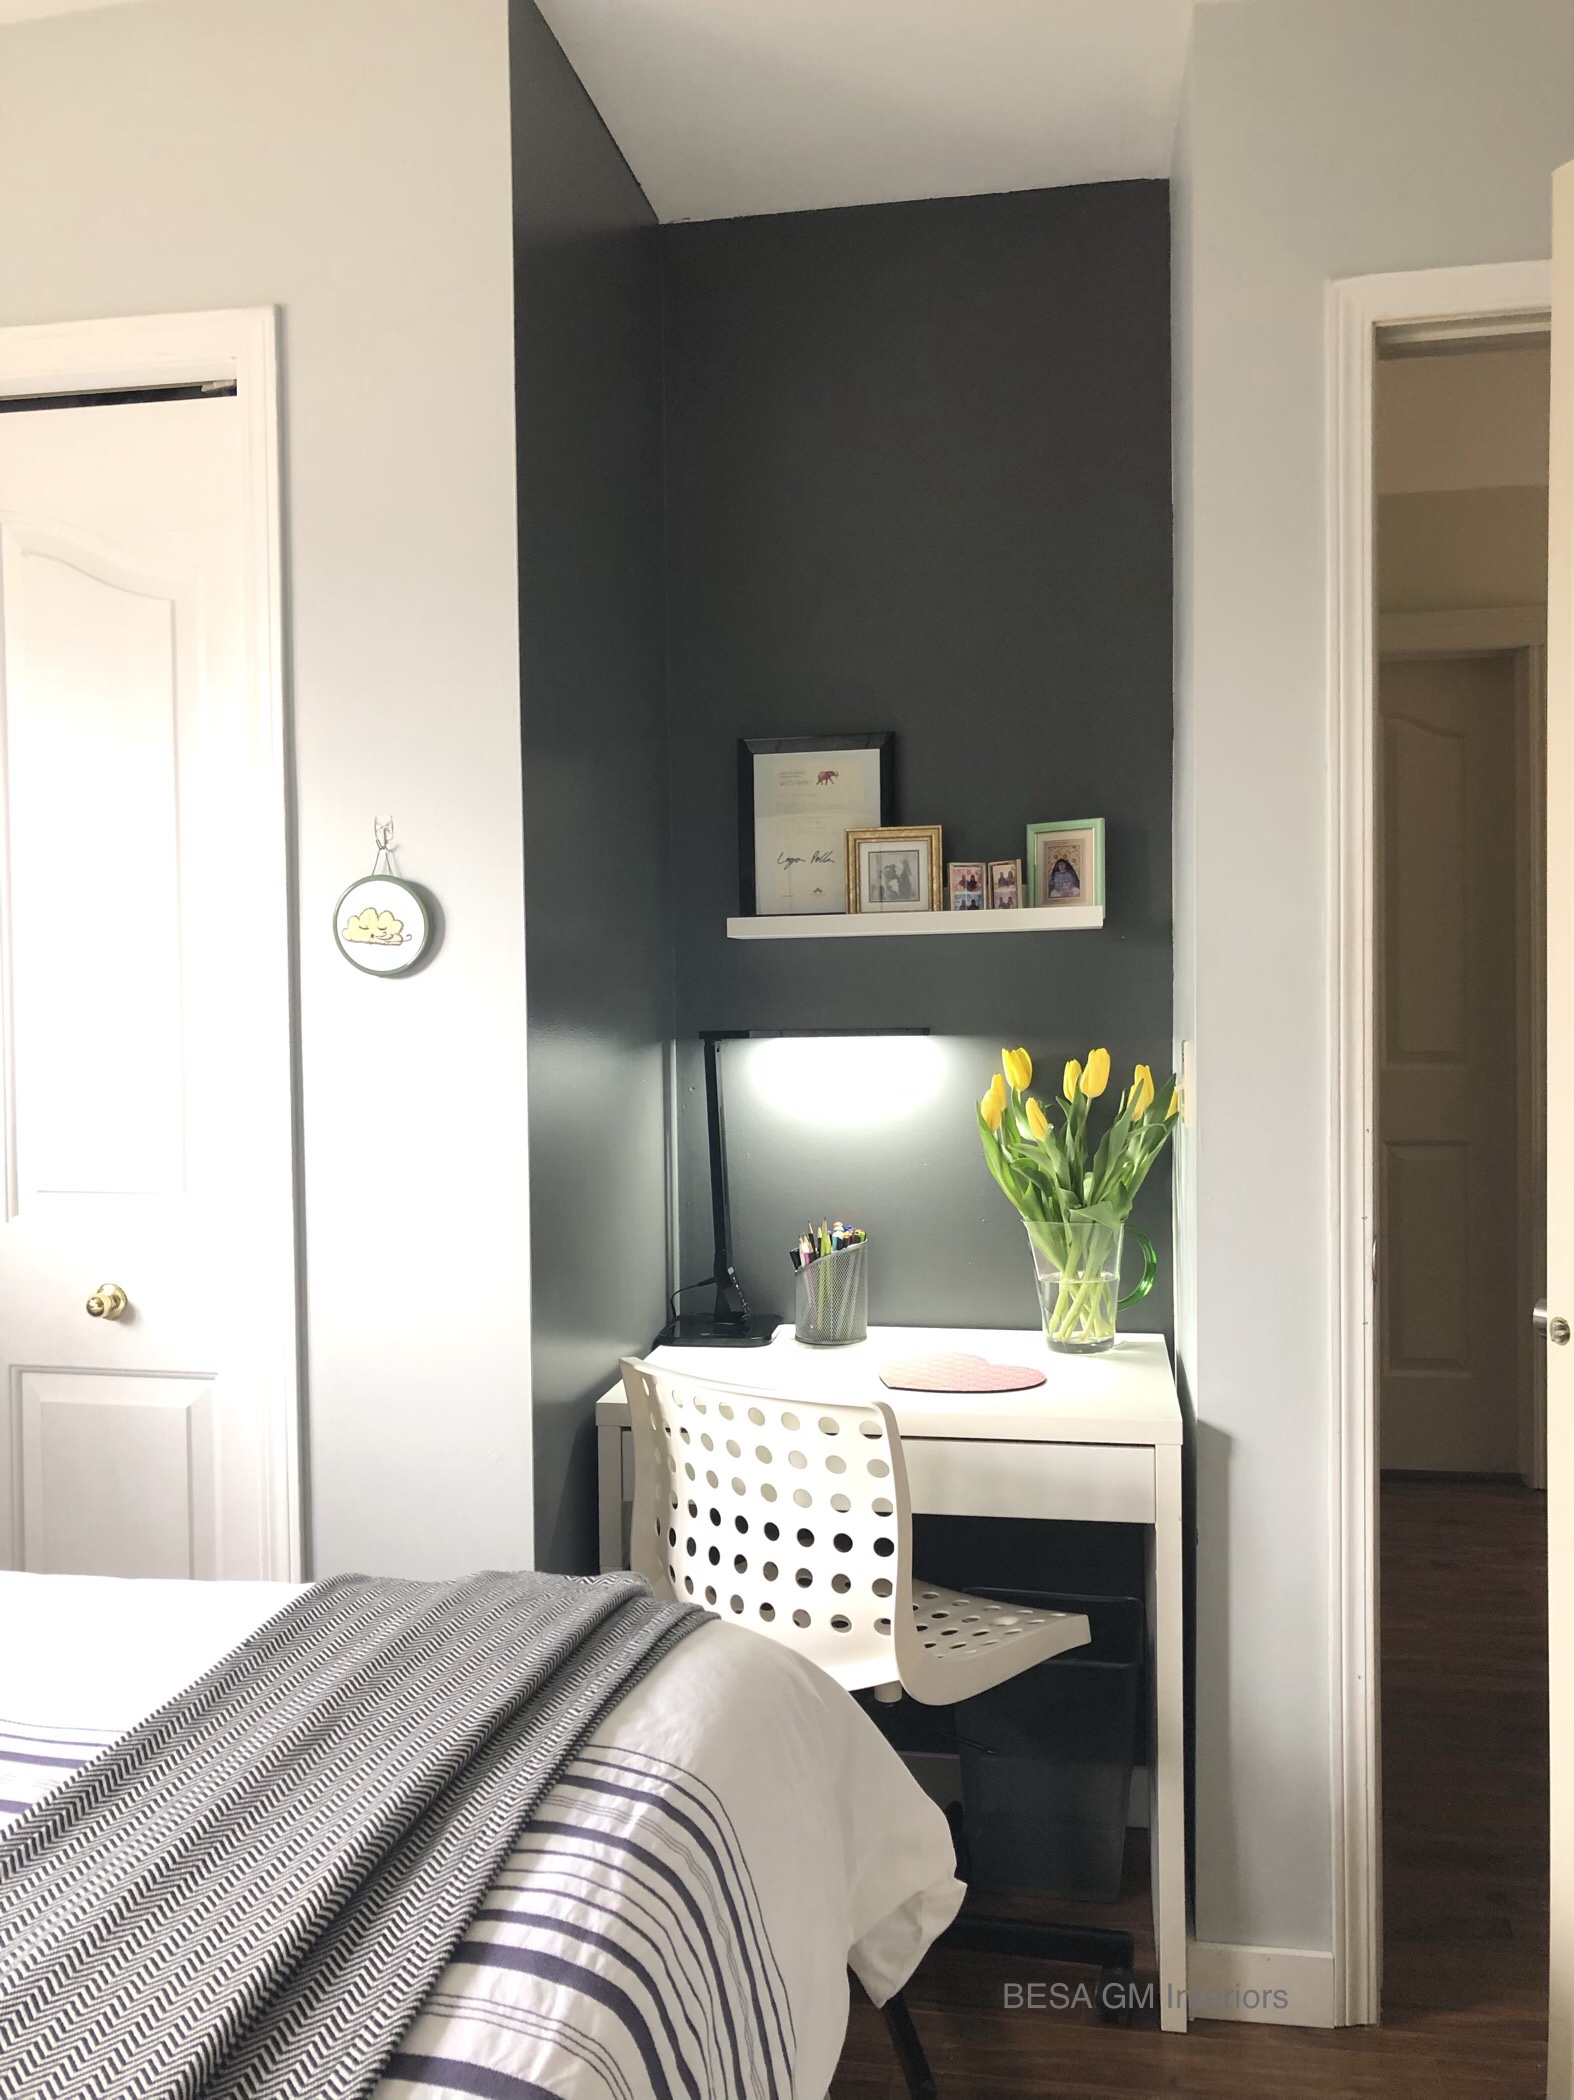
The two existing shoe cabinets, for those extra shoes that we all have were placed, opposite the bed and above them we framed my nieces favourite pieces of art, one being the her caricature made by (if I can recall correctly) her friend.


For her books, reading material for her studies, make up items and other bits and pieces I DIY-ed this shelving cabinet which had been sitting in their basement and they were planning to give it away. I painted horizontal dark grey stripes all the way dow at the backing of the shelving cabinet and added some more shelving boards. After the makeover, they were happy that they didn’t give it away.

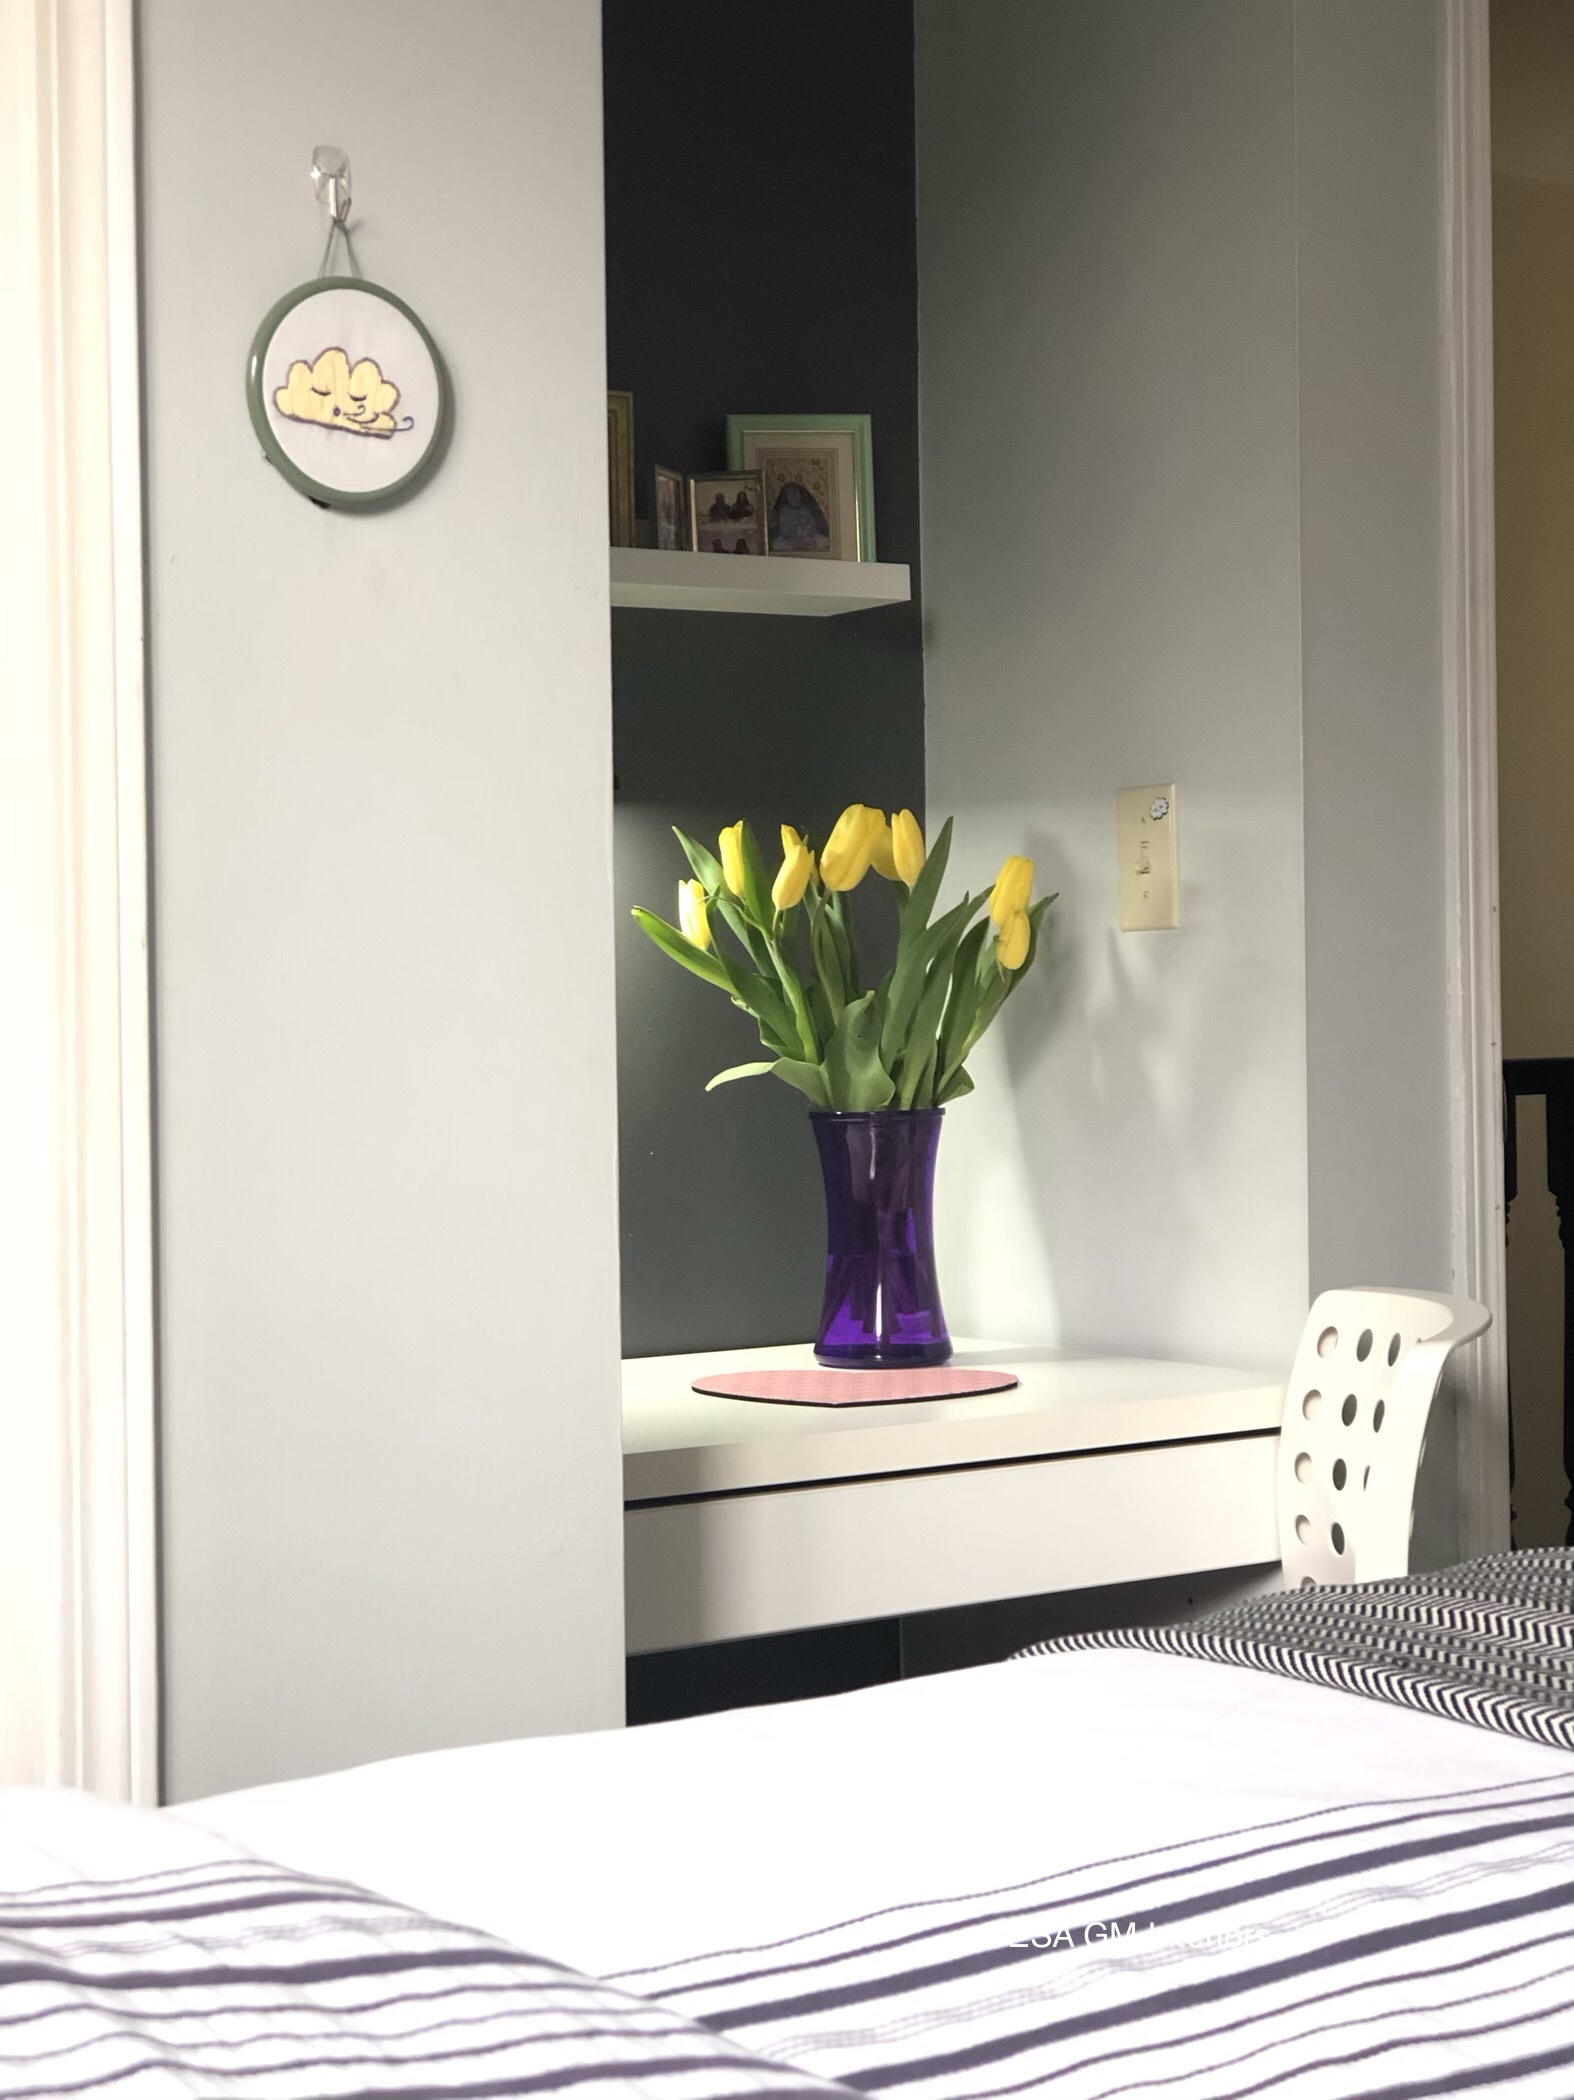
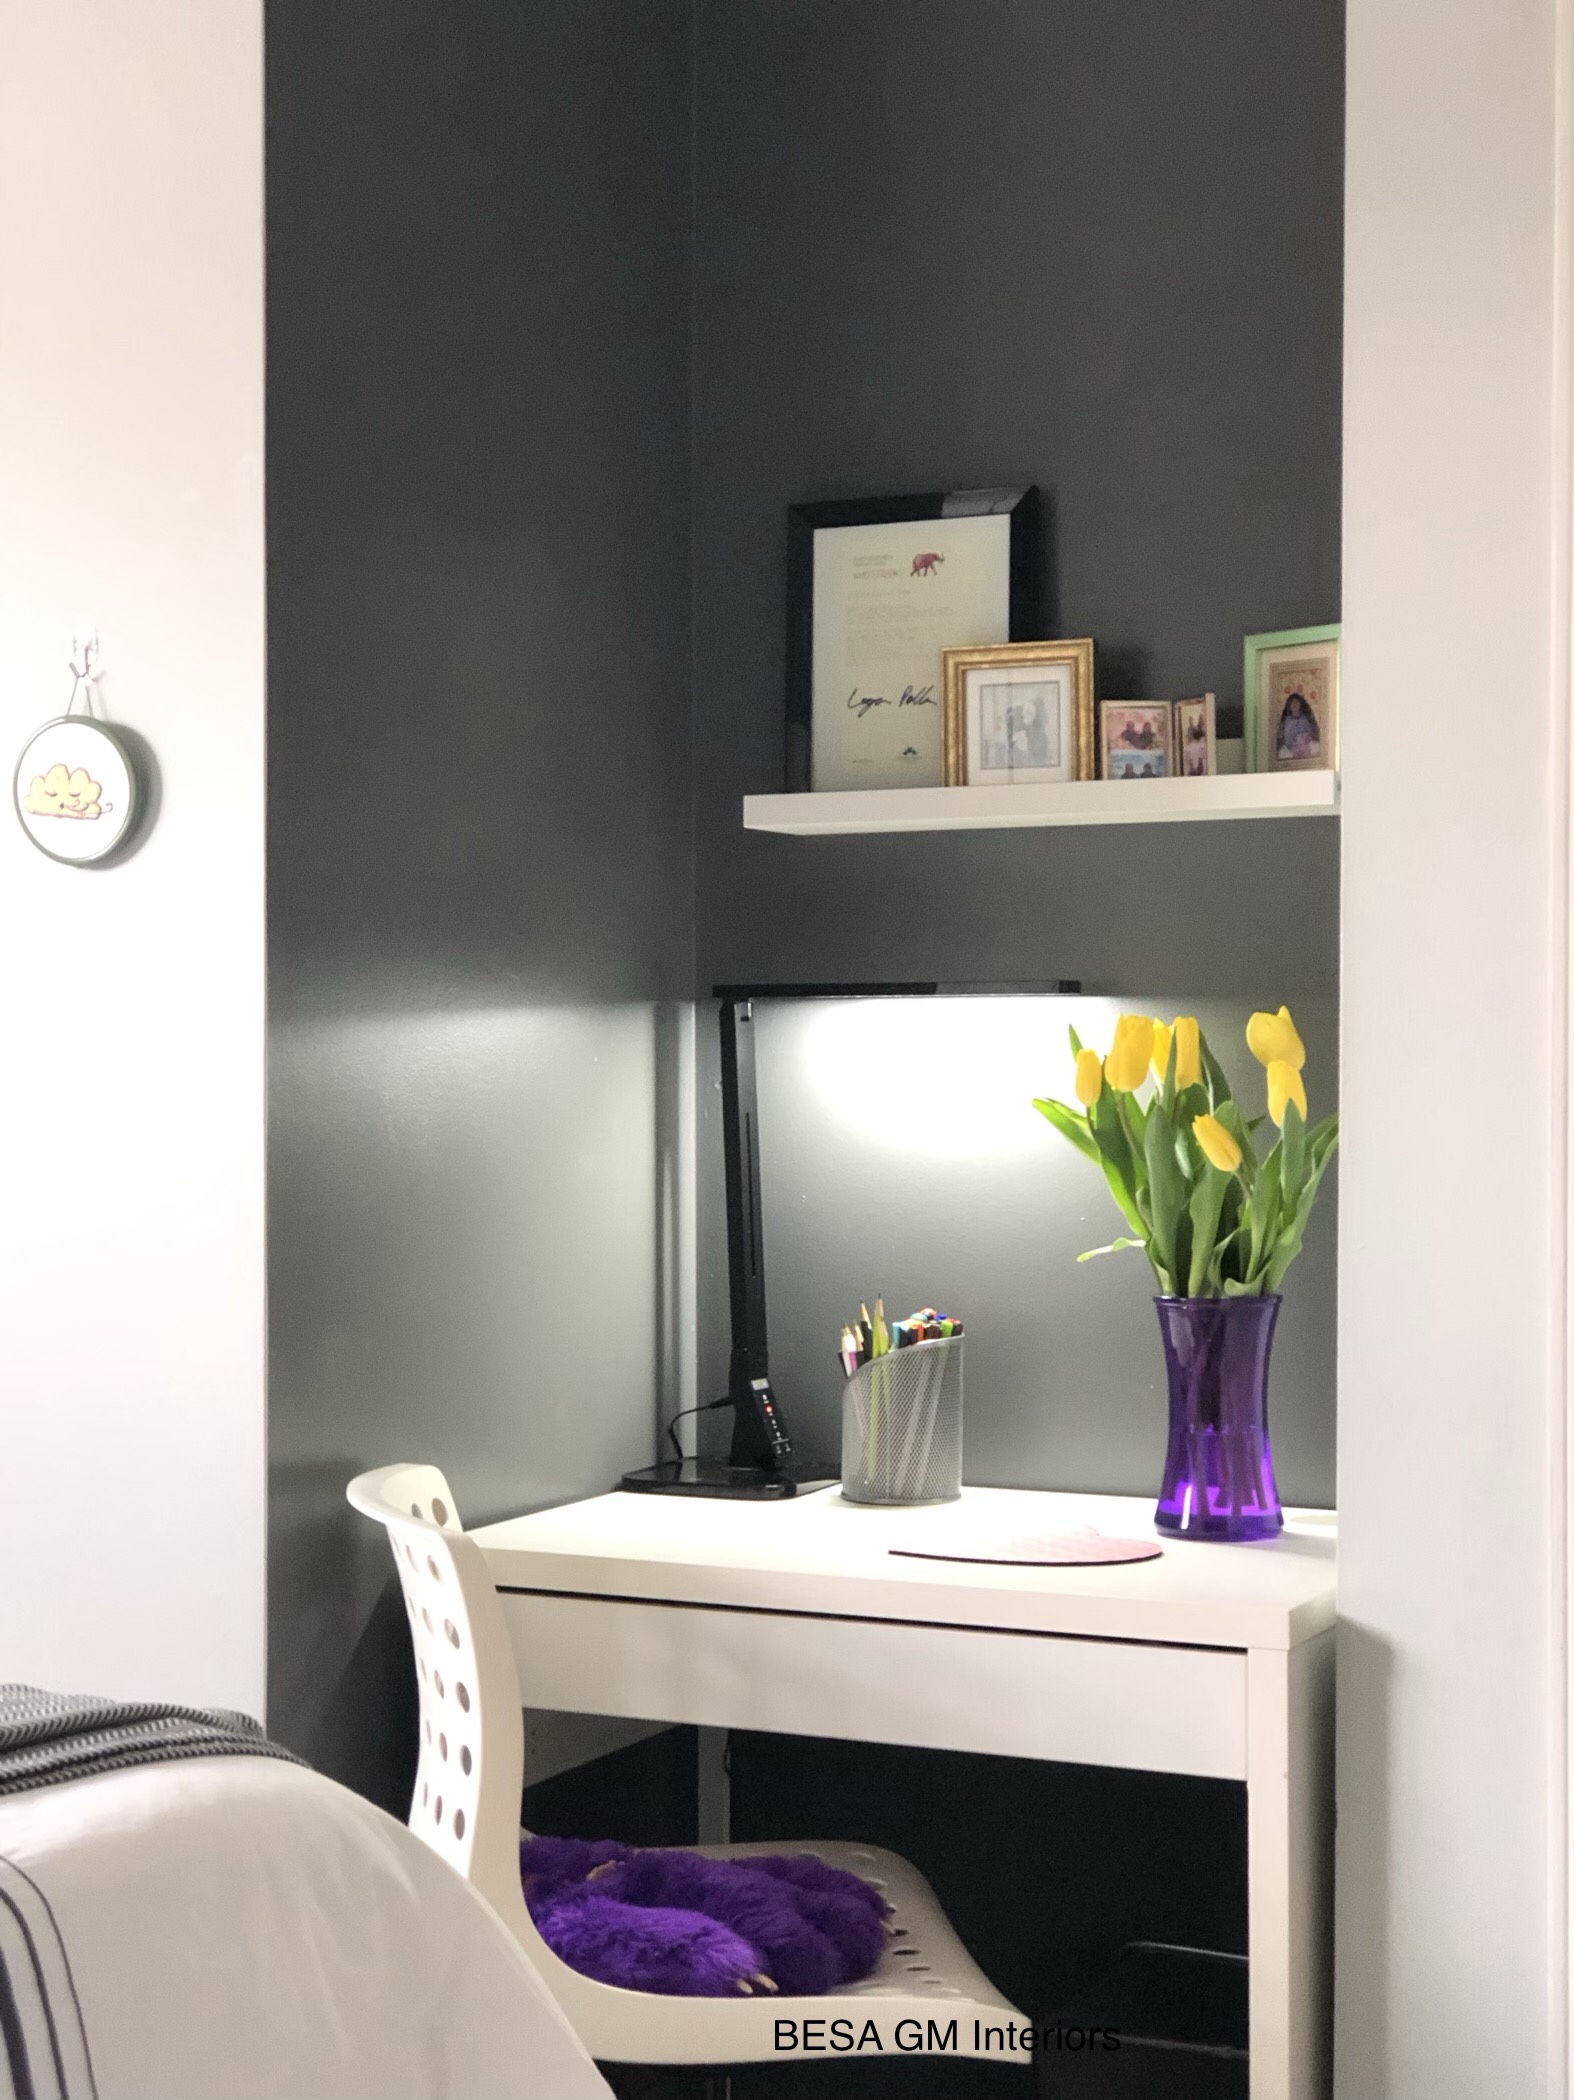
The little desk area was painted with a dark grey colour and I placed a picture shelf where my niece would put pictures that meant a lot to her as well as an interesting and lovely poem that was written on spot especially for her.

Her bed had no bed frame so to dress the bed up a little bit, I custom made a bed skirt which I attached it on a mattress box.


Lastly and most importantly, according to my niece’s specific requests I custom made her the drapes for the bedroom window. We found this pretty yellow patterned fabric designed by Nate BERKUS, which is my niece’s favourite designer.
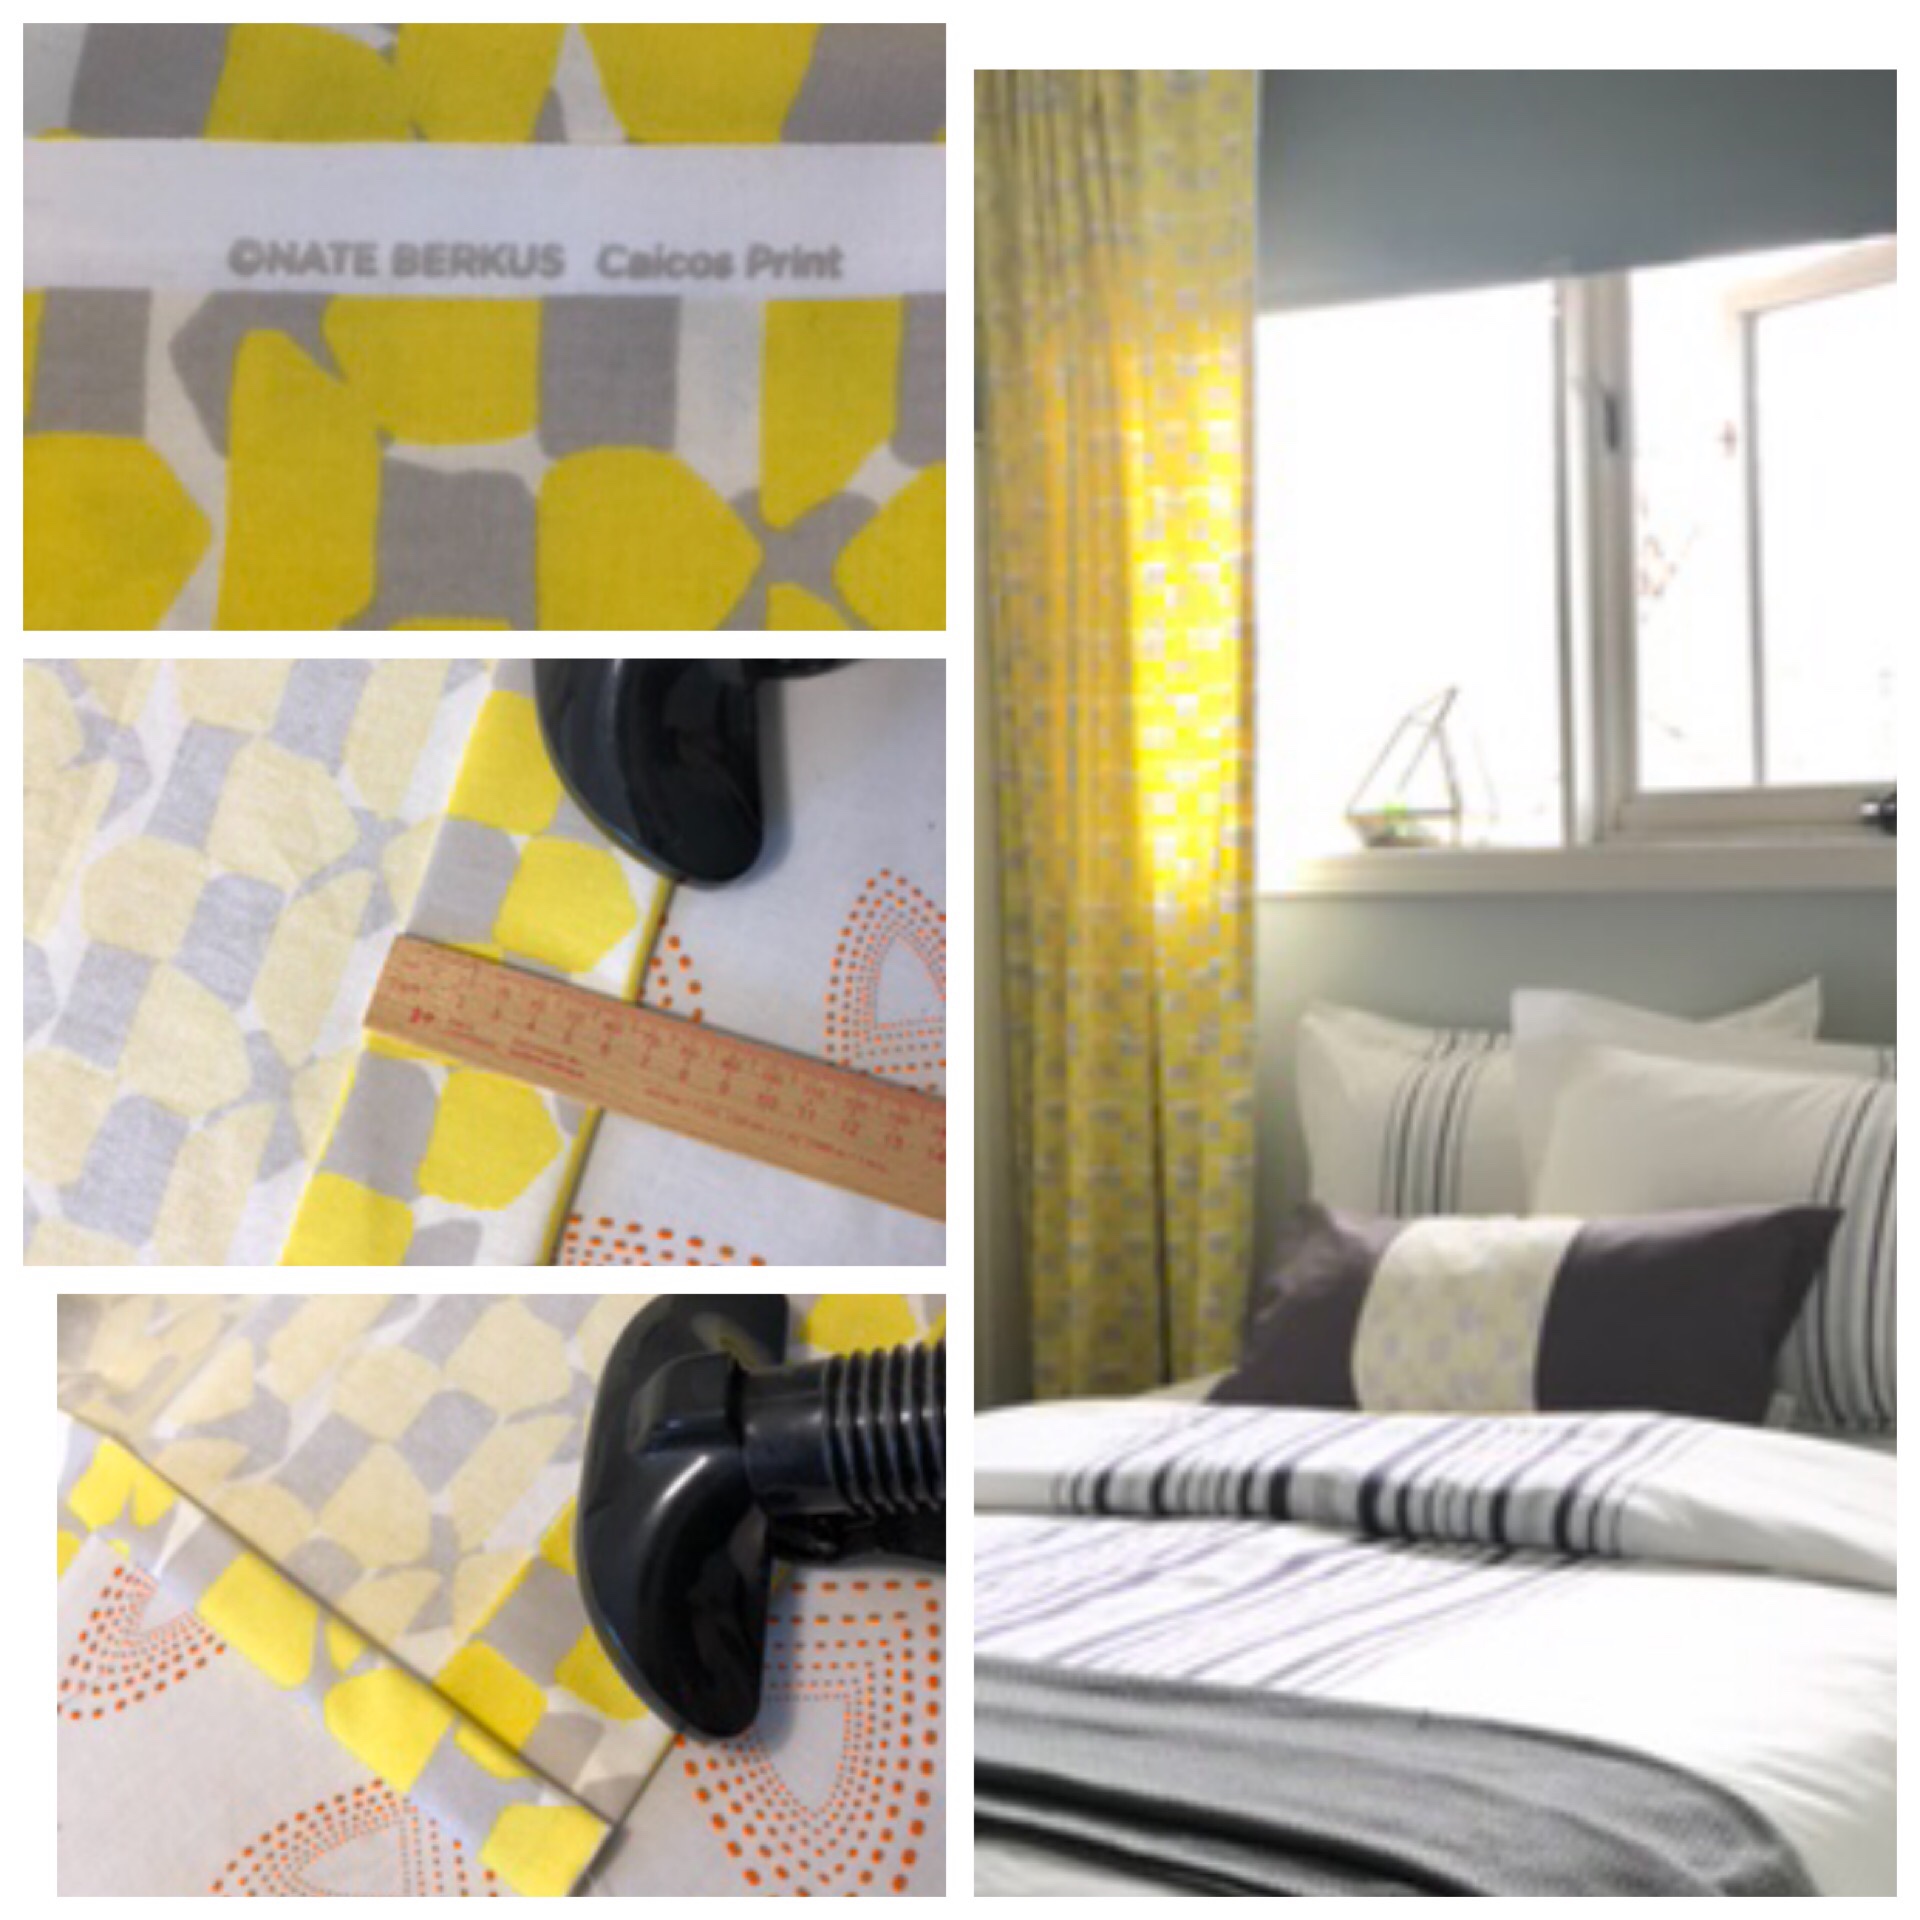
She requested that the drapes should be black-out lined; a very important feature for her sleep. Having the black out drapes you have to open and close them depending on the needs, so this wouldn’t work with her bed placed under the window. So instead lining the drapes with a black out lining I mounted the black out roller shade under the drapes so this way the drapes will remain untouched while she will operate the shade to accommodate her sleep.

To make the window look taller we installed the shade just a few inches below the ceiling and right at the same level we installed the curtain rod. This small detail changed the whole look of the room. After being dressed up with drapes and the shades this rather small window looks much taller now, and it really makes a statement in the room.


So as a conclusion this was a very fun and low cost weekend project where I got to spend a lot of time with both my sister and my niece. We worked perfectly together as a team; my sister painting the desk area wall and helping to install the shade and the curtain rod, my niece rearranging the furniture, decluttering and freeing up the closet space by giving away almost all of her clothing, shoes and so many other items that she was no longer using but she couldn’t make that decision to let those things go; all this while I was working on the bed skirt, sewing the drapes and DIY-ing the shelf, and of course making those important design decisions (…chuckles…)
I am so happy that after all the work we did together and after I styled the room at the end, it looked so perfectly put together and it seemed and felt much larger than it really is.


My niece loved it, and she is loving it every day more and more, so I couldn’t be happier too. I love my beautiful, smart, hardworking, dedicated, responsible niece so much, so I love to see her happy because she deserves it so much.
Thank you for visiting this blog and checking this post.
Besa

Awww… you’re a super aunt!! I”m sure she truly appreciated this. Excellent makeover for her. and stapling the skirt to the boxspring.. excellent idea!!
Thank you, and yes she is truly appreciateive; she loves her room now, and the look of her bed especialy.