

At the time I was furnishing my condo bedroom several years ago, I opted for an easy and cheap way of adding a wall decor to my bedroom. I bought four frames and a piece of fabric at IKEA, and framed cut pieces of the fabric to those frames. I hung the frames above the headboard, and although I was not thrilled with this decor, at least I knew that I am not going to have a bare wall above the headboard. My husband didn’t like this idea very much and he thought this decor appeared to be kind of cheap, but he did not make a big fuss over them so I was not in a rush to take them down.

Over the years I got used to this wall decor to the point that I wasn’t even noticing until the following happened; it was the middle of the night and my husband was deep asleep when one of the frames fell down behind the headboard. The noise from the falling frame and the cracking glass not only woke him up, but scared the hell out of him. He did not know what happened and, as he recalls, he thought that somebody threw a rock on the bedroom window so he rushed to check the window out, and realized later that one of the frames had fallen down.
I happened to be away at that time, so next morning he called me and said: “Your decor idea was about to kill me last night”. So the same day he got rid of the wall decoration from the bedroom. I do not blame him. I would do the same thing if I had experienced such a scare in the middle of the night.
Well, since then I had these frames stored for a while, and I thought with a fresh redo we can maybe have them around for some time before deciding to give them away.
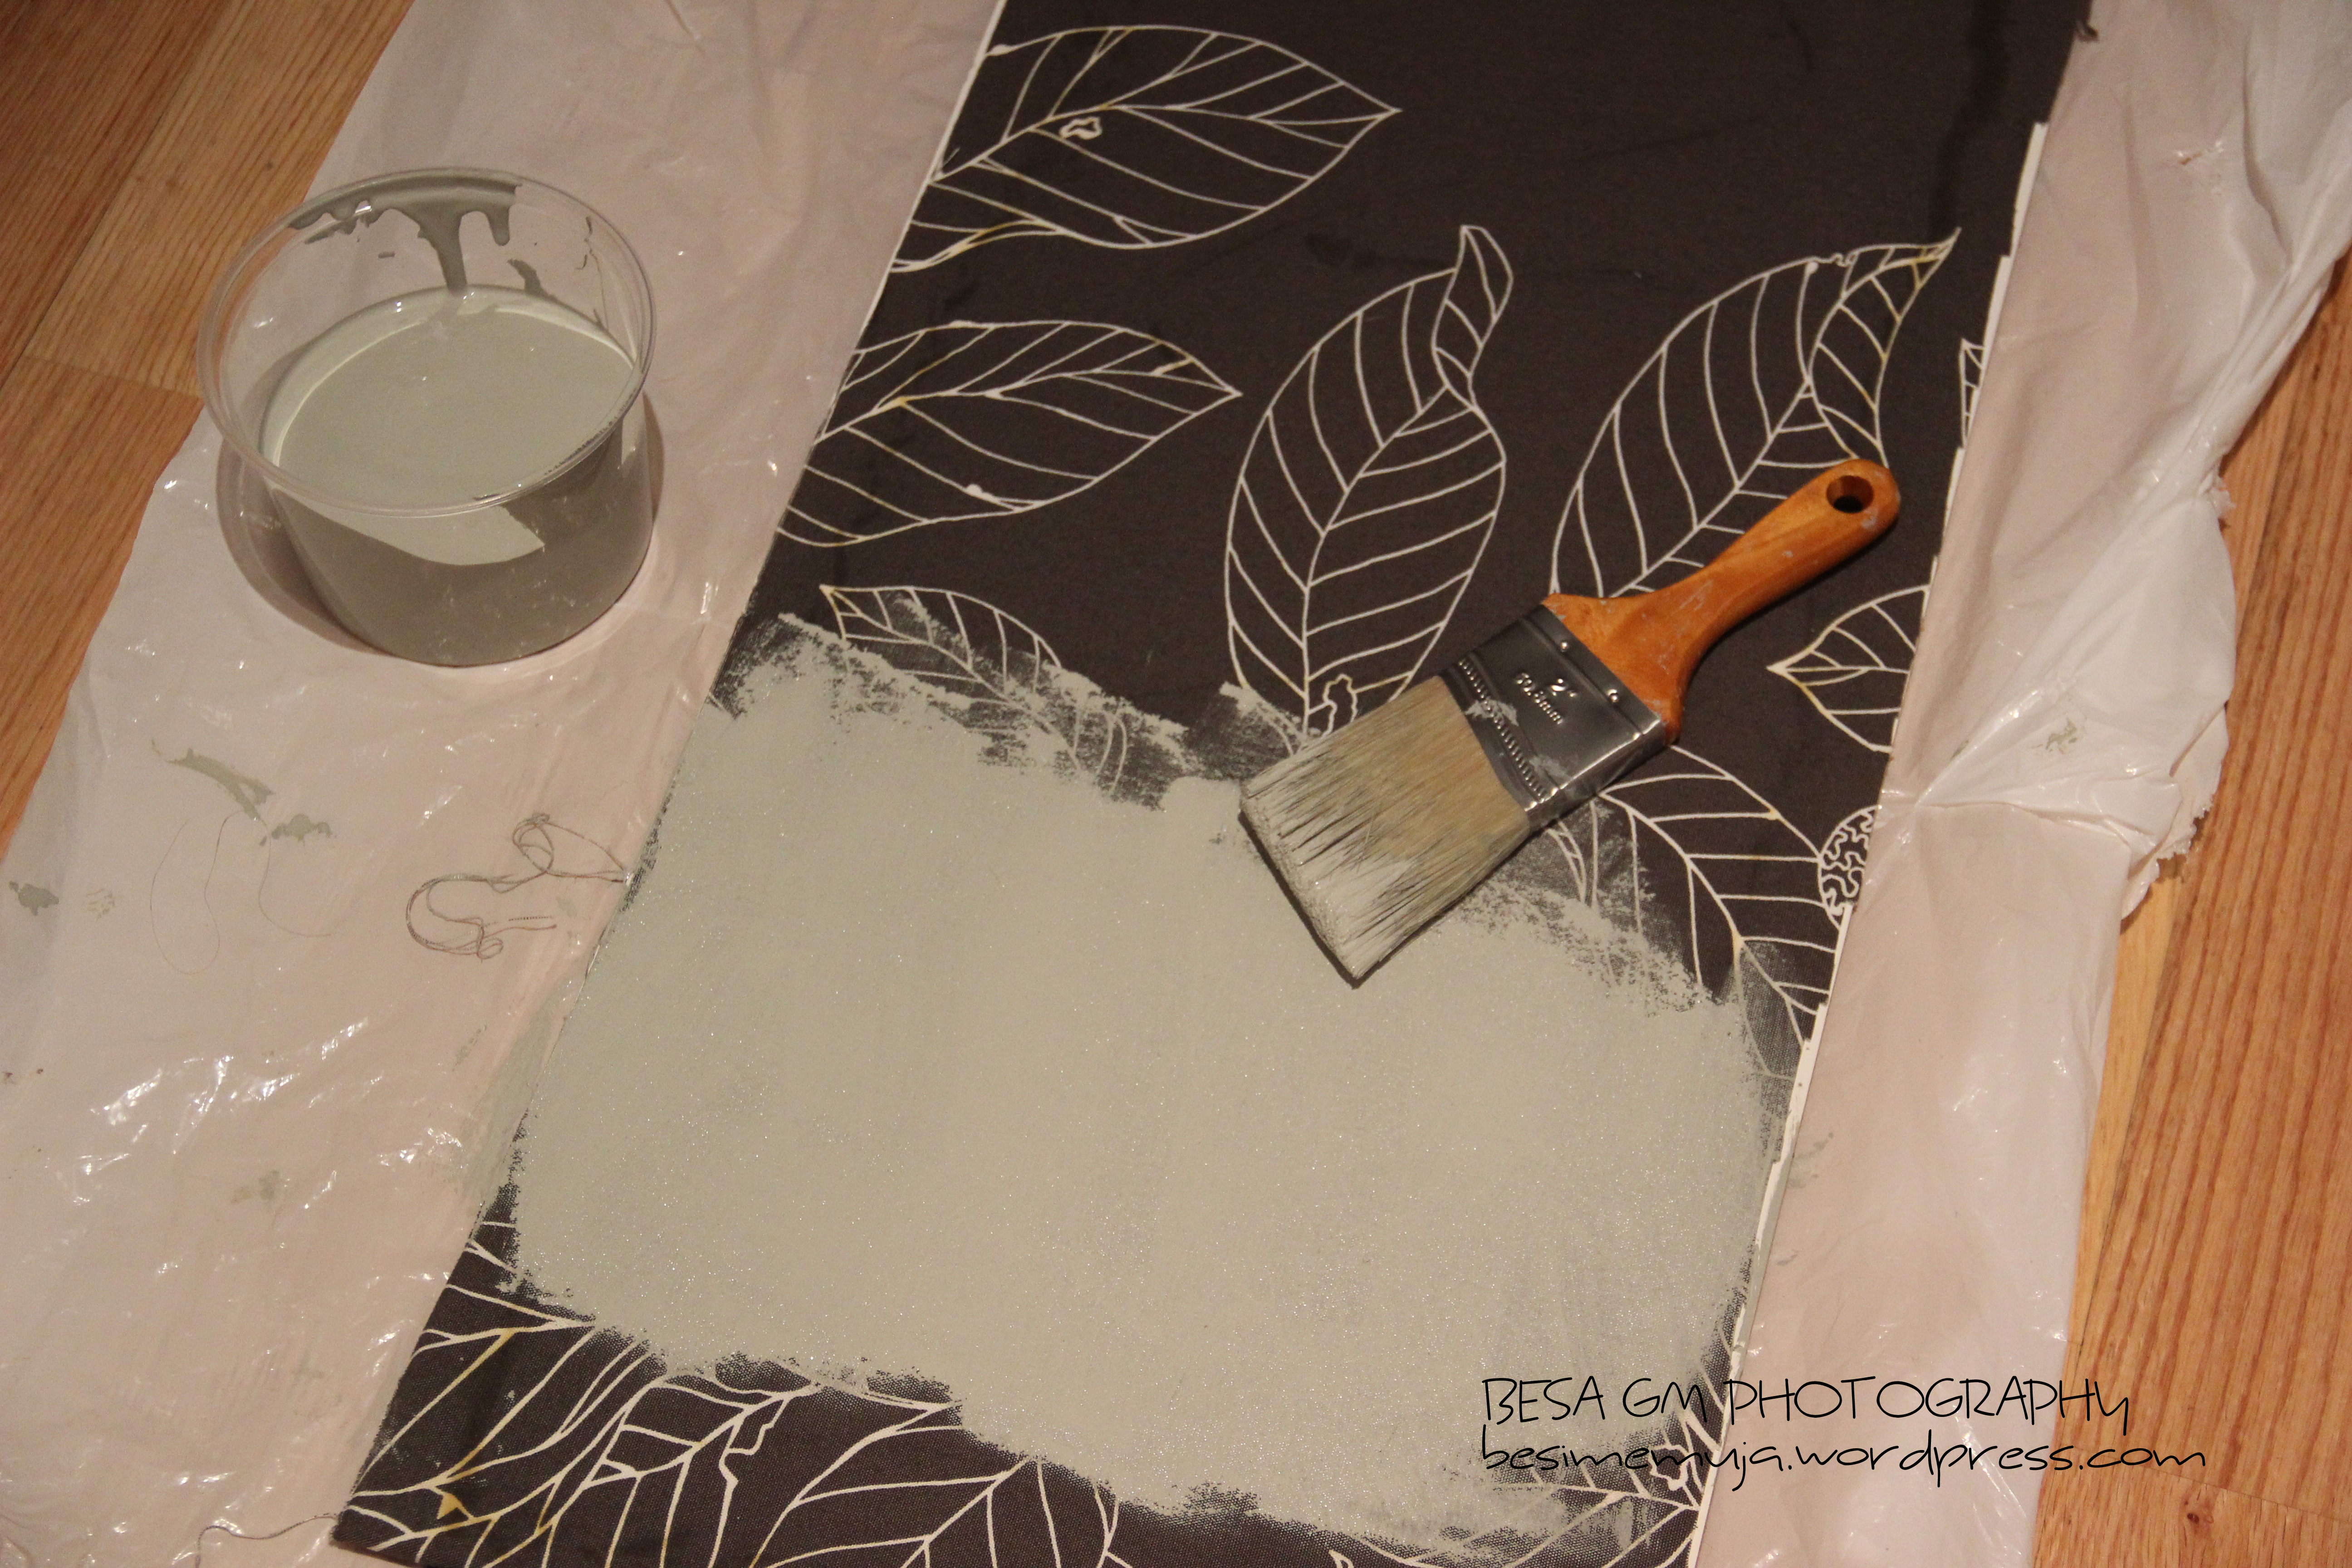
I started with the project by detaching the back of the frames. For the previous project I have glued the fabric to the back of the frame, so now I only had to paint over the fabric. I used grey latex paint which was a left over from one of my previous projects.
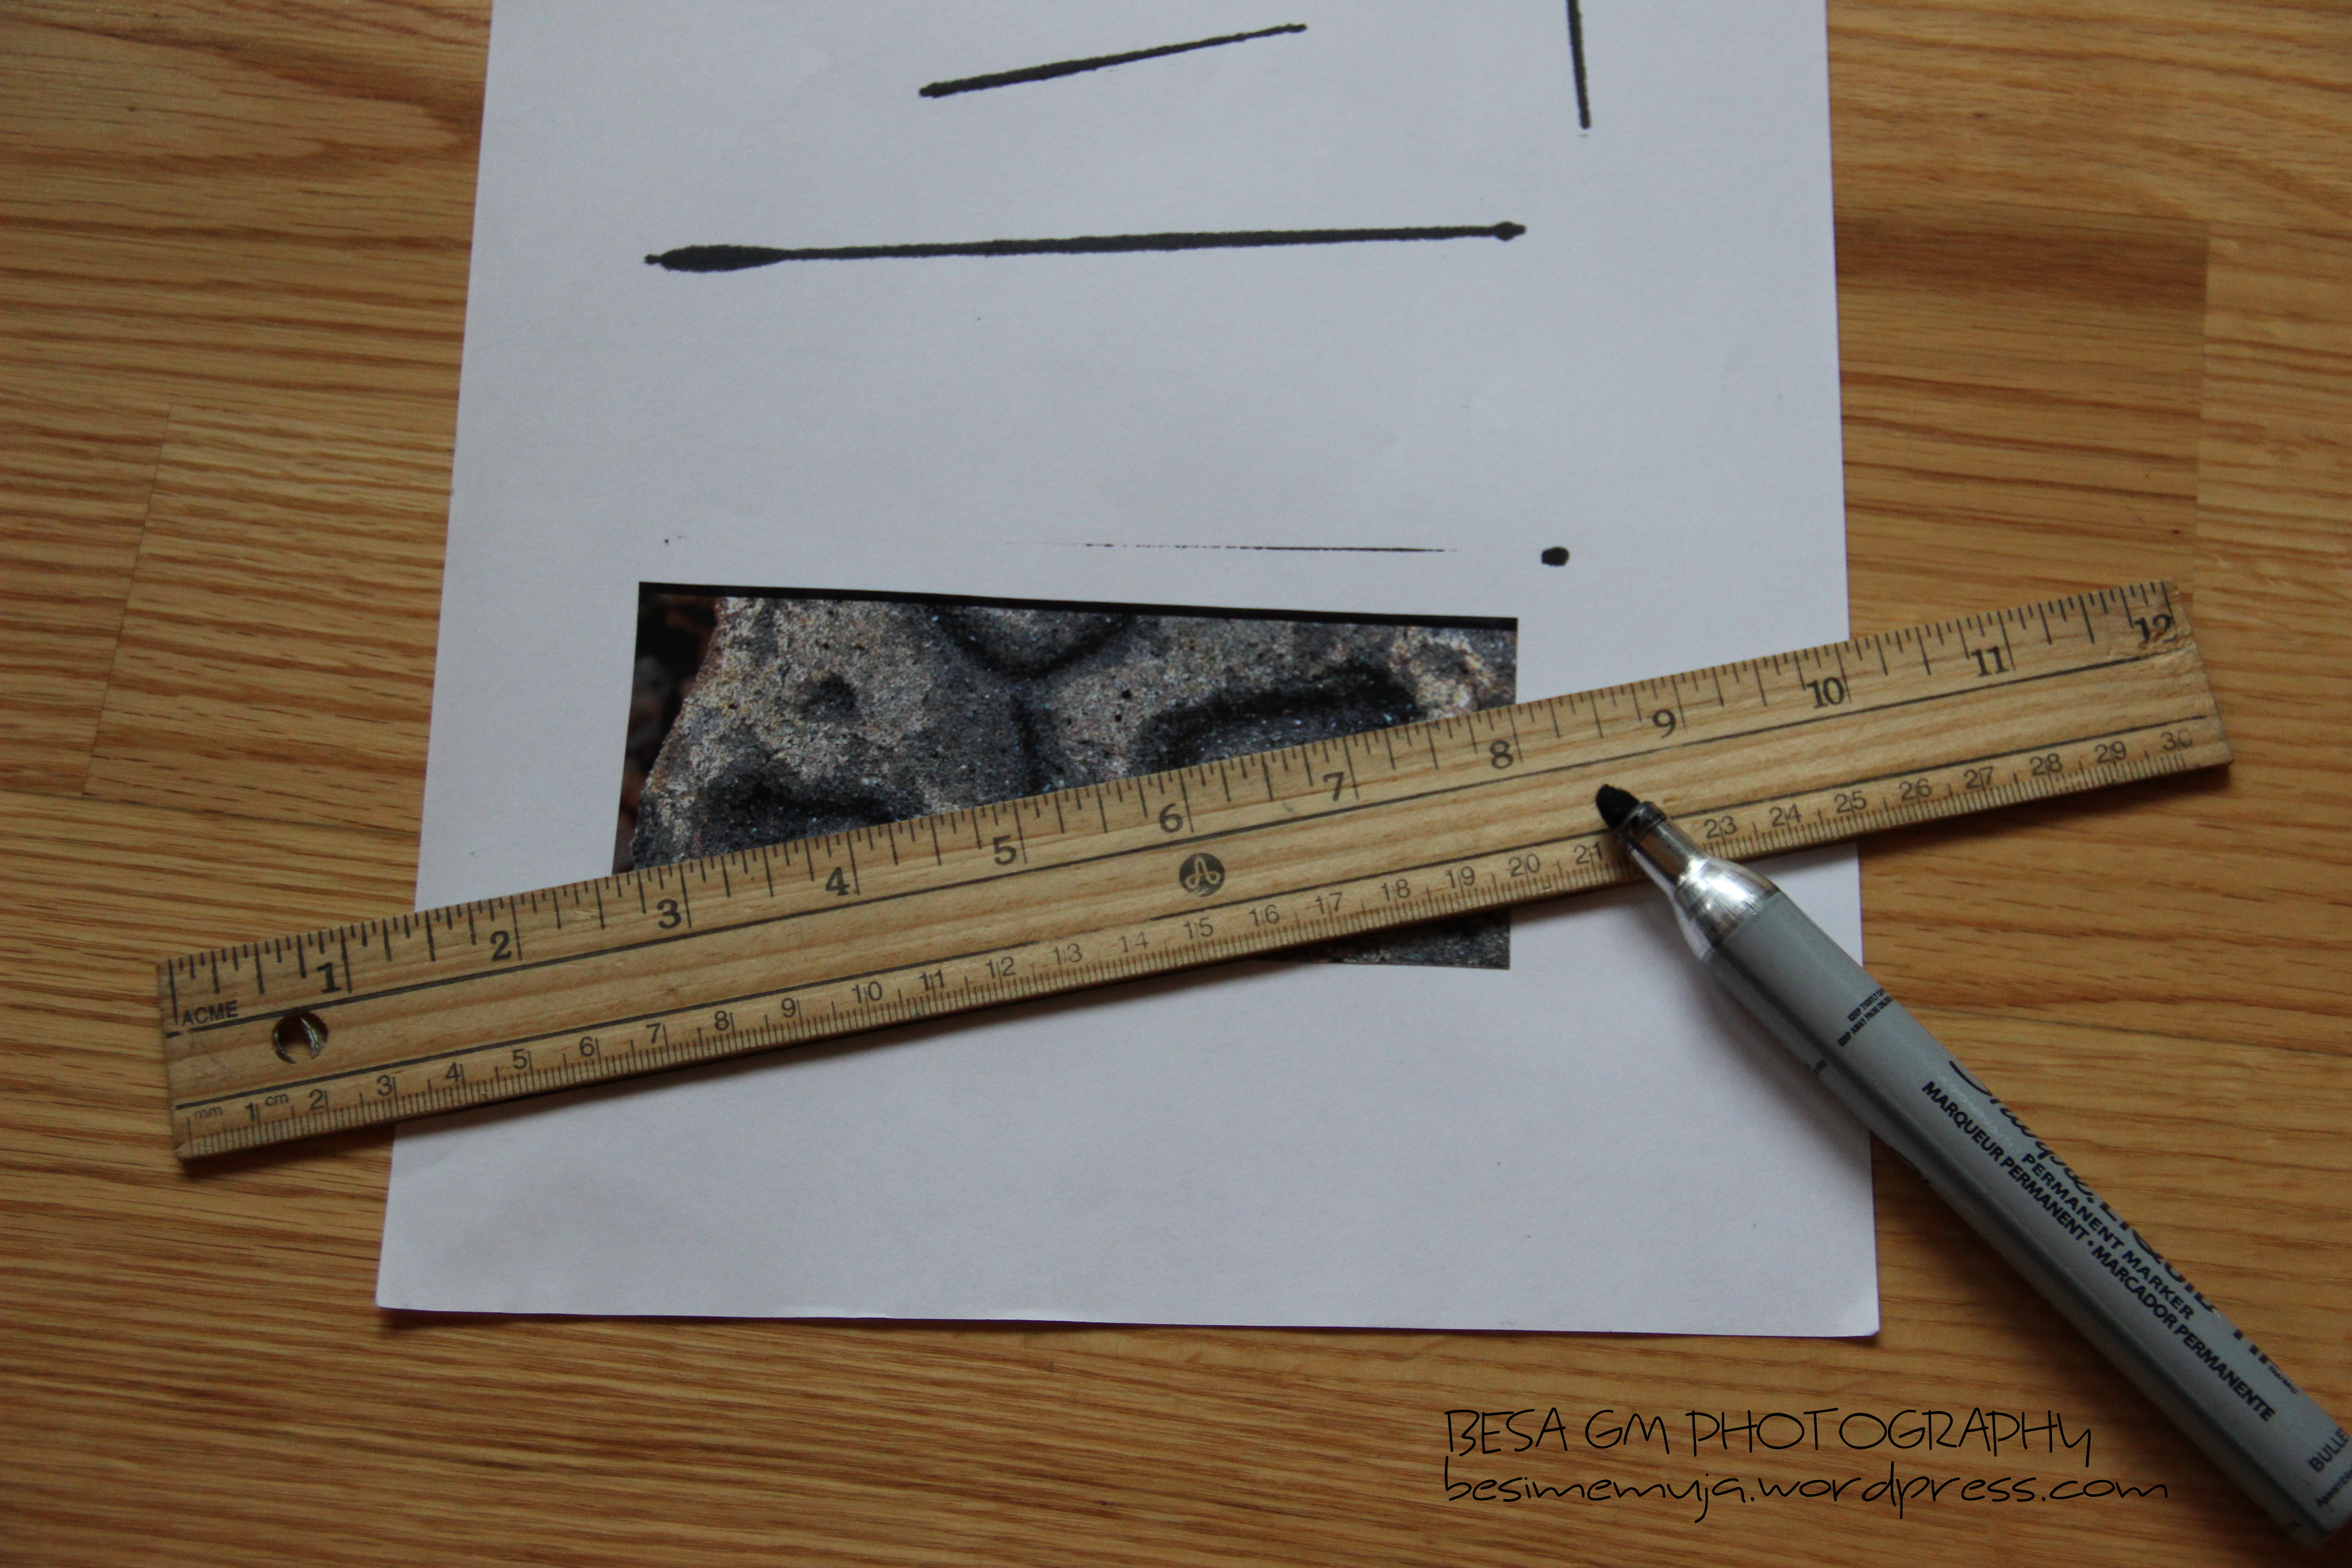
While waiting for the paint to dry I measured and cut in three identical pieces the image of an Ancient Hawaiian Petroglyph featured in the Big Island Dining and Entertainment Magazine. With a permanent marker I drew lines around the edges of each piece for a sharper look of the image.


Subsequently, when the paint was completely dry, I glued the cut pieces of the image to the backs of the frames. Lastly, I attached the backs to the frames using the duct tape.
And here they are.

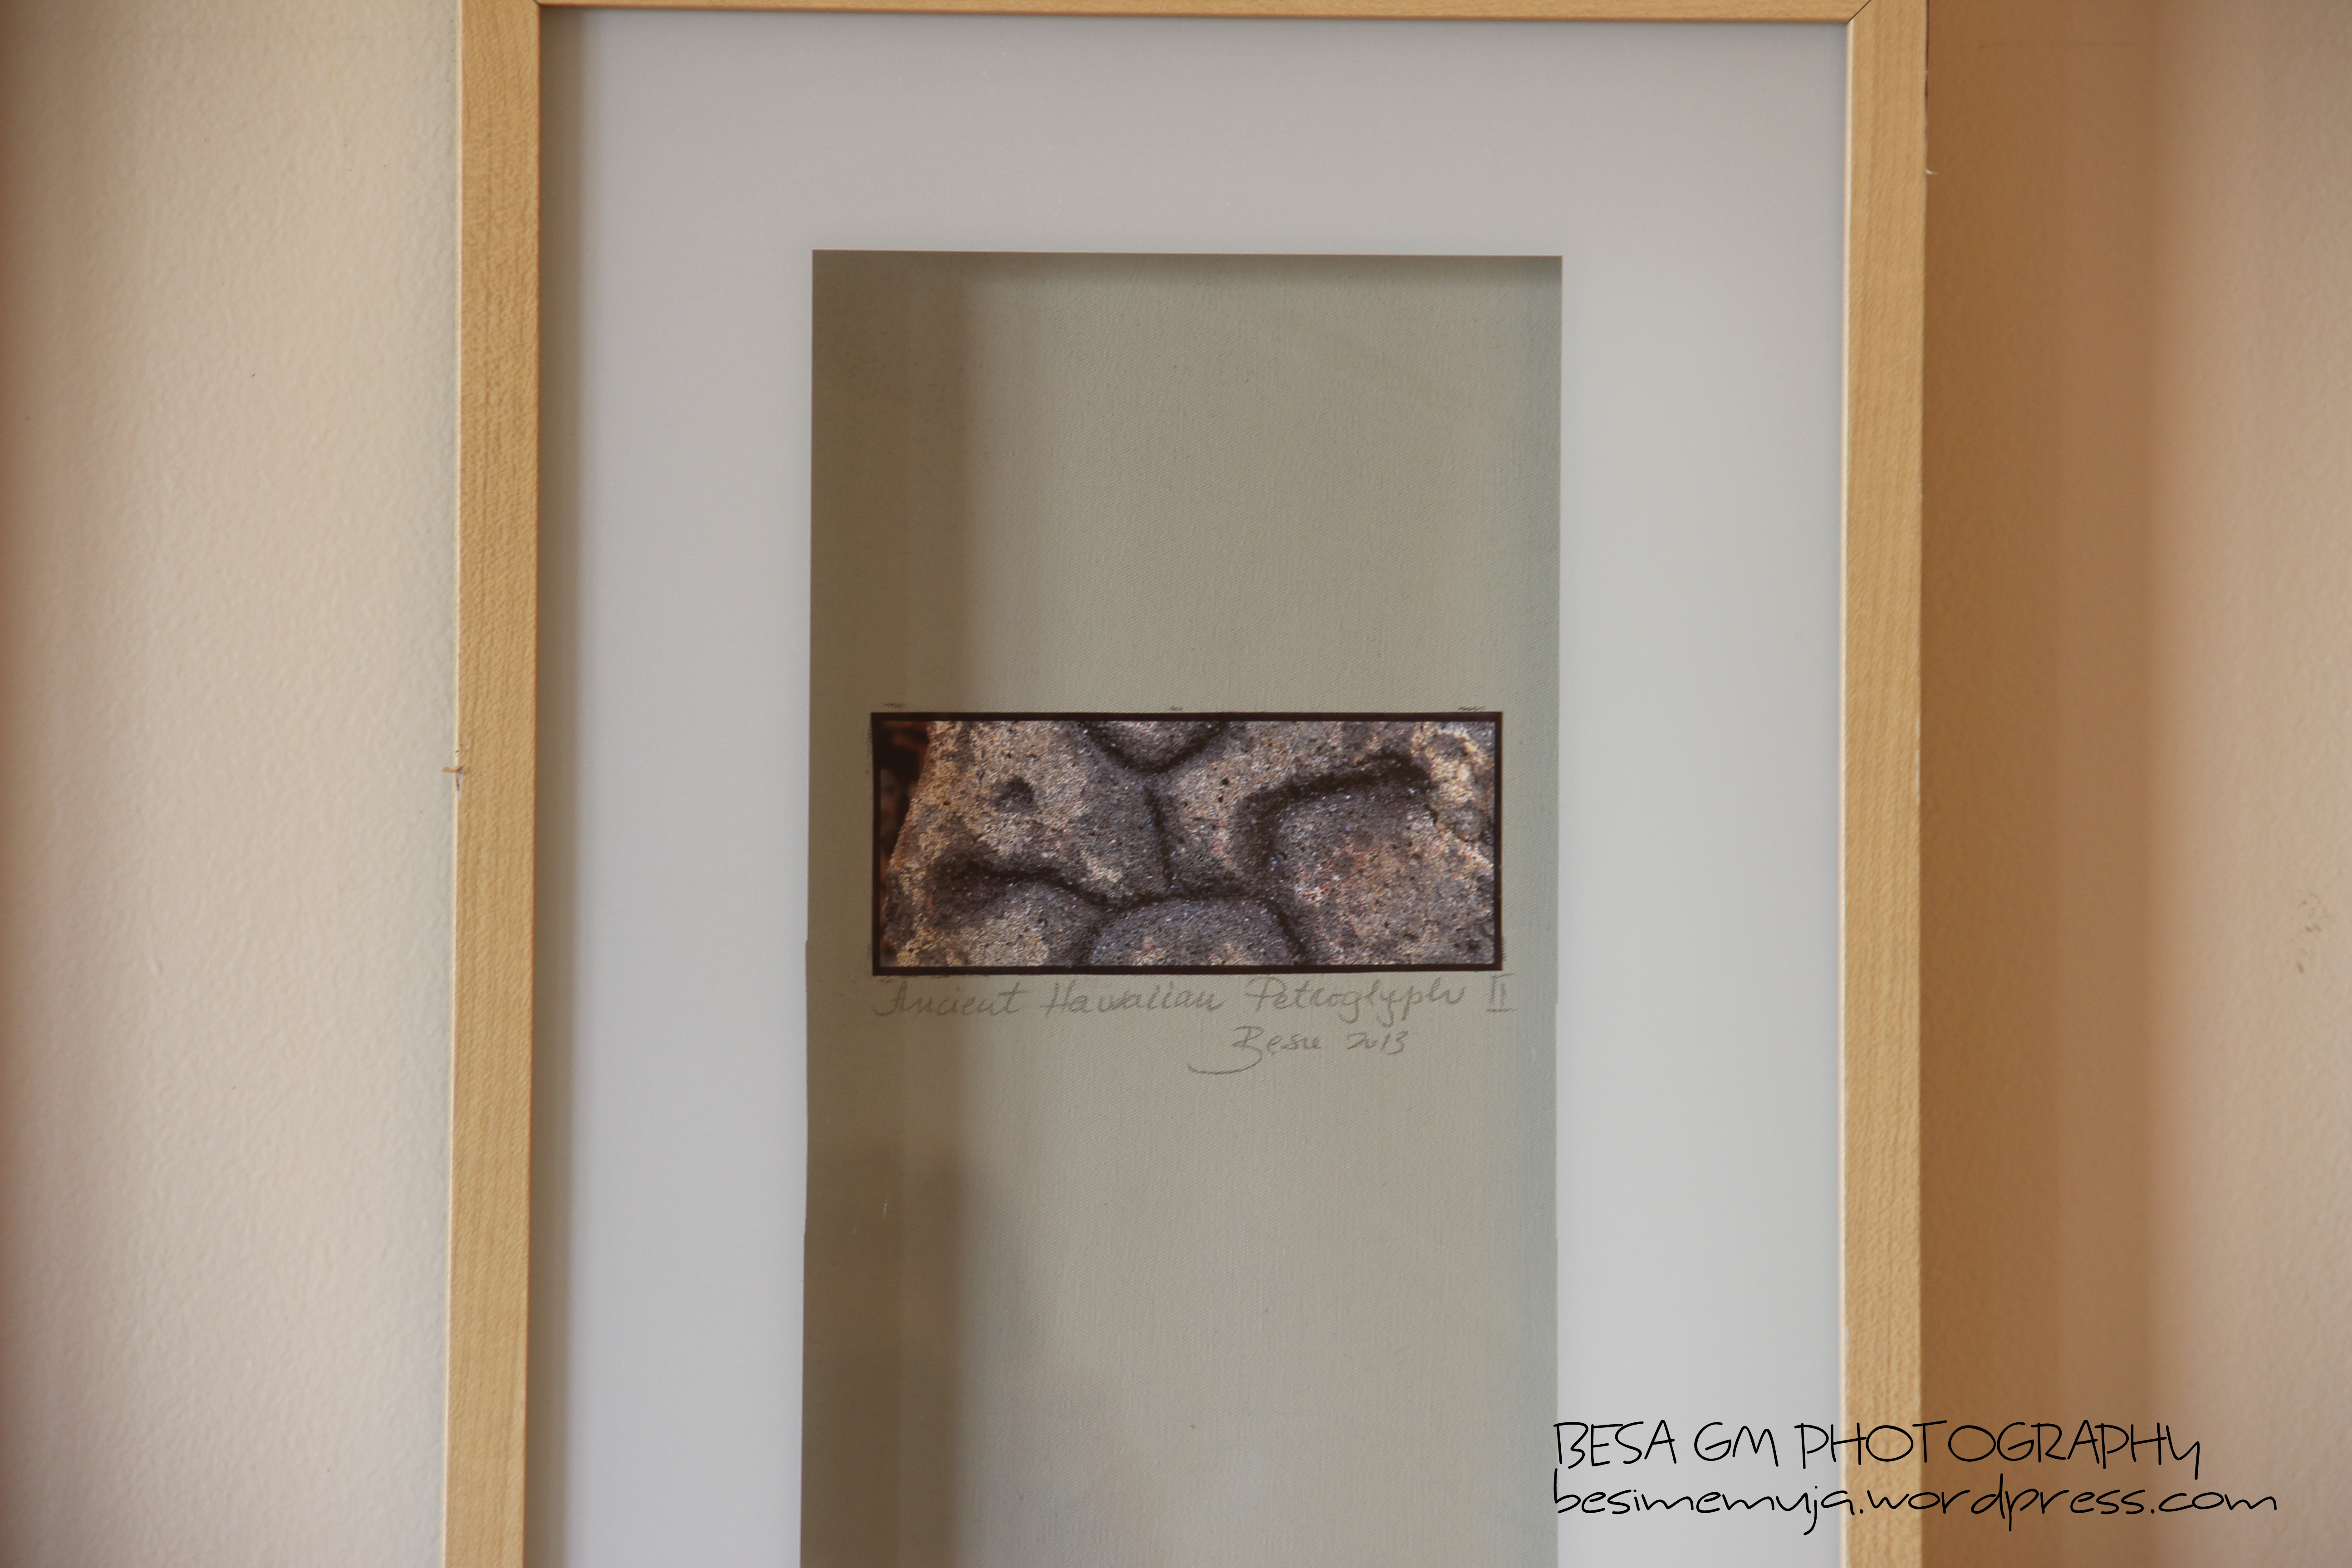
They seem to blend in nicely with the colors in my living room and appear to have that “gallery look”. I think that until we find some serious art for our living room, these will do the job for now. But most importantly, let’s hope that these will not fall down again and make a big mess…..

Do any of your DYI projects have a funny story behind? If so, would you be willing to share it?
Thank you for reading, and thank you for your comments on my previous posts.
Besa

What a georgeous living room!
That was a delightful story. The lesson here is has to be very careful about what they hang above the bed and make sure it is hung really well! I love what you did with the precious art work. Beautiful fabric prints can be art too! I also love your redo. How creative and unique! Stopping by from Christine’s Dream to Reality Link Party.
Thank you so much for taking time to read the post. I learned a lesson, so since then I am really careful about what and where I hang wall art and other decorations.Thanks for stopping by, and for your comment.
Sounds so much like something that would happen at our house! Glad no one was actually injured by the falling art 🙂 I love your refreshed version! So modern and cool! Thanks so much for linking up at Thursday STYLE!